Chimney leaking during storms is a common—and frustrating—problem for homeowners. When water intrudes through the chimney it can stain ceilings, damage drywall and insulation, corrode metal components, and cause mold growth. This guide walks you step-by-step through how to find the leak source, emergency measures to reduce damage during a storm, durable repairs, and long-term prevention so your chimney stays dry year-round.
Why chimneys leak during storms
Understanding why water gets into a chimney helps you address the real issue rather than just treating symptoms. Common reasons include:
- Damaged or missing chimney cap—rain enters directly into the flue.
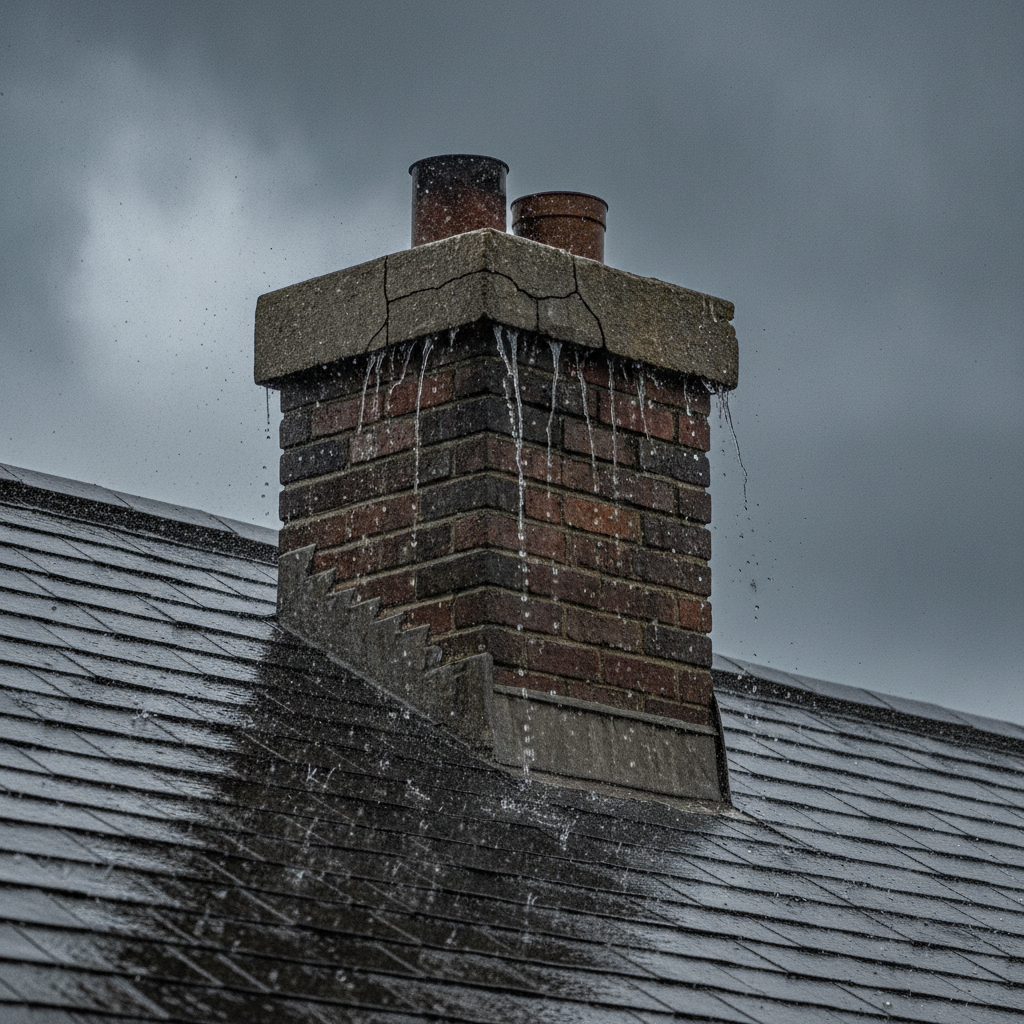
- Cracked or deteriorated chimney crown—the crown funnels water down the bricks when damaged.
- Failed flashing where the chimney meets the roof—this is the most frequent source of leaks.
- Porous or spalled brick and mortar—bricks absorb water and allow seepage into the chase.
- Broken flue tiles or gaps between the flue and chimney structure.
- Poorly fitted chase covers or metal chase tops on prefabricated chimneys.
- Wind-driven rain that forces water past a cap or up under loose mortar.
How to identify the leak location (safely)
Only inspect the roof or chimney in calm, dry weather and with proper fall protection. If you’re uncomfortable on a ladder or roof, hire a pro. To find where water is entering:
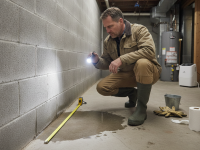
- Look inside the home: water stains on ceilings/walls, rust on fireplace fixtures, wet insulation in attic near chimney, or water dripping into the firebox. Note the pattern—water traveling down a wall could come from higher up.
- Inspect the chimney top: cracked crown, missing cap, or visible gaps around the flue.
- Check the chimney base where it meets the roof: look for bent, corroded, or pulled-away flashing and gaps at step flashing.
- Examine mortar joints and bricks for crumbling mortar, mortar voids, or soft, powdery brick faces (spalling).
- During a controlled test, a helper can gently run a hose on the chimney while someone watches inside to see where water first appears—but only perform this test when safe and ideally by a professional to avoid causing further damage.
Immediate emergency steps during a storm
If you notice water entering during a storm, there are temporary steps to reduce damage until repairs can be made:
- Contain the leak: place a bucket under any drips, and use towels or absorbent pads to protect floors and fabrics.
- Protect the firebox: lay plastic sheeting over the grate and firebox to keep water off logs and brick.
- Cover interior stains: dry wet drywall and insulation if possible. Push a fan on low and dehumidifier in the room after the storm to reduce mold risk.
- Avoid roof access in active storms. Do not attempt permanent roof repairs until conditions are safe.
Common permanent repairs and typical cost ranges
Below are standard repairs for chimney leaks. Prices vary by region, chimney size, and extent of damage; get multiple quotes from licensed contractors.
- Chimney cap replacement or installation: $150–$800. A cap prevents most direct rain entry and keeps animals out.
- Crown repair or replacement: $300–$1,200. A properly formed concrete crown with metal drip edging and correct slope is essential.
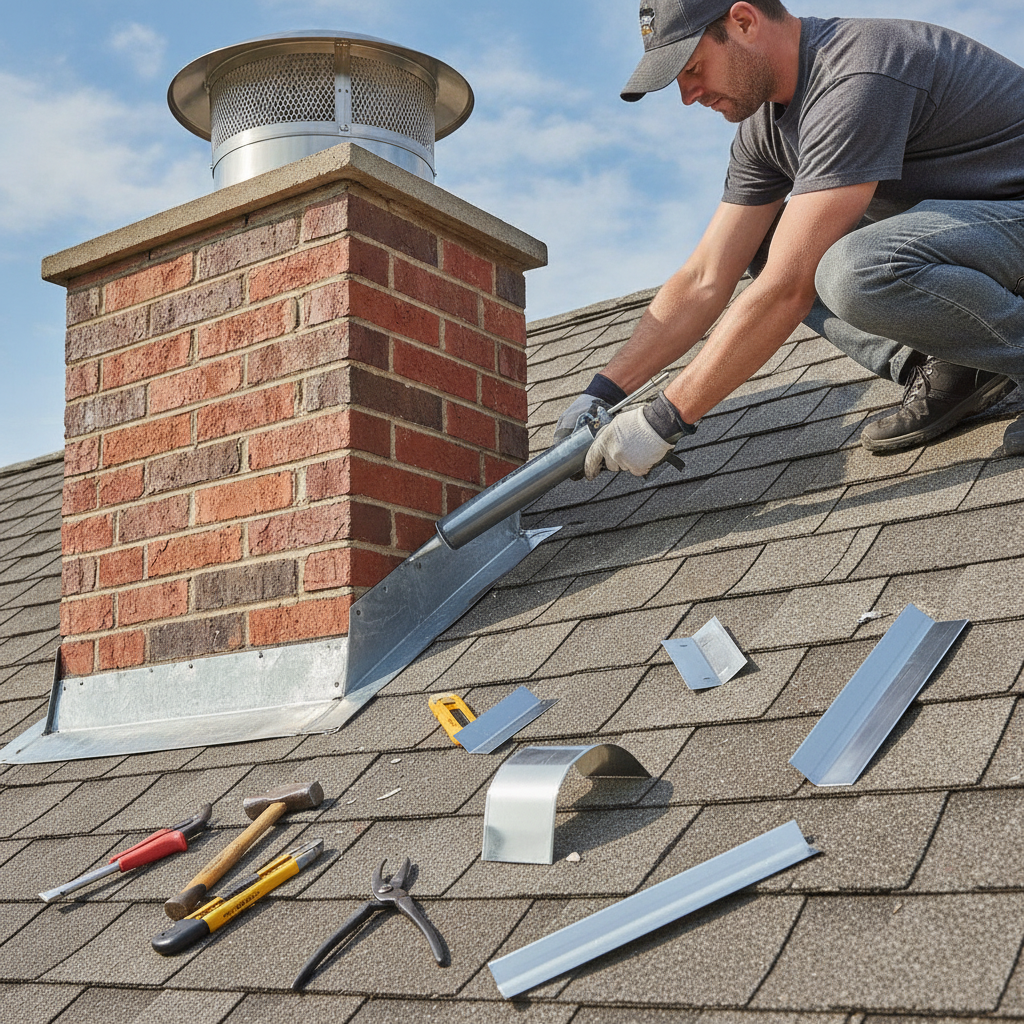
- Flashing repair or replacement: $300–$1,200. Properly installed step flashing and counterflashing are critical at the roof-chimney intersection.
- Repointing (tuckpointing) mortar joints: $500–$3,000 depending on area. This restores water-tight mortar joints.
- Brick replacement or rebuilding portions of the stack: $1,000–$5,000+. Severe deterioration can require partial or full rebuild.
- Chimney relining (flue liner repair): $800–$3,500. A damaged liner can affect both water entry and safe operation of the fireplace.
- Waterproofing with a breathable masonry sealer: $200–$800. This helps repel water from brick and mortar without trapping moisture.
When to hire a professional chimney contractor
Call a certified chimney professional (look for CSIA or NFI certifications where applicable) if any of the following apply:
- Water is actively dripping into living spaces and you can’t stop it with temporary measures.
- Extensive mortar deterioration, large cracks in the crown, or leaning chimney stacks.
- Evidence of flue tile damage or internal chimney structure damage.
- You need flashing removed or replaced where roof integration is complex.
- Local building codes require a licensed professional for structural or fire-safety repairs.
Choosing the right contractor
- Get at least three written estimates and compare scope, materials, and warranty.
- Ask for references and photos of recent similar jobs.
- Confirm they carry liability insurance and provide a written warranty on workmanship.
- Prefer contractors that offer chimney inspection reports and explain long-term maintenance.
Maintenance and seasonal checklist to prevent future leaks
Routine maintenance reduces the chance of leaks and extends the chimney’s life. Seasonal tasks include:
- Annual chimney inspection and sweep—removes creosote and identifies early water problems.
- Inspect and clean the chimney cap; replace if rusted or damaged.
- Check the crown for hairline cracks and patch where appropriate before winter freeze-thaw cycles.
- Verify flashing and roof shingles around the chimney are intact after major storms.
- Apply a breathable masonry water repellent every 3–5 years if recommended by a pro.
DIY fixes vs. professional repair
Small cosmetic repairs—like sealing minor cracks in the crown or applying a masonry waterproofing sealer—can be DIY if you have experience with masonry and safe roof access. However, flashing replacement, crown replacement, extensive repointing, and structural rebuilding are best left to professionals. Incorrect DIY flashing work is one of the most common reasons leaks persist.
Insurance and storm damage: what to expect
Homeowner policies typically cover sudden, accidental water damage from storms, but they often exclude damage caused by neglect or lack of maintenance. Document damage with photos, keep repair estimates, and contact your insurer promptly. A licensed contractor’s inspection report can help support claims for storm-related damage.
Materials, tools, and terms you should know
- Chimney cap: metal cover that sits on top of the flue to keep rain and animals out.
- Chimney crown: concrete slab at the top of the chimney that sheds water away from brickwork.
- Flashing: metal (often aluminum or copper) seals the joint between the chimney and roof.
- Step flashing and counterflashing: systems used on pitched roofs to create a watertight seal around the chimney base.
- Mortar & repointing: replacing old mortar between bricks to prevent water infiltration.
- Breathable masonry sealer: water repellent that allows moisture vapor to escape but keeps liquid water out.
Prevention upgrades worth the investment
For older homes or if you live in a rainy, coastal, or freeze-thaw climate, consider these upgrades:
- Install a custom-fitted stainless steel chimney cap.
- Reform or replace the chimney crown with a properly sloping design and guard lip.
- Upgrade flashing to copper or stainless steel and ensure proper counterflashing integration.
- Apply breathable waterproofing to masonry and repoint as needed.
- Install a rain leader or overhang design if wind-driven rain frequently reaches the chimney top.
Trusted resources
For additional homeowner-focused guidance on chimney care, see chimney maintenance tips from Better Homes & Gardens: Better Homes & Gardens — Chimney Care.
Step-by-step post-storm inspection checklist
- Wait until the roof and chimney are dry. Photograph all visible damage inside and outside.
- Check for interior stains, peeling paint, or wet insulation in attic spaces.
- From ground level, scan for missing bricks, mortar gaps, or leaning.
- Hire a pro for a roofing-level and internal flue inspection if you see signs of active leaks.
- Make the necessary temporary fixes, then schedule permanent repairs promptly.
Frequently Asked Questions (FAQs)
Q: Can a chimney cap alone stop leaks?
A: A chimney cap prevents direct rain and animal entry but won’t stop leaks caused by failed flashing, a cracked crown, or porous masonry. A cap is often a cost-effective first defense but rarely the sole solution when leaks are present.
Q: Will waterproofing bricks trap moisture inside the chimney?
A: Use only breathable masonry sealers designed for chimneys and brickwork. These repel liquid water but allow moisture vapor to escape, preventing trapped moisture and spalling.
Q: How soon should I repair a leak after a storm?
A: Start temporary containment immediately (buckets, plastic, drying). Arrange a professional inspection within days—delays lead to mold, rot, and larger repairs.
Q: Can wind-driven rain force water up through the flue?
A: Yes. Wind can push rain inside if the chimney lacks a cap or the cap doesn’t have appropriate sides or a spark screen. A properly designed cap and crown mitigate wind-driven rain entry.
Q: Does homeowner insurance cover chimney leaks?
A: Insurance often covers sudden storm damage, but not damage from neglect or deferred maintenance. Document damage quickly and get a contractor’s report to support any claim.
Final notes
Chimney leaking during storms is solvable with the right diagnosis and a mix of immediate containment, targeted repairs, and routine maintenance. Prioritize safety—don’t climb roofs in bad weather—and when in doubt, bring in a certified chimney professional to evaluate structural and flue concerns. Properly installed caps, crowns, flashing, and high-quality masonry repairs will keep your chimney dry and functional for years.
For a gentle next step in improving your home environment—beyond fixing structural issues—consider exploring design and comfort ideas that pair with smart maintenance. 👉 How to Design A Comfortable Modern Living Space