If you’re asking “why my fence is leaning after storm,” you’re not alone — many homeowners face the same unsettling sight after heavy winds, driving rain, or saturated ground. A leaning fence is more than an eyesore; it can be a safety hazard and signal underlying structural problems. This guide walks through the most common reasons fences tip after storms, how to inspect the damage safely, practical DIY repairs, when to call a pro, and steps to prevent future problems.
Why storms make fences lean: the top causes
Storms affect fences in several ways. Understanding the root causes helps you decide whether you can fix it yourself or need professional help.
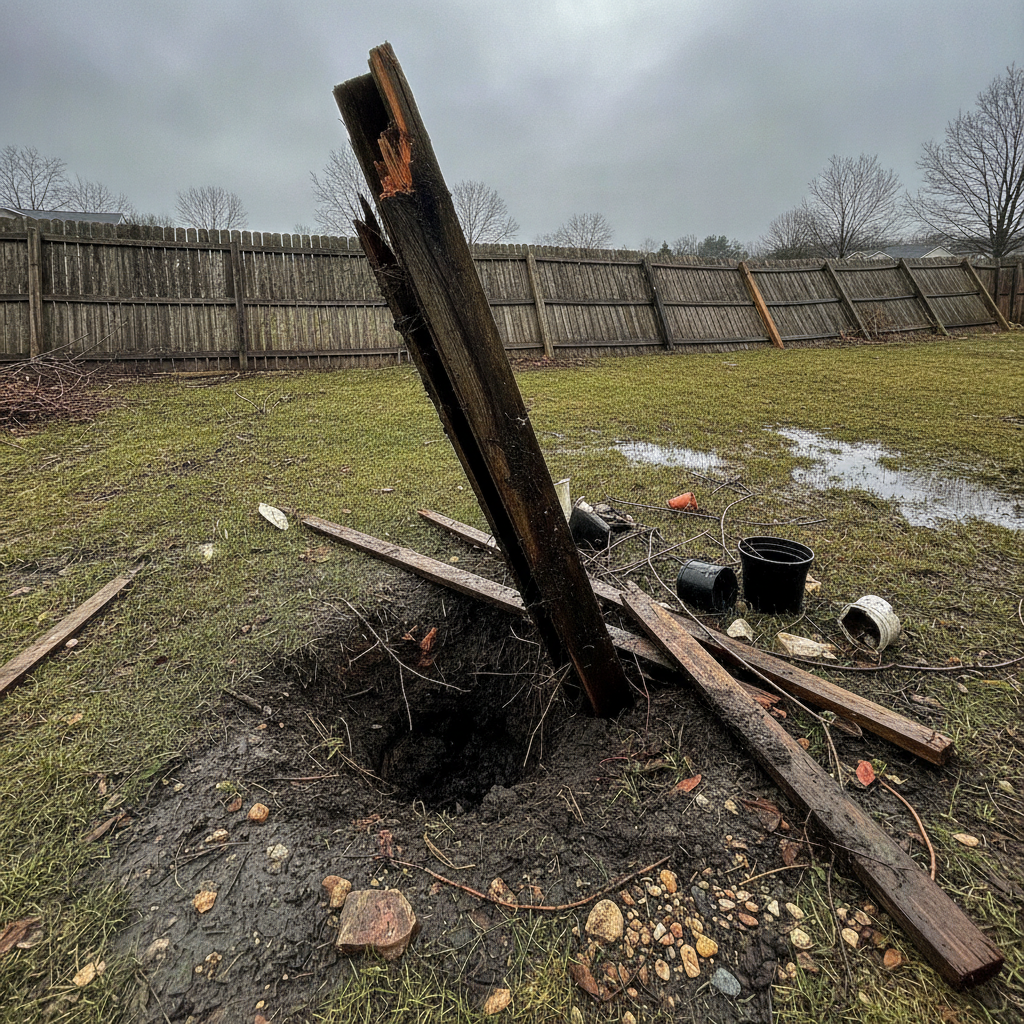
- Saturated or eroded soil: Heavy rain soaks the ground, reducing soil strength around posts. If the soil washes away or compacts, posts lose their support and can tilt.
- Wind load and pressure: Strong gusts push against fence panels like sails. Continuous wind pressure can nudge posts out of alignment, especially on taller or solid panels.
- Rot and decay: Moisture drives wood rot at the base of posts. Metal post sleeves and fasteners can corrode, weakening the anchor points that keep a fence upright.
- Poor original installation: Posts set too shallow, without concrete footings, or without proper gravel drainage are more vulnerable during storms.
- Impact damage: Falling tree limbs, flying debris, or even vehicles can physically push a fence off plumb.
- Freeze-thaw cycles and soil heaving: In climates with cold winters, frozen ground expands and shifts, unsettling posts over time and after storms that raise the water table.
- Animal or human activity: Burrowing animals under the fence line or repeated pressure from leaning ladders and kids climbing can loosen posts before a storm exacerbates the problem.
How to inspect a leaning fence safely (step-by-step)
Before attempting any remedy, walk the line and evaluate the situation carefully.
- Assess safety: If wires are entangled, utility poles are nearby, or the fence leans onto a roadway, keep a safe distance and consider contacting professionals.
- Document the damage: Take photos from multiple angles. These are useful for repair planning and insurance claims if storm damage is extensive.
- Check each post: Stand beside each fence post and try to wiggle it. A loose post at the base indicates compromised support. Note posts with visible rot.
- Look for soil movement: Inspect the base for washed-out soil, exposure of the post below the ground line, or pooling water.
- Examine hardware: Check brackets, screws, nails, and post anchors. Rusted or bent fasteners can be replaced.
- Search for impact signs: Broken boards, splintered posts, or fresh scrapes can point to a specific event (fallen tree or debris).
Quick temporary fixes to stabilize a leaning fence
If a storm has left your fence leaning and you need a temporary fix before a permanent repair, consider these quick stabilizing options:
- Brace with lumber: Nail or clamp a diagonal brace from a sturdy post to the leaning section to provide immediate support.
- Prop with stakes: Drive stakes into the ground on the leaned side and secure the fence with straps or ropes to hold it upright until you can dig out and reset the post.
- Add backfill: If soil has washed away, backfill with compacted gravel and topsoil to prevent immediate collapse. Gravel improves drainage and reduces future movement.
- Use post anchors: For metal posts, temporary screw-in ground anchors or adjustable braces can provide short-term stability.
Permanent repair options by fence type
Different fence materials need different solutions. Below are common repair approaches for wood, vinyl, and chain-link fences.
Wood fence panels and posts
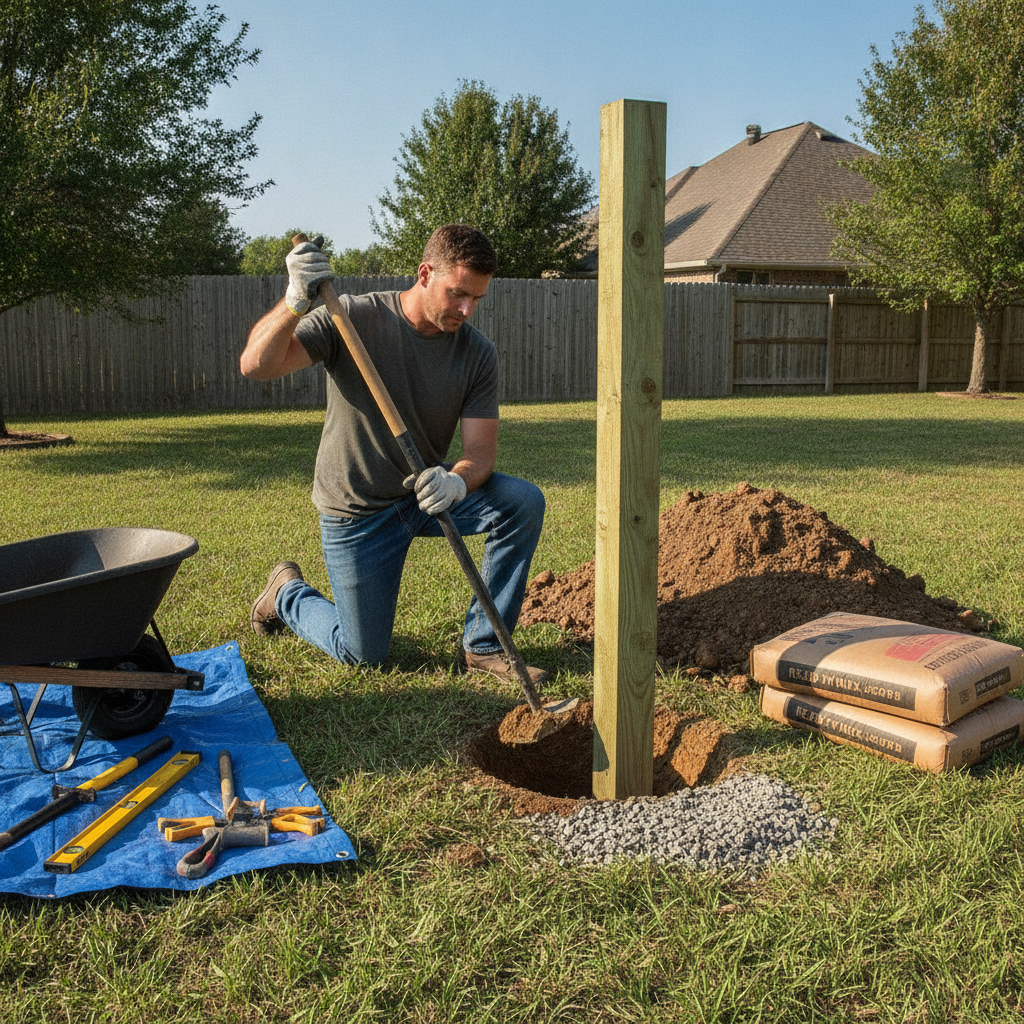
- Resetting a post: Remove the fence boards attached to the leaning post, dig around and remove the old post and concrete if needed, set a new or repaired pressure-treated post in a hole at least 1/3 the post length deep, add 4–6 inches of gravel for drainage, and pour concrete to secure. Make sure the post is plumb before the concrete cures.
- Sistering a post: For posts with partial rot, attach a new post alongside the existing one with galvanized bolts and plates to reinforce the structure without full replacement.
- Replace rotted sections: If only the bottom of a post is rotted, cut out the damaged portion and fit a metal post sleeve or splice in a treated replacement section.
Vinyl and composite fences
- Vinyl posts are typically set in concrete. If the concrete footing has shifted, you’ll need to remove the post sleeve and pull the concrete footing or bolster it with additional concrete once the post is repositioned.
- Avoid using screws or nails that can damage vinyl panels; use manufacturer-recommended fasteners and replacement methods to keep the panels intact.
Chain-link fences
- Chain-link posts are often metal set in concrete. Straighten bent posts if possible, replace severely bent posts, and refill any eroded concrete footings.
- Check tension on the chain link; loose fabric can add wind pressure to corner and end posts, causing lean.
Tools, materials, and approximate costs
Knowing what you need helps you plan. Costs vary widely by region and fence length, but here are ballpark estimates per typical repair:
- Tools: post hole digger or auger ($40–$150 rental or buy), level, shovel, sledgehammer, saw, wrench set.
- Materials: pressure-treated posts ($20–$60 each), concrete mix ($4–$8 per 50-lb bag), gravel ($3–$6 per 50-lb bag), galvanized hardware ($5–$30), replacement boards/panels ($10–$100 per panel).
- Labor: DIY saves money; professional repair typically runs $75–$150 per hour depending on local rates and complexity. Total pro replacement of several posts could range $300–$1,200+.
For detailed maintenance and care tips that help extend the life of a wooden fence, resources like Better Homes & Gardens offer practical guidance on materials and seasonal upkeep.
External resource: Better Homes & Gardens — Fence Repair and Maintenance
Step-by-step: How to reset a leaning wood post
This is a common fix when storm damage hasn’t destroyed the post completely. Follow these steps carefully.
- Remove attached boards: Unfasten fence boards from the leaning post so you can access it without stressing the panels.
- Dig around the post: Use a shovel or post hole digger to expose the bottom of the post and any concrete footing.
- Assess the post condition: If the post is solid above ground but the base is rotten, plan to replace. If salvageable, you can try to straighten and stabilize.
- Pull the post: If concrete is loose, you may be able to wiggle the post out. Otherwise, break up the old concrete with a sledgehammer or use an auger to remove it.
- Prepare the hole: Make the hole deeper and wider than the old footing; add 4–6 inches of gravel for drainage.
- Set the post: Place the new or cleaned post in the hole, check it is plumb in two directions, then pour ready-mix concrete around it. Slope the top of the concrete away from the post to shed water.
- Reconnect boards: Once concrete is cured (follow product instructions—typically 24–48 hours), reattach fence boards and check alignment of the whole panel.
When to call a professional fence contractor
Some damage is best handled by pros. Consider hiring a contractor if:
- The fence supports a heavy structure, gate, or is close to property lines and requires precise re-alignment.
- Multiple posts are leaning, indicating a systemic drainage or soil issue.
- Large trees or utility lines are involved—removal and repair can be hazardous and may require permits.
- You prefer a warranty for materials and workmanship or need help with insurance claims after major storm damage.
Preventive steps to keep your fence upright through future storms
Preventing future lean starts with smart choices at installation and good seasonal maintenance.
- Set posts deep: Aim for at least one-third the post length in the ground (e.g., 2 feet for a 6-foot fence), more in soft or sandy soils.
- Use gravel drainage: Add a gravel base beneath footings to help water drain away from the post bottom.
- Pour concrete correctly: Use concrete footings with a slight slope to prevent water pooling against the post.
- Choose durable materials: Pressure-treated lumber, composite posts, or galvanized steel resist rot and corrosion.
- Space boards for wind: Pick lattice or spaced boards for windier locations to reduce sail effect, or install wind slats with care in chain-link fences.
- Maintain landscaping: Ensure grade slope moves water away from fence lines and keep plantings from trapping moisture at post bases.
- Inspect seasonally: Check for early signs of rot, loose fasteners, or soil washout each spring and after major storms.
Common FAQs about fences leaning after storms
How long can I wait to fix a leaning fence?
It depends on the severity. A slightly leaning post can wait a few days if stabilized, but a severely leaning or falling fence should be repaired immediately for safety. Delaying can lead to more extensive repairs and higher costs.
Can I repair a leaning fence myself?
Yes—many homeowners with basic tools can reset a post or brace a panel. However, replacing multiple posts, dealing with hidden root systems, or working near utilities is best left to professionals.
Will insurance cover storm damage to my fence?
Homeowners insurance sometimes covers wind or severe storm damage, but policies vary. Document the damage, keep receipts for repairs, and contact your insurer to file a claim.
Is concrete necessary for every post?
Concrete adds stability in most settings, particularly for taller fences or soft soil. In rocky or clay soils, compacted gravel or specialized post anchors can be alternatives. Discuss options with a local expert based on soil type.
How can I protect a wooden fence from rot?
Use pressure-treated wood, seal the top and cut ends, keep the base clear of soil and plants, and maintain proper drainage to limit moisture contact.
Final thoughts
A leaning fence after a storm is a common issue but one that deserves prompt attention. With careful inspection, the right materials, and either a bit of DIY effort or professional help, you can restore both the function and curb appeal of your fence. Prevention through good installation practices and seasonal maintenance will reduce the chance of repeat problems.
If you’re unsure about the extent of the damage or would like design ideas for a more resilient fence or yard layout, consider exploring additional home living resources like How to Design A Comfortable Modern Living Space for inspiration and guidance: How to Design A Comfortable Modern Living Space
More help and resources
For deeper reading on fence maintenance and seasonal care tips, Better Homes & Gardens provides useful, homeowner-friendly guides on fencing and outdoor upkeep.
Frequently updated checklist: What to do after a storm
- Ensure everyone’s safety first—stay clear of damaged areas.
- Document damage with photos for insurance.
- Stabilize leaning sections with temporary bracing.
- Inspect posts, footings, and hardware.
- Decide whether to DIY or hire a pro.
- Plan repairs with weather and soil conditions in mind.
- Consider upgrades to prevent future damage during the next storm season.
Take time to assess and prioritize repairs — a small investment now can prevent bigger problems later.