Discovering your chimney leaking during storms is stressful and can quickly lead to water damage, mold, and costly repairs if left unchecked. This guide walks you through the most common causes, simple temporary fixes you can do quickly, and permanent solutions to protect your home through heavy rain and wind.
Why chimneys leak during storms
Chimneys are exposed to the elements year-round, and during storms they face a combination of wind-driven rain, temperature shifts, and debris. A leak can be the result of a single obvious problem or a combination of small issues that add up. Understanding the root cause is essential to choosing the right repair and preventing repeat leaks.
Common sources of chimney leaks
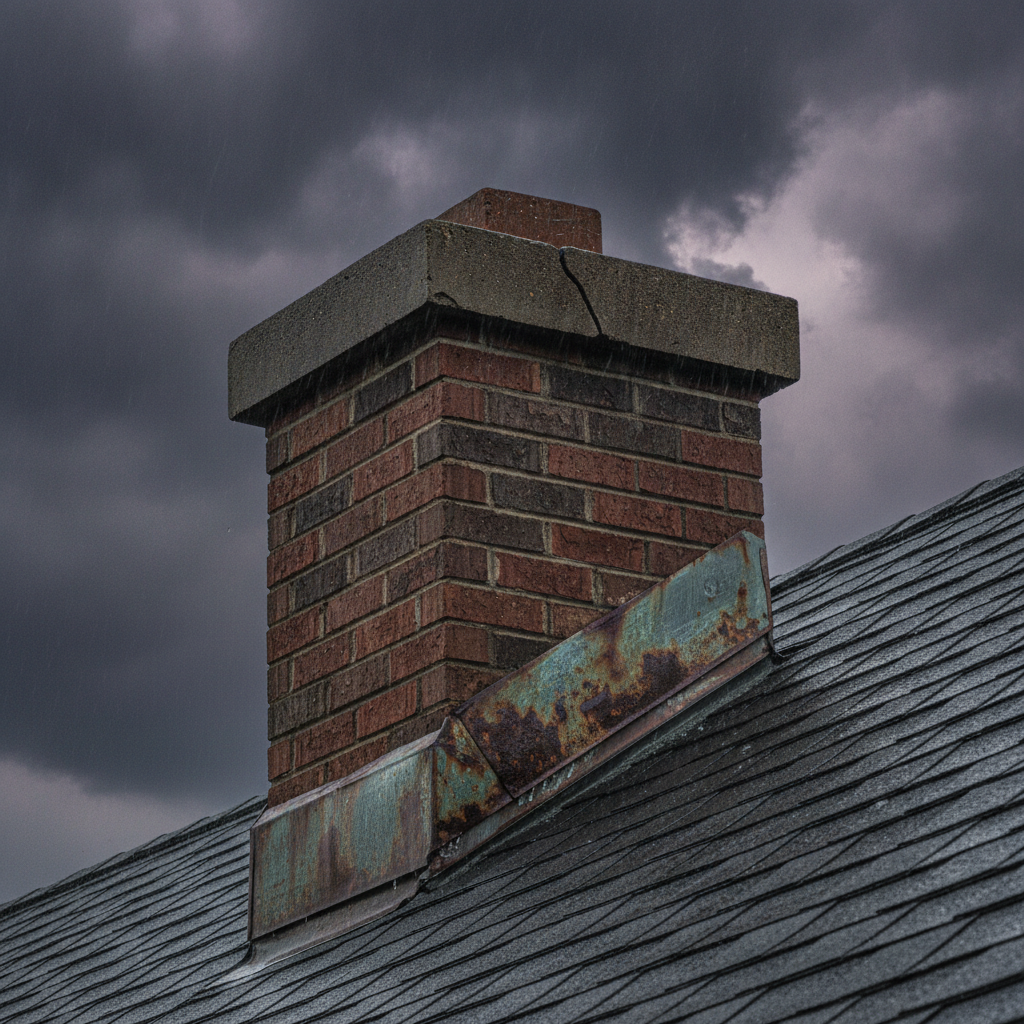
- Damaged or missing chimney cap or crown: The top of the chimney is the first line of defense. Cracks in the crown or a missing cap let water pour straight down the flue.
- Worn flashing: Flashing seals the gap between the chimney base and the roof. Corroded or poorly installed flashing allows rain under shingles.
- Cracked masonry and mortar joints: Bricks and mortar absorb water; cracks allow water to penetrate the chimney structure.
- Leaky flue liner: A deteriorated liner can let water into the chase instead of channeling it up and out.
- Poor chimney design or height: A chimney that’s too short or lacks a proper cap is more likely to take on wind-driven rain.
- Roof problems near the chimney: Damaged shingles or underlayment can make it appear the chimney is leaking when the actual entry point is the roof plane around it.
How to find where the leak is coming from
Before you start repairs, pinpointing the source saves time and prevents ineffective fixes. Here are step-by-step diagnostic checks you can do safely.
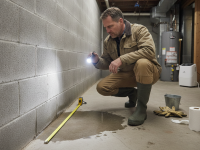
Inspect from inside
- Look for stains and peeling paint on the ceiling and walls near the chimney.
- Check the attic space above the chimney for damp insulation or dark streaks on rafters.
- Use a flashlight to scan the chimney chase and drywall junctions.
Inspect from outside
- Examine the chimney crown for visible cracks, spalling, or missing sections.
- Check the chimney cap to see whether it’s intact and properly attached.
- Look closely at the flashing for gaps, rust, or sealant failures.
- Scan the brickwork and mortar for hairline cracks and crumbling joints.
Water test (controlled)
If visual inspection doesn’t reveal the source, a controlled water test helps. With a helper inside the house watching for drips, have someone spray water on different sections of the chimney with a garden hose for several minutes at a time. Start at the bottom and work up — if water appears inside when spraying a particular area, you’ve likely found the problem zone.
Emergency temporary fixes you can do during a storm
When a storm is approaching and you need to stop water now, these temporary measures can reduce further damage until a permanent repair is possible.
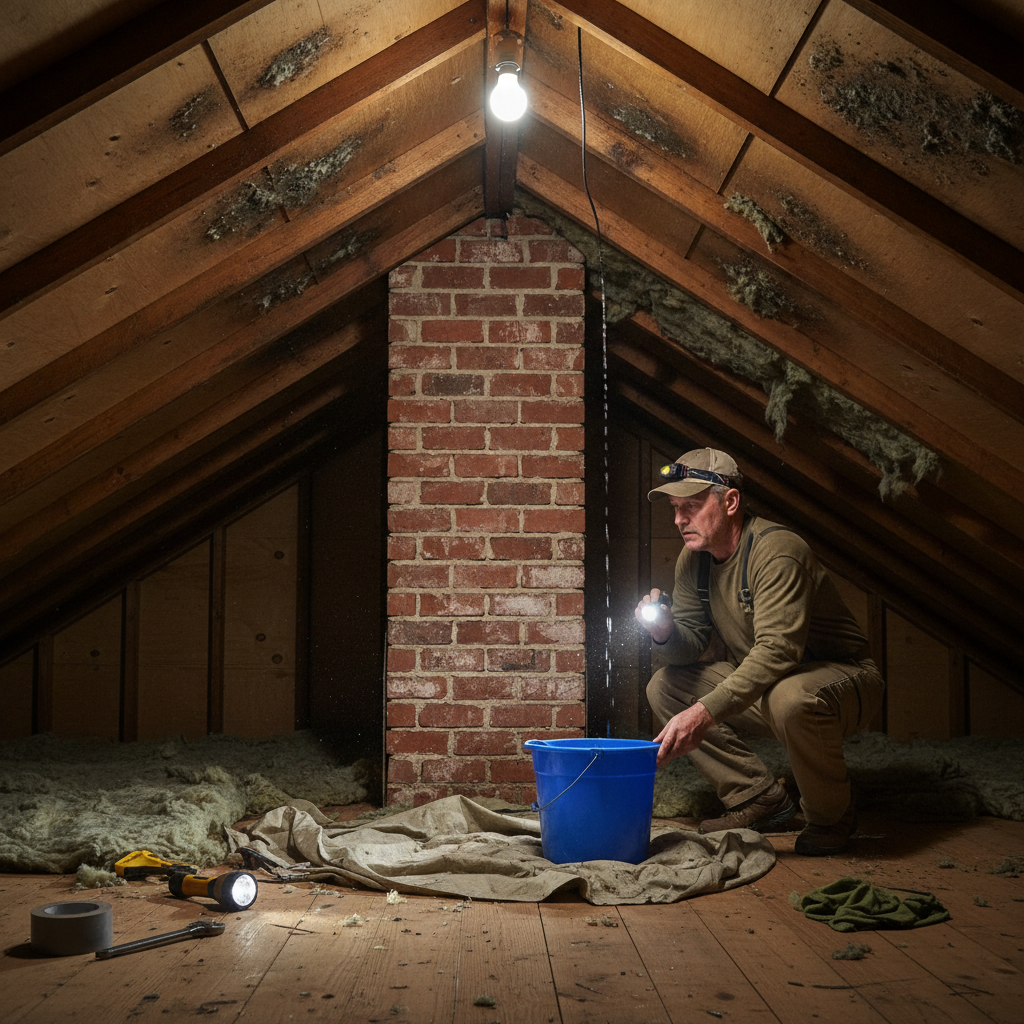
- Contain interior drips: Place buckets or pans underneath leak points and move furniture and electronics away from the wet area.
- Protect ceilings and walls: Use towels and plastic sheeting to limit water spread and protect floors.
- Cover the chimney top (only if safe to access): A tarp or heavy-duty plastic secured with rope can keep most water out, but do not apply tape to masonry — it can damage surfaces and won’t hold in strong winds.
- Patch flashing temporarily: Self-adhesive flashing tape can be used as a short-term measure around edges; remember this is not permanent.
- Reduce interior humidity: Run fans and dehumidifiers to minimize mold growth while you wait for repairs.
Permanent repair options and costs
Long-term solutions depend on the cause. Below are typical fixes, what they involve, and rough cost ranges (prices vary by region and job complexity).
Chimney crown repair or replacement
If the crown is cracked or crumbling, a professional can repair small cracks with patching material or install a new concrete crown. New crowns typically range from $300 to $1,200 depending on size and complexity.
Install or replace a chimney cap
A properly sized stainless steel or copper cap with mesh reduces rain, animal entry, and debris. Caps range from $150 to $700 installed.
Flashing replacement
Replacing the flashing and properly sealing it with the correct metals and sealants is a common and effective fix. Expect $250 to $1,000 depending on complexity and roof access.
Masonry and tuckpointing
Repointing mortar joints and replacing damaged bricks restores the chimney’s weather resistance. Small repairs can be a few hundred dollars; extensive masonry work may be $1,000–$3,000 or more.
Flue liner repair or relining
A damaged liner may require relining with stainless steel or cast-in-place liners. Costs typically run $1,000–$3,000 depending on the method.
Chimney rebuild or caps with cricket (saddle)
If the flashing keeps failing due to roof geometry, adding a chimney saddle or partially rebuilding the chimney might be necessary — these are higher-cost projects that can range widely.
When to hire a professional
DIY can handle some temporary fixes and minor cosmetic repairs, but call an experienced chimney professional or roofing contractor when:
- The problem involves flashing or roof junctions.
- There are structural cracks, large areas of spalling, or chimney movement.
- Mold or significant interior damage is already present.
- You’re unsure about the chimney’s flue liner or safety for fireplace use.
Look for certified chimney sweeps and masons with good reviews and insurance. The Chimney Safety Institute of America (CSIA) certifies sweeps, and your contractor should provide an inspection report and written estimate.
Preventive maintenance to keep your chimney dry year-round
Regular maintenance reduces the chance of leaks during storms. Follow these tips to extend the life of your chimney:
- Schedule annual chimney inspections and cleanings to identify early signs of deterioration.
- Seal small cracks and perform tuckpointing before they grow larger.
- Install and maintain a quality chimney cap with spark arrestor mesh.
- Ensure proper flashing details and check after major storms.
- Apply a breathable water repellent designed for masonry to shed water without trapping moisture.
- Trim nearby trees to prevent branch damage and reduce debris buildup.
How to choose materials that resist storm damage
Not all materials perform the same in wet and cold climates. Consider these recommendations:
- Use stainless steel or copper for chimney caps and flashing to resist corrosion.
- Choose polymer-modified mortar for stronger, more flexible joints suited to freeze-thaw cycles.
- Select a breathable silicone or silane/siloxane masonry water repellent — avoid impermeable coatings that trap moisture.
- Use a professionally measured and fitted liner to channel moisture and combustion byproducts safely.
Insurance and damage documentation
If a storm causes significant chimney-related damage, document everything for your homeowner’s insurance claim:
- Take photos and videos of visible damage and interior water stains.
- Keep receipts for emergency tarps, temporary repairs, or professional assessments.
- Get written estimates from multiple contractors if possible.
Frequently asked questions (FAQs)
Why does my chimney leak only during storms and not on sunny days?
Storms bring wind-driven rain that can penetrate small openings or reach parts of the chimney not usually exposed. Also, heavy rainfall can overwhelm failing flashing or a cracked crown, revealing leaks that aren’t obvious during dry weather.
Is it safe to use my fireplace after a chimney leak?
Not until a professional inspects the flue liner and interior for water damage. Wet creosote and a compromised liner can increase fire and carbon monoxide risks. Have the chimney swept and inspected after leaks before resuming use.
Will waterproofing my chimney stop leaks?
Water repellents can help when used correctly on sound masonry, but they are not a cure for structural issues like cracked crowns, missing caps, or failing flashing. Only use breathable products specifically formulated for masonry.
How often should I have my chimney inspected?
Annual inspections are recommended for homes that use their fireplace regularly. If you spot cracks, spalling, or water intrusion, schedule an inspection sooner.
Can I replace flashing myself?
Replacing chimney flashing requires roof access and proper flashing techniques to prevent bigger leaks. For most homeowners, hiring a qualified roofer or mason is the safer, more reliable option.
Resources and further reading
For practical maintenance tips and product recommendations on chimneys and fireplaces, Better Homes & Gardens offers helpful guides on home repairs and weatherproofing. Consult trusted resources and local professionals for code and climate-specific advice.
Quick checklist: What to do after you find a chimney leak
- Contain leaks with buckets and towels to limit interior damage.
- Document the damage with photos and notes for insurance and contractors.
- Perform a visual inspection from inside and outside (only if safe).
- Apply temporary protection (tarps, plastic) to keep water out until repairs can be scheduled.
- Contact a certified chimney professional or roofer for a full inspection and estimate.
- Plan permanent repairs and preventive maintenance to avoid future leaks.
Storms can expose weak points in your home’s envelope, but many chimney leaks are preventable or repairable with the right approach. Prioritize safety, document damage, and invest in targeted repairs — your home will stay drier and your hearth safer through the next storm season.
If you’d like more ideas about making your home comfortable and resilient, explore this resource on modern living and interior planning: How to Design A Comfortable Modern Living Space