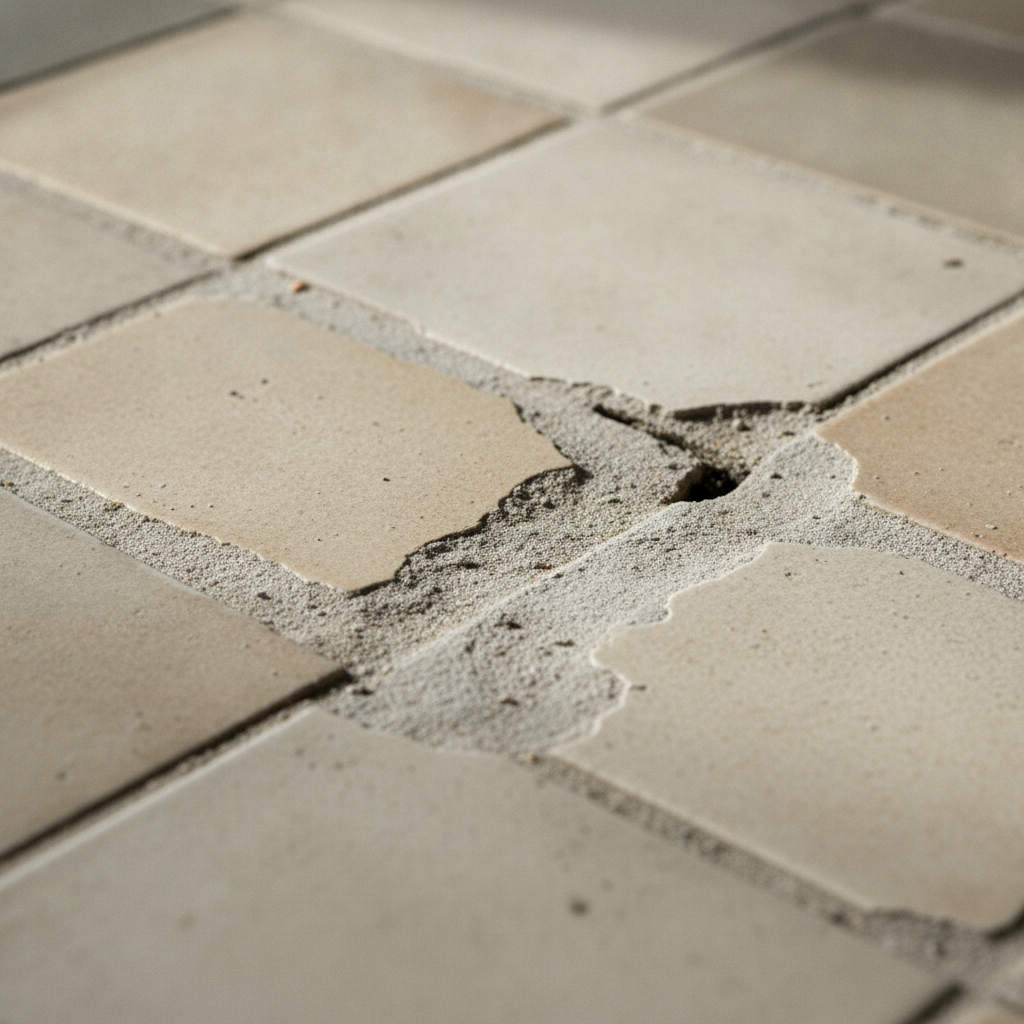
Tile grout crumbling from movement is one of the most frustrating problems for homeowners: one day your floor or shower looks fine, and the next you see gaps, powdery grout, and shifting tiles. Understanding why grout fails from movement — and how to fix it so it stays fixed — will save time, money, and the integrity of your tile work.
Quick overview: what this article covers
- Common causes of grout crumbling related to movement
- How to diagnose whether movement is the real culprit
- Step-by-step repair methods for do-it-yourselfers
- When to use flexible solutions: caulk, expansion joints, and flexible grout
- When to call a professional
- Practical prevention tips to stop grout from crumbling again
- Frequently asked questions
Why tile grout crumbles from movement: the main causes
Grout is designed to fill gaps between tiles and resist moisture, but it isn’t very elastic. When the substrate — the surface beneath the tile — moves, expands, or contracts, rigid grout can crack, crumble, and fail. Movement-related grout failure most commonly arises from several root causes:
1. Substrate deflection or movement
Floors and walls that flex or sag under load transmit stress to the tile layer. Even small deflections can cause grout to crack because grout doesn’t stretch. This is common over improperly supported joists, loose subflooring, or walls without proper backer board.
2. Thermal expansion and contraction
Tiles and substrate materials expand and shrink with temperature and humidity changes. Without proper expansion joints, this movement forces grout to absorb the stress and eventually crumble.
3. Inadequate or improper installation
Problems such as insufficient adhesive coverage, using the wrong thin-set, not using a decoupling membrane where needed, or failing to install movement joints lead to tile movement and grout failure.
4. Water damage and moisture cycles
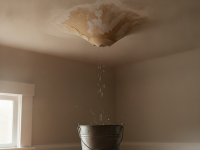
Water can soften subfloor materials or degrade adhesives. Repeated wet-dry cycles make substrates swell and contract, breaking the grout bond over time.
5. Wrong grout type for the application
Using rigid cementitious grout in high-stress, movement-prone areas (like exterior patios, balconies, or floors over a flexing subfloor) will often lead to crumbling. In areas that need flexibility, specialty grouts or joints are necessary.
How to diagnose movement-related grout failure
Before you start tearing out grout, confirm that movement is causing the problem. Here’s a short diagnostic checklist:
- Location: Is the crumbling grout near joints, transitions, doorways, or over a joist span? Movement-related issues are often at stress points.
- Pattern: Random isolated spots are more likely water damage or poor adhesion; linear cracks along grout lines or across multiple tiles suggest substrate movement.
- Tile movement: Press on tiles — do they flex, move, or sound hollow? Hollow-sounding tiles indicate poor mortar coverage or movement.
- Timing: Did the problem appear after a structural change, heavy load, or temperature shift?
- Moisture: Inspect for leaks or moisture under tiles, which can accelerate grout breakdown.
Tools and materials you’ll need for repair
Gathering the right tools makes the job cleaner and faster. Typical DIY repairs require:
- Grout saw, carbide scraper, or oscillating tool with grout removal blade
- Shop vacuum and brush for cleanup
- Thin-set mortar (flexible polymer-modified) or patch mortar
- Grout material: polymer-modified cementitious grout, epoxy grout, or a urethane grout depending on the job
- Silicone sealant for movement joints
- Grout float, margin trowel, and sponge
- Safety gear: dust mask, goggles, and gloves
- Optional: decoupling membrane, backer board, or screws if substrate repair is required
Step-by-step repair for grout crumbling from movement
The best repair depends on the severity of movement and the cause. Use this step-by-step approach to fix most movement-related grout failures.
Step 1 — Remove the crumbled grout and inspect
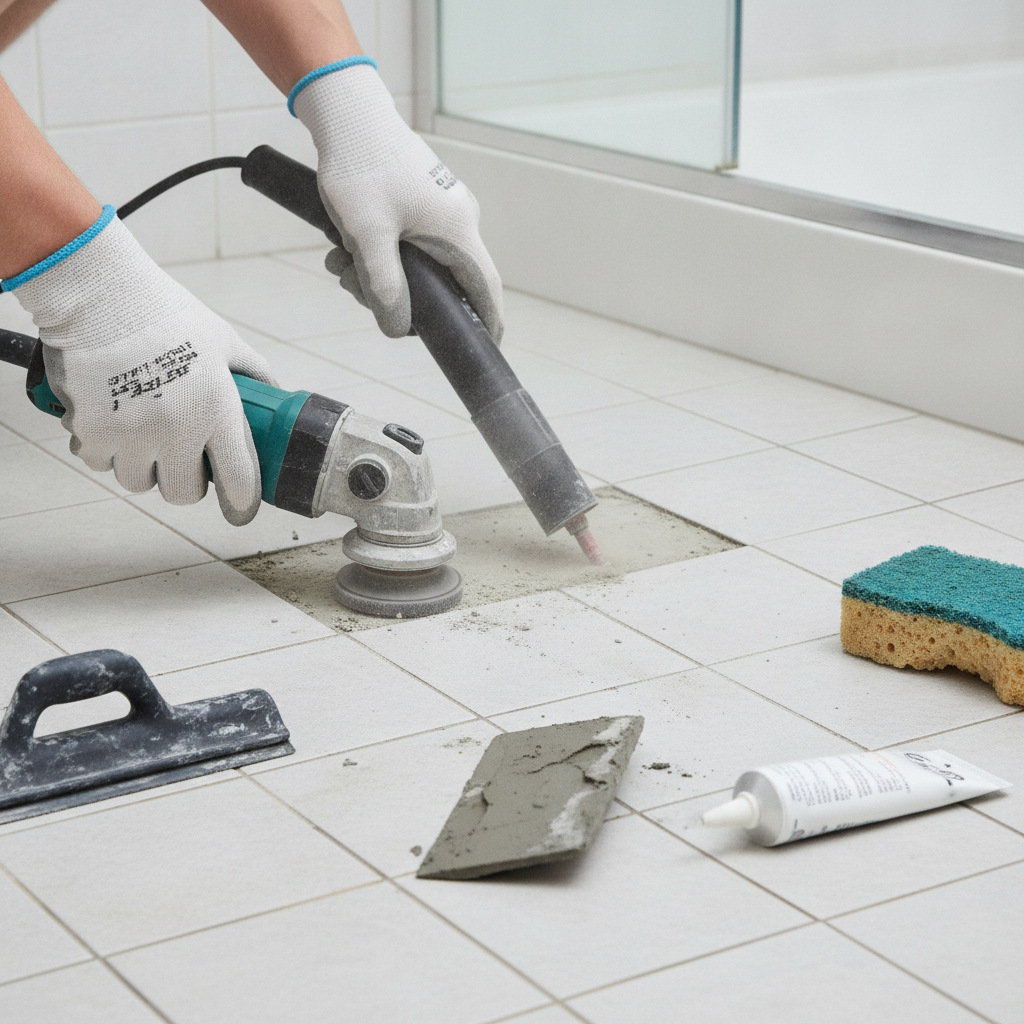
Carefully remove the loose, crumbling grout with a grout saw or oscillating tool. Remove enough to see into the joint and inspect the tile edges and substrate. Vacuum out debris and dust. If multiple joints are failing, it’s likely movement rather than a one-time deterioration.
Step 2 — Check tiles and substrate
Press and tap adjacent tiles. If tiles move, sound hollow, or have loose adhesive, you’ll need to address the substrate. For small areas, you may remove and re-bedding a tile; for larger issues, reinforcing the subfloor or installing a decoupling membrane (like Schluter Ditra) may be necessary.
Step 3 — Fix the source of movement (if possible)
Before re-grouting, eliminate the movement source:
- Floor deflection: strengthen joists or add support where practical.
- Loose tiles: re-bond with proper thin-set mortar and full coverage trowel patterns.
- Water damage: repair leaks and replace saturated underlayment or backer board.
- Thermal expansion: plan for expansion joints and flexible transitions.
If you can’t fully stop movement, plan to use flexible joints and suitable grout that tolerates some movement.
Step 4 — Choose the right filler for the situation
Options depend on movement severity:
- Small movement, indoor floors/walls: use a high-quality polymer-modified cementitious grout mixed with a latex additive for improved flexibility.
- High-moisture or heavy-use areas (showers, commercial floors): consider epoxy grout or urethane grout; these are extremely durable and stain-resistant but still require proper joint design.
- Movement joints and perimeters: use a 100% silicone or hybrid sealant (not grout) where tiles meet fixed components like tubs, countertops, or walls.
Note: Epoxy grout is very durable but less forgiving where substrate movement is pronounced. In those cases, plan movement joints instead of relying on grout flexibility alone.
Step 5 — Re-grout correctly
Mix grout according to manufacturer instructions. Fill joints firmly using a grout float, ensuring full contact and no voids. Remove excess grout and allow proper cure time. For flexible sealant joints, use backer rod in wider gaps (>1/4 inch) and apply caulk in a smooth bead, tooling it for a neat finish.
Step 6 — Protect and monitor
Allow full cure, then seal cementitious grout if recommended. Keep an eye on repaired areas for a few months to ensure movement has been adequately addressed. If cracks reappear, further substrate repair or structural work may be necessary.
Design strategies to prevent grout crumbling from movement
Prevention starts at installation and continues with sensible maintenance:
- Install movement joints: Follow tile industry standards (TCNA) for expansion joints every 8–12 feet indoors and sooner on exterior surfaces.
- Use proper substrates: Cement backer board for showers and decoupling membranes for floors over wood joists reduce stress transfer.
- Choose the right grout: Match grout to the expected movement and environment — flexible-enhanced grouts and urethane grouts where needed.
- Seal where recommended: Seal cementitious grout in wet areas to reduce moisture-driven substrate issues.
- Regular inspection: Check grout lines yearly and address small cracks before they become widespread problems.
Best grout types for areas prone to movement
Here’s a short guide to selecting grout when movement is a concern:
- Polymer-modified cementitious grout: Good balance of workability and modest flexibility for most residential indoor applications.
- Urethane grout (pre-mixed): Offers flexibility, stain resistance, and durability with easier maintenance. Ideal for areas with some expected movement.
- Epoxy grout: Extremely durable and stain-proof. Works well where water and stains are concerns, but pair with movement joints if the substrate will flex.
- Silicone or hybrid sealants: Not a substitute for grout in most joints, but essential for movement joints and perimeters where elasticity is necessary.
When to call a pro
Some movement-related problems require professional attention. Contact a tile contractor or structural professional if you notice:
- Wide-spread tile loosening or hollow spots across a large area
- Significant floor deflection or visible sagging
- Recurring grout failure despite repairs
- Structural issues like joist problems or extensive water damage
Professionals can assess underlying structural causes, recommend reinforcement, and ensure proper movement joint placement and waterproofing systems are installed.
Safety and maintenance tips
- Always wear a dust mask and goggles when removing grout to minimize inhalation of silica dust.
- Ventilate closed spaces and use low-VOC products where possible.
- Follow manufacturers’ cure times before allowing heavy use of the repaired area.
- Keep a lookout for water leaks — early intervention prevents grout and substrate failure.
Further reading
For step-by-step grout repair basics and visual guides, reputable home resource pages can be very helpful; here is one useful reference: Better Homes & Gardens grout repair guide.
Frequently asked questions
Q: Can I just fill crumbled grout with silicone? Won’t that prevent cracking?
A: Silicone is great for movement joints and perimeters, but it’s not a substitute for grout in typical tile-to-tile joints. Silicone remains flexible and looks different from grout, so it’s best used where tile meets a tub, countertop, or expansion joint.
Q: Is epoxy grout the best choice if I have movement issues?
A: Epoxy is extremely durable and stain-resistant, but it’s not inherently elastic. If substrate movement is the problem, epoxy can crack unless movement joints are included. For moderate movement, flexible or urethane grouts combined with proper joint design are often better.
Q: My grout keeps failing only in a small area — do I have to redo the whole floor?
A: Not always. If the issue is localized and the rest of the tile system is sound, you can remove and replace grout and address any localized substrate problems. But if the failure spreads or tiles are loose across large areas, a more extensive repair may be required.
Q: How large should expansion joints be and how often should I place them?
A: The Tile Council of North America (TCNA) provides guidance: interior floors often require joints every 8–12 feet, and exterior or larger installations may need closer spacing. Joint size and placement depend on tile size, substrate, and environmental conditions; a professional can provide precise spacing for complex installations.
Q: How long does it take to repair crumbled grout?
A: Small repairs can often be completed in a day plus cure time. More extensive substrate repairs, tile removal, or structural fixes may take several days to weeks, depending on drying and cure times.
Quick checklist before you start
- Diagnose if movement is the cause
- Inspect tiles and substrate for hollowness or water damage
- Decide whether the fix is cosmetic (re-grout) or structural (substrate reinforcement)
- Choose appropriate grout or sealant for movement-prone locations
- Follow safety and manufacturer instructions carefully
Dealing with tile grout crumbling from movement is manageable once you understand the root causes and apply the right combination of substrate repair, movement joints, and appropriate grout products. Thoughtful installation and routine checks will keep your tiles intact and your grout looking good for years.
For ideas on creating interiors that complement durable finishes and thoughtful detail, you might like this resource on How to Design A Comfortable Modern Living Space.