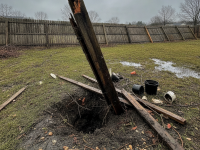
Garage wall dampness after storm events is a common and frustrating problem for homeowners. Whether you noticed dark patches, peeling paint, a musty smell, or standing water along your garage walls, acting quickly will help prevent mold, structural damage, and long-term repairs. This guide walks you through immediate actions, diagnostic steps, repair options, and smart prevention strategies so you can restore a dry, usable garage.
Why your garage walls get damp after a storm
Understanding the likely causes makes it easier to choose the right repair. Common reasons for garage wall dampness after stormy weather include:
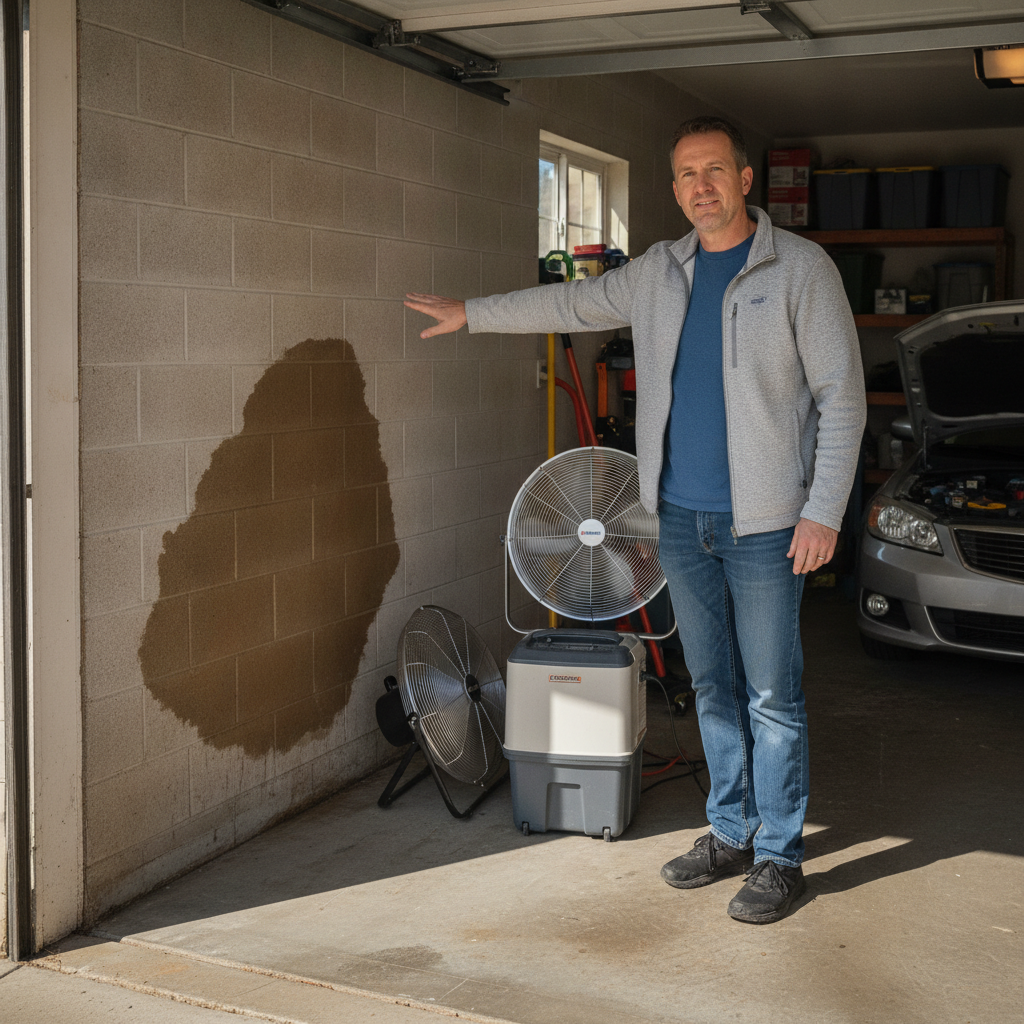
- Poor grading or landscaping: If soil slopes toward the garage foundation, rainwater will pool at the base of the walls and soak into porous materials.
- Clogged or misdirected gutters and downspouts: Overflowing gutters spill water alongside the foundation instead of channeling it away.
- Cracks in foundation walls or slab: Even hairline cracks can allow water to wick into wall cavities or concrete block cores.
- Hydrostatic pressure: Saturated soil can push groundwater through walls or slabs during heavy storms.
- Condensation and poor ventilation: Warm, humid air inside the garage cools on the walls, forming condensation that appears after the storm when outdoor humidity is high.
- Leaky overhead structures: Roof leaks, damaged flashing, or failing siding can let rainwater run down into garage walls.
First 24 hours: immediate steps to limit damage
Taking the right actions right away reduces the chance of mold growth and structural damage. Follow this prioritized checklist in the first day after you discover damp garage walls:
- Ensure safety first: If water has reached electrical outlets, switches, or appliances, shut off power to the garage at the breaker before entering. If you smell gas or suspect serious structural compromise, leave the area and call professionals.
- Remove valuables and clutter: Move boxes, tools, and stored items away from wet walls and off the floor to a dry area.
- Document the damage: Take photos and notes for your records and potential insurance claims. Date-stamped images are helpful.
- Dry the space: Open doors and windows if safe, use fans to increase airflow, and set up a dehumidifier to lower humidity quickly.
- Check for standing water: If water is pooling, remove it with a wet/dry vacuum or pump to speed drying.
- Inspect for mold: If you see fuzzy growth or smell a musty odor, isolate the area and avoid disturbing it until you know how extensive it is.
Diagnosing the source: systematic inspection
To fix garage wall dampness after storm events permanently, locate the entry point of the water. Use this step-by-step approach:
Exterior checks
- Walk the perimeter during dry weather and after rain. Watch for water flowing toward the foundation.
- Inspect gutters, downspouts, and extensions. Look for clogs, leaks, or points where water spills over.
- Examine the grade: measure the slope around the garage. Ideally, soil should slope away about 6 inches over the first 10 feet.
- Look for cracks in the foundation, concrete slab, masonry joints, and exterior wall veneers.
- Check rooflines, flashing, and siding above the garage walls for breaches.
Interior checks
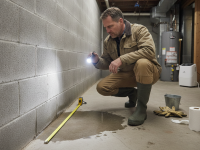
- Use a flashlight to inspect the lower 3 feet of walls for efflorescence (white powder), mold spots, or damp staining.
- Check the bottom of drywall or plaster for buckling, soft spots, or peeling paint.
- Look behind stored items and in corners for hidden wet spots or insect activity drawn to moisture.
- If you have access to tools, a moisture meter or infrared camera can reveal wet studs or insulation before visible signs appear.
Repair options—temporary fixes and long-term solutions
How you repair depends on the cause and severity. Below are practical fixes from quick temporary measures to permanent structural remedies.
Temporary repairs to reduce immediate risk
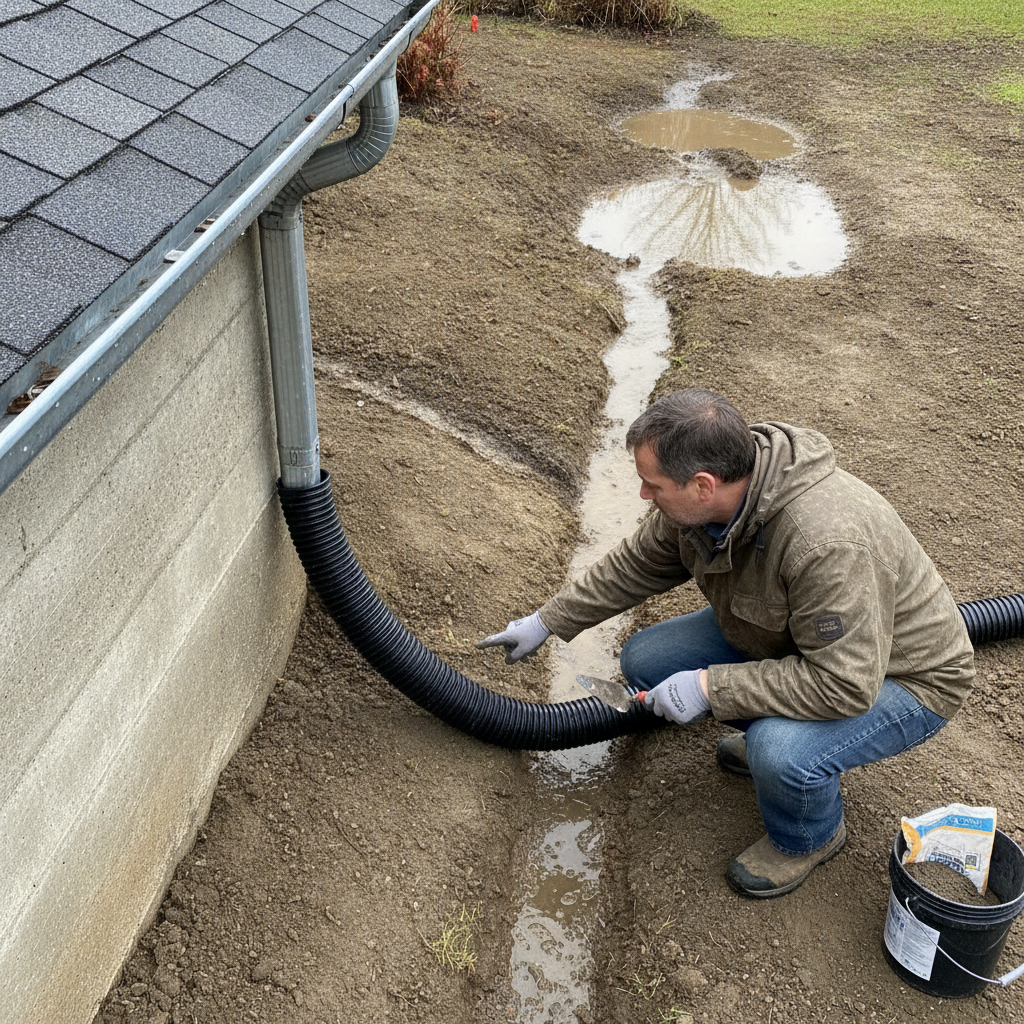
- Extend downspouts at least 4–6 feet from the foundation with PVC or corrugated extensions.
- Use sandbags or temporary grading to divert runoff away from the garage while you plan permanent work.
- Apply waterproofing patches to exterior areas where small leaks are visible (as a short-term measure).
- Run fans and a dehumidifier continuously until materials have dried to safe moisture levels.
Long-term repairs and professional solutions
- Regrade landscaping: Adjust soil levels to maintain proper slope away from the foundation. This is often the most cost-effective long-term fix.
- Install or repair gutters and downspouts: Add splash blocks or underground drain pipes that carry water away from the foundation.
- Exterior waterproofing: Excavate around the foundation to apply waterproof membranes, drainage board, or crushed stone with a perimeter drain (French drain).
- Interior waterproofing: For porous block or cracked concrete, consider applying breathable masonry sealers or installing an interior drainage system and sump pump.
- Repair foundation cracks: Epoxy injection or polyurethane foams can seal active or passive cracks; consult a foundation specialist for structural cracks.
- Improve ventilation and insulation: Add vents, a ventilation fan, or improve wall insulation with closed-cell spray foam to minimize condensation.
- Replace damaged drywall and insulation: Wet drywall and insulation should be removed and replaced to avoid mold and loss of R-value.
Mold and mildew—treatment and safety
Mold can begin to grow within 24–48 hours in damp conditions, so prompt action is crucial.
- Small areas (under 10 square feet): Clean with detergent and water, then disinfect with a diluted solution recommended for mold removal. Wear gloves, eye protection, and a proper respirator (N95 or better).
- Larger or toxic mold growth: Hire a certified mold remediation professional. Disturbing extensive mold can spread spores and worsen indoor air quality.
- Avoid using bleach on porous surfaces long-term—bleach can damage materials and doesn’t penetrate deeply into porous substrates to kill roots of mold. Use EPA-registered fungicides where appropriate or consult professionals.
Prevention: stop dampness before the next storm
Once repairs are complete, you can reduce the risk of recurring garage wall dampness after storms by implementing these preventive measures:
- Maintain gutters and downspouts—clean them at least twice a year and ensure extensions direct water away.
- Keep soil graded away from your garage; avoid piling mulch against foundation walls.
- Install a French drain if you have chronic perimeter water issues.
- Seal exterior masonry with a breathable sealer to repel water while allowing trapped moisture to escape.
- Use weatherstripping and threshold seals on garage doors to prevent surge water entry during storms.
- Install a dehumidifier or improved ventilation to control interior humidity, especially in humid climates.
- Consider a coated concrete slab or vapor barrier under new slabs to block rising moisture.
Tools & materials checklist
Here’s a practical list of tools and materials you may need for DIY drying and minor repairs:
- Wet/dry vacuum
- High-capacity fans and a dehumidifier
- Moisture meter and infrared thermometer/camera
- Caulk and exterior-grade masonry sealant
- Downspout extensions and splash blocks
- Sandbags or quick-fill drainage material
- Replacement drywall and insulation
- Protective gear: gloves, goggles, respirator (N95+)
When to call a professional
Many wet wall issues are manageable on your own, but contact specialists in these situations:
- Visible structural cracks, bowing walls, or foundation settling.
- Large or persistent mold contamination covering more than about 10 square feet.
- Recurring water entry despite repairs—this often signals a larger drainage or hydrostatic problem.
- Electrical components have been exposed to water—call a licensed electrician.
- If you’re unsure of the water source after inspection, a waterproofing contractor or structural engineer can diagnose complex issues.
Estimating costs
Costs vary widely by cause and solution. Expect the following rough ranges (U.S. averages):
- Temporary drying, fans/dehumidifier rental: $50–$300
- Minor gutter repairs and downspout extensions: $100–$600
- Foundation crack repair: $300–$2,500 depending on size and method
- Exterior waterproofing with excavation: $3,000–$10,000+
- Installing a French drain or sump pump system: $1,200–$5,000
- Mold remediation: $500 for small jobs to $6,000+ for extensive contamination
Always get multiple quotes and ask for references and warranty details before hiring contractors.
Insurance considerations
Homeowner policies typically cover sudden and accidental water damage (like a burst pipe), but flood coverage is usually separate and required for storm-driven groundwater or rising floodwaters. Document damage thoroughly, contact your insurer promptly, and retain receipts for mitigation expenses. When in doubt, review your policy and speak with your agent.
Quick troubleshooting guide
- Do you see water after every heavy rain? Check exterior grade and gutters.
- Is moisture present even on dry days? Consider high indoor humidity, poor ventilation, or capillary rise through the slab.
- Are stains at wall base and efflorescence visible? That points to groundwater intrusion or rising damp.
- Has the problem grown since the last storm? Document progression and call a pro if it’s worsening.
Resources and further reading
For additional tips on preventing water in basements and garages, including drainage and waterproofing basics, see this guide from Better Homes & Gardens for reliable homeowner-friendly advice: Better Homes & Gardens – How to Fix and Prevent Water in Basements.
Frequently asked questions (FAQs)
How long will it take for my garage walls to dry?
Drying time depends on temperature, humidity, ventilation, and the materials involved. With fans and a dehumidifier, surface drying often takes 24–72 hours; deeper wetting in studs or insulation can take a week or more. Use a moisture meter to confirm safe levels before replacing drywall or storing items back against the wall.
Can I paint over damp garage walls?
Do not paint over damp walls. Paint will trap moisture and cause blistering, mold growth, and failure of the paint system. Ensure walls are fully dry and any repairs or mold remediation are complete before painting. Use moisture-resistant primers and paint formulas designed for basements or garages when finished.
Is bleach effective for treating garage mold?
Bleach can remove surface mold on non-porous materials, but it does not penetrate porous substrates and can harm materials and indoor air quality. For porous materials like drywall or wood, replacement or professional remediation is often safer and more effective. Always follow safety guidance when handling cleaning agents.
Will a dehumidifier solve my damp garage problem?
A dehumidifier is an excellent tool to reduce indoor humidity and prevent condensation-related dampness, but it won’t stop liquid water entering through cracks, poor grading, or overflowing gutters. Use it as part of a complete strategy including exterior drainage improvements.
Does homeowner insurance cover storm-related garage dampness?
Coverage varies. Standard policies often cover sudden accidental damage but not flooding from rising water—flood insurance is typically separate. Take photos, save receipts for mitigation, and contact your insurer quickly to determine coverage.
Addressing garage wall dampness after storm events can feel daunting, but with a systematic approach—safety, drying, diagnosis, targeted repairs, and prevention—you can protect your garage and avoid repeat problems. For persistent or structural issues, getting a professional evaluation early often saves money and stress in the long run.
Explore more ideas to create a comfortable and functional home in our guide on how to design a modern living space: How to Design A Comfortable Modern Living Space.