Mold growing behind kitchen cabinets is a common but serious problem that can damage cabinets, ruin finishes, and pose health risks to your household. If you’re seeing dark spots, musty odors, or peeling veneer behind or under your cabinets, learning how to identify the cause, clean it safely, and prevent recurrence will protect both your home and your family.
Why mold grows behind kitchen cabinets
Mold thrives where moisture, warmth, and organic material meet. The area behind kitchen cabinets can provide all three:

- Hidden plumbing leaks from sinks or dishwashers.
- Condensation from poor ventilation, especially in cold climates or during winter.
- Spills or splashes that aren’t fully dried, such as behind a dishwasher or along a backsplash.
- High humidity in the home due to cooking, lack of exhaust fans, or chronic dampness.
- Porous cabinet materials (wood, particleboard, drywall) that trap moisture and provide food for mold.
Health risks and when to worry
Not all household molds are equally hazardous, but any sustained mold growth indoors can worsen allergies, asthma, and respiratory irritation. People with immune compromise, chronic lung conditions, or very young children may be more sensitive.
- Signs to act quickly: persistent musty odor, visible mold covering more than a small area (greater than 10 square feet), or repeated mold despite cleaning.
- If people in your home experience unexplained respiratory symptoms that improve when away from the house, consider professional assessment.
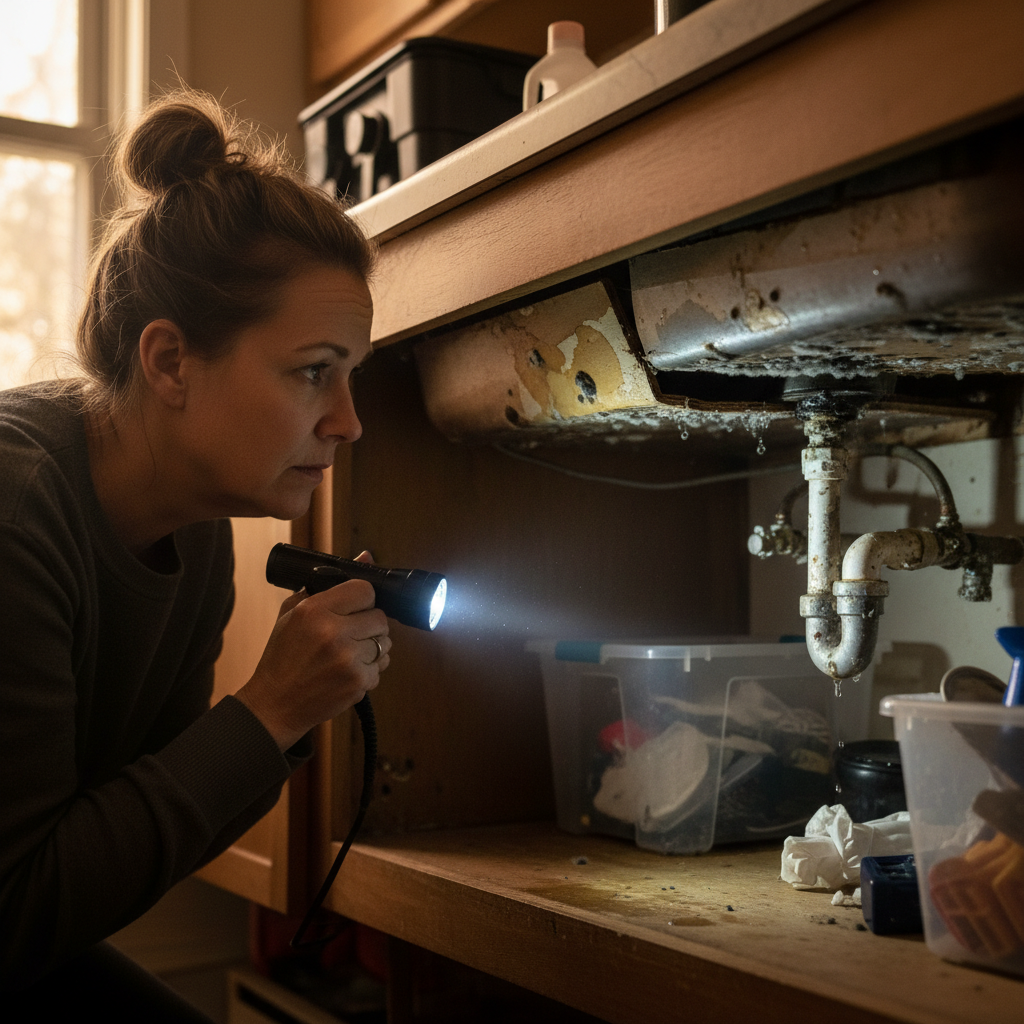
How to inspect behind kitchen cabinets
A careful inspection will help you determine the extent of the problem and the right fix.
- Remove cabinet contents, drawers, and toe-kicks to gain access.
- Look for visible mold: black, green, gray, or white fuzzy or spotty growth on wood, drywall, or tile adhesive.
- Check for moisture sources: soft or swollen wood, water stains, peeling paint, or active drips from pipes.
- Smell for mustiness—active mold often has a damp, earthy odor.
- Take photos and measure the area so you can decide between DIY cleaning and professional remediation.
Tools, safety gear, and cleaning supplies you’ll need
Safety is the first priority when dealing with mold. For small areas you can usually clean yourself, gather these items:
- Gloves (nitrile or rubber), goggles, and an N95 respirator (or higher) to avoid inhaling spores.
- Plastic sheeting and painter’s tape to isolate the work area and protect nearby surfaces.
- Soft brushes, sponges, and scrub pads; buckets for cleaning solutions.
- Cleaning solutions: household detergent, white vinegar, and a mildew cleaner labeled for use on wood/porcelain. Use bleach only on hard, non-porous surfaces and with caution—never mix bleach with ammonia or vinegar.
- HEPA vacuum for post-cleaning to remove settled spores (optional but recommended for larger jobs).
- Moisture meter (useful) to verify affected material is dry after cleaning.
Step-by-step DIY cleanup for small mold patches (under ~10 sq ft)
If the mold area is small and there is no structural damage or ongoing leak, you can often clean it safely yourself:
- Turn off power to outlets in the work area if there’s any chance of moisture contact with wiring.
- Isolate the area with plastic sheeting and open windows or run exhaust fans for ventilation.
- Don personal protective equipment: gloves, goggles, and an N95 mask.
- Remove surface mold by scrubbing with a solution of warm water and dish soap or a commercial mold cleaner. For many non-porous surfaces, white vinegar (undiluted) can help reduce growth; spray, let sit 10–15 minutes, then scrub and rinse.
- For non-porous surfaces only, a diluted bleach solution (1 cup bleach to 1 gallon water) can be used to disinfect after cleaning. Apply, let sit 10–15 minutes, then rinse thoroughly. Do not use bleach on wood or porous materials because it won’t reach mold roots and may damage the surface.
- Dry the area completely using fans, dehumidifiers, and heat if needed. Use a moisture meter to confirm dryness—mold rarely returns when moisture is controlled.
- Discard porous materials you cannot fully clean, such as water-damaged particleboard, drywall, or insulation. Bag and remove these items carefully.
- Vacuum the surrounding area with a HEPA-filter vacuum to remove any settled spores.
When to call a professional
Hire a professional mold remediation company if any of the following apply:
- Mold covers more than about 10 square feet.
- There is evidence of structural damage or deep infestation inside cabinets, walls, or floors.
- The mold returns after DIY cleaning, indicating an underlying moisture problem.
- Household members have severe allergies, asthma, weakened immune systems, or other health issues that could be aggravated.
- There is an active plumbing leak or water intrusion where repairs are needed before mold remediation.
Professionals will contain the area, remove contaminated materials, fix moisture sources in coordination with trades (plumbing, roofing), and apply appropriate antimicrobial treatments. Obtain at least two quotes and check credentials and references.
Fixing the underlying causes: plumbing, ventilation, and design
Cleaning mold is only half the job. Preventing it requires addressing moisture sources:
- Repair leaks promptly: plumbing under sinks, dishwasher supply/return lines, and refrigerator water lines are common culprits.
- Improve ventilation: install or use a range hood that vents to the exterior. Run it while cooking and for at least 15 minutes after. Ensure bathroom exhaust fans are effective and vent outdoors.
- Control humidity: keep indoor humidity between 30–50% with dehumidifiers or HVAC adjustments.
- Replace or upgrade cabinet materials: consider moisture-resistant plywood, marine-grade plywood, or solid wood fronts with proper sealants in problem areas.
- Seal gaps and seams: caulking behind sinks, along backsplashes, and where cabinets meet walls reduces the likelihood of water seeping into cavities.
Design and maintenance tips to prevent future growth
Small design changes and routine care go a long way:
- Leave a small gap between the cabinet toe-kick and the wall to allow airflow, or use vented toe-kick plates.
- Install removable back panels or access panels for easy inspection behind cabinets.
- Use moisture-resistant paints and finishes on cabinet backs and walls behind appliances.
- Check under the sink and behind appliances every few months for signs of moisture, staining, or odor.
- Wipe up spills immediately, and allow areas to dry thoroughly before replacing items.
Materials to replace vs. materials to clean
Knowing what you can save saves money, but don’t hold onto contaminated materials that can continue to grow mold:
- Replace: water-damaged particleboard, soaked drywall, insulation, or warped cabinet carcasses—porous materials where mold has penetrated deeply.
- Cleanable: sealed hardwood, tile, metal, plastic, and non-porous laminate surfaces that show only surface mold.
Cost and time expectations
Costs vary widely depending on scope:
- DIY cleanup supplies: $20–$150 for cleaners, PPE, and a small dehumidifier if you don’t have one.
- Professional remediation for a contained cabinet area: often $500–$2,000 depending on removal, repairs, and containment.
- Major remediation involving cabinetry replacement, plumbing repair, and drywall replacement can range from $2,000 to $10,000 or more.
Timeline depends on drying and repair needs. Small cleanups and drying might take 2–4 days. When structural repairs or replacement are required, plan for several days to a few weeks, depending on contractor availability and material lead times.
Recommended cleaning and safety resources
For general guidance on household mold cleaning, reputable lifestyle and home-maintenance authorities offer practical tips. For additional reading about safe cleaning techniques and when to seek help, see this guide from Better Homes & Gardens: How to Remove Mold.
FAQ — Fast answers about mold behind kitchen cabinets
Q: Is mold behind kitchen cabinets poisonous?
A: Most household molds are not “poisonous” in the immediate sense, but some species (like Stachybotrys chartarum, sometimes called “black mold”) can produce toxic compounds. More important than the species name is exposure level. Any persistent indoor mold should be removed and the moisture source fixed to reduce health risks.
Q: Can I use bleach to clean mold behind cabinets?
A: Bleach can be effective on hard, non-porous surfaces but is not recommended for wood, drywall, or other porous materials because it cannot penetrate to kill roots and may harm the surface. For many surfaces, soap and water followed by vinegar or a labeled mold cleaner is a safer approach. Always ventilate and wear PPE when using bleach.
Q: Will painting over mold stop it from coming back?
A: No. Painting over mold without removing it and addressing moisture will trap spores and allow growth to continue beneath the paint. Proper removal, drying, and repair are necessary before applying paint or sealants.
Q: How do I know if the mold has damaged the cabinets beyond repair?
A: Look for structural softening, warping, crumbling particleboard, or delamination. If the cabinet carcass is waterlogged or the wood is soft when pressed, replacement is usually the safer option.
Q: How can I prevent mold if I live in a humid climate?
A: Use air conditioning and dehumidifiers to keep indoor humidity below 50%. Ventilate when cooking, showering, or running dishwashers. Install moisture-resistant cabinet materials in vulnerable areas and inspect appliances and plumbing regularly.
Final checklist: What to do if you discover mold behind kitchen cabinets
- Document the problem (photos, notes).
- Identify and stop active leaks immediately.
- Contain and clean small areas with proper PPE, or call a pro for large or recurrent infestations.
- Dry thoroughly and verify moisture levels are back to normal.
- Replace unsalvageable porous materials.
- Implement prevention measures: improved ventilation, humidity control, and routine inspections.
Dealing with mold behind kitchen cabinets can feel overwhelming, but with the right precautions and a practical plan you can remove the immediate problem and reduce the chance it returns. If you discover extensive mold, structural damage, or persistent moisture, contact a qualified remediation professional and a plumber to address the root cause.
If you’d like guidance on rethinking your kitchen layout to improve airflow, avoid moisture traps, or choose moisture-resistant materials, explore How to Design A Comfortable Modern Living Space for practical design tips and resources: How to Design A Comfortable Modern Living Space.


