Sagging floor joists in old house are a common headache for homeowners who live in vintage or historic homes. Whether your floors feel bouncy, a doorway rubs, or you spot cracks in drywall, understanding why joists sag and what you can reasonably fix yourself will help you protect both safety and property value.
Why floor joists in old houses sag
Old houses were built to different standards and often used lumber and spans that don’t meet modern loads and expectations. A few typical causes of sagging joists include:

- Age-related wear: wood dries, settles and slowly deflects under long-term loads.
- Water damage: leaks from plumbing, roof runoff, or poor drainage cause rot and weaken joists.
- Insect damage: termites and wood-boring insects compromise structural integrity.
- Undersized or improperly spaced joists: original design may not support current uses like heavy furniture or added walls.
- Foundation settlement: a settling foundation or failing support posts transfers loads and creates sagging spans.
- Poor previous repairs or remodels: cutting notches or adding loads above without reinforcing the framing.
Signs you have sagging floor joists
Not every uneven floor is caused by joists, but these indicators commonly point to joist issues:
- Noticeable dips in walking paths or mid-span bounces when you step.
- Doors and windows that stick or don’t latch properly in nearby rooms.
- Cracks in plaster, drywall, or at trim joints—especially running horizontally or near ceiling/floor lines.
- Gaps appearing between baseboards and flooring where the floor has dropped.
- Visible rot, sag, or twisting if the subfloor or joists are exposed in a basement or crawl space.
How to inspect and diagnose the problem
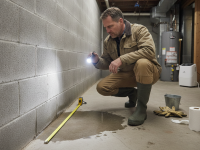
Start with a careful inspection so you know what you’re dealing with. For safety and accuracy, document findings with photos and measurements.
- Visual inspection from below (basement or crawl space): look for rot, insect holes, water stains, and sagging joists.
- From above: walk the floor and mark the lowest point; use a 6-foot straightedge or a laser level across joist-bearing points to measure deflection.
- Measure deflection: modern comfort standards often target L/360 (span length divided by 360). If the floor visibly sags more than about 1/2 inch in a typical span or feels bouncy, it’s worth professional review.
- Check for points of concentrated load: added walls, heavy cabinets, or stored items that sit over a single joist can accelerate sagging.
- Assess surrounding structure: look for foundation cracks, failing support posts, or broken beams that could be the actual cause.
When to call a structural engineer or experienced contractor
If any of the following apply, consult a structural engineer or qualified contractor before attempting repairs:
- Wide or growing cracks in walls, ceilings, or foundation.
- Multiple joists are deteriorated, split, or heavily rotted.
- Significant foundation settlement or failing support posts.
- Load-bearing beams appear compromised or improperly supported.
- You plan to change loads (add a bathroom, large cabinet, or remove support walls).
Repair options: temporary versus permanent fixes
Repairs range from simple shimming to full beam replacement. Select a method that matches the severity of the problem.
Temporary fixes (short-term)
- Shimming between a support post and beam to reduce noticeable dip — useful for small settlement but not a lasting solution.
- Adding blocking between joists to reduce bounce — helps feel but doesn’t restore a compromised joist.
- Using adjustable steel columns (jack posts) under an existing beam for extra support — can be effective but should be set on proper footing.
Permanent repairs (long-term)
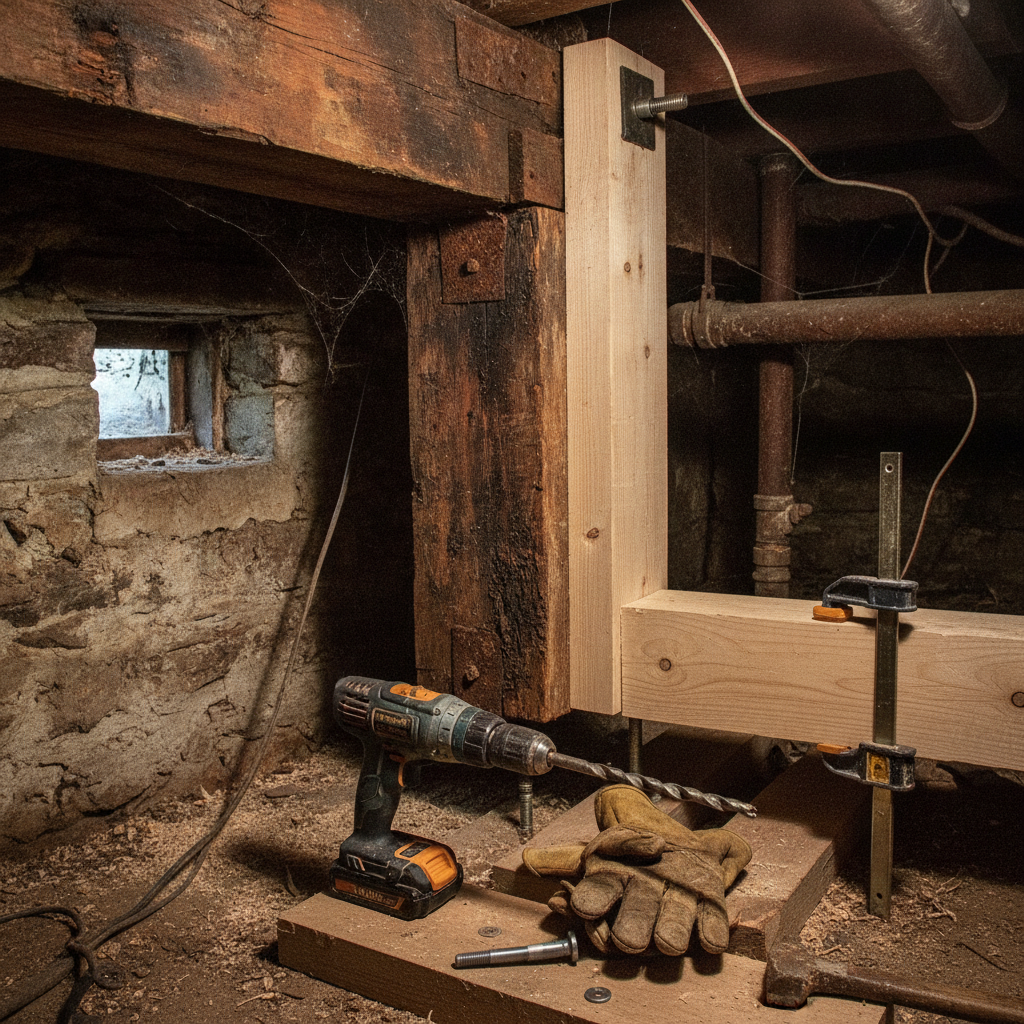
- Sistering joists: fastening a new joist alongside the existing one to restore strength. This is a common and effective repair when rot or weakness is localized.
- Installing a new beam under spans: adding a beam and posts reduces unsupported joist span and relieves the sagging members.
- Jack-and-level then install beam: use hydraulic jacks to gently lift sagging sections back to level (done slowly and monitored) then install permanent support. Always under engineer’s guidance for major lifts.
- Replacing damaged joists with engineered lumber (LVL, glulam) or larger solid timber for long spans and loads.
- Addressing foundation or sill plate issues: sometimes the real fix is stabilizing the foundation so joists sit on a secure structure.
How to sister a joist: a step-by-step overview
Sistering is often a good DIY route for homeowners with basic carpentry skills, but the work must be done correctly to be effective.
- Tools and materials: replacement joist lumber (same depth or larger), structural screws or bolts, construction adhesive, saw, drill, joist hangers (if required), protective gear.
- Step 1 — Inspect and evaluate: find the full length of the compromised joist and measure how much needs reinforcement.
- Step 2 — Prepare the area: remove flooring finish (if needed) or access from below. Clean away rot; if the joist is rotted, cut back to sound wood.
- Step 3 — Cut sister joist to full bearing length: ideally run the sister the full span from bearing point to bearing point. If full-length is impossible, overlap by a minimum of 3–4 feet past the damaged area.
- Step 4 — Apply construction adhesive to the face of the existing joist and clamp the sister in place.
- Step 5 — Fasten with structural screws or bolts every 12–16 inches along the length. Avoid only nailing; screws or through-bolts are stronger.
- Step 6 — Recheck level and deflection. Address any remaining bounce with blocking or additional sisters.
Note: sistering will not correct severe sag if the supporting beam or foundation is failing; in those cases add new support before or during sistering.
Using jacks to level a sagging floor
Hydraulic jacks are used to raise sagging beams or floors, but the process must be gradual to avoid cracking plaster or stressing other framing members:
- Place temporary plates under the jacks on solid footing (concrete pads are best for basements; for crawl spaces, create proper footings).
- Lift slowly and in small increments (1/8″–1/4″ at a time), allowing the structure to settle between lifts—rushing can damage finishes.
- Once level, install permanent supports (beam and posts) and leave jacks in place only as temporary aids.
- Because floor elevations and finishes may crack when lifted, consult a pro if plaster or historic finishes are present.
Materials and tools checklist
- Lumber (matching joist depth or engineered LVL)
- Structural screws, bolts, and washers
- Construction adhesive
- Hydraulic jack and screw jacks (for leveling)
- Joist hangers and metal connectors
- Protective gear: gloves, eye protection, dust mask
- Circular saw, drill/driver, measuring tools, level, straightedge
Estimated costs
Costs vary widely by region, access, the number of joists, and whether a beam or foundation work is needed. Use these ballpark figures as a guide:
- DIY sistering (materials only): $50–$200 per joist depending on lumber and fasteners.
- Contractor sistering: $200–$800 per joist depending on labor and access.
- Installing a new beam with posts: $1,000–$6,000+ depending on beam type and foundation work.
- Major foundation stabilization or full structural remediation: often $5,000–$30,000+.
Always get multiple estimates and, for major structural changes, a written plan from a structural engineer to inform contractors’ bids.
Preventing future sag in old houses
Repairing is only part of the solution—prevention reduces the chance of recurring problems:
- Control moisture: keep gutters clean, grade soil away from foundation, repair leaks promptly.
- Ventilate crawl spaces and consider vapor barriers or encapsulation to reduce humidity and rot.
- Limit storage of heavy items in attics or on floors not designed for high loads.
- Use dehumidifiers in damp basements and maintain plumbing to prevent leaks.
- Regular inspections: check joist ends, sill plates, and nearby foundation for early signs of trouble.
Safety and permits
Structural repairs often require permits and inspections. Before you begin:
- Check local building codes and whether the planned work requires a permit.
- Ensure temporary supports and jack placements are secure—unstable jacks can cause collapse during work.
- Turn off utilities when working near mechanical systems and call utility locators if digging footings.
Further reading and resources
For general home-repair inspiration and sensible advice about home structure and care, reputable sources like Better Homes & Gardens offer useful articles on maintaining older homes and handling floor repairs.
For complex structural issues, seek a licensed structural engineer or an experienced contractor with references working on older homes.
Frequently Asked Questions (FAQs)
Can I fix sagging joists myself?
It depends on the cause and your skill level. Small localized sag corrected by sistering and blocking can be DIY-friendly. Major sag caused by foundation settlement, rot at the sill plate, or multiple compromised joists is best handled by professionals.
How long will a joist repair last?
When done correctly—with proper materials, bearing, and moisture control—repairs like sistering or a new beam can last for decades. The longevity depends on addressing the root cause (moisture, insects, foundation) not just the symptom.
Will repairing joists fix cracks and sticking doors?
Sometimes. Lifting and stabilizing a sagging floor can reduce or eliminate cracks and misaligned doors, but some cosmetic repairs (replastering, repainting, planing doors) may still be required after structural work.
Are sagging joists covered by homeowners insurance?
It varies. Sudden damage from a covered peril (like a fallen tree) may be covered, but gradual deterioration from age, wear, or neglect often is not. Check your policy and speak with your insurer.
How do I choose between sistering and replacing a joist?
Sistering is appropriate when the existing joist is still sound over at least part of its length and the damage is localized. Full joist replacement or engineered beams are preferable when rot, insect damage, or severe bending affects most or all of the member.
Final thoughts
Living in an old house is rewarding, but it brings maintenance challenges like sagging floor joists. By inspecting regularly, addressing moisture and load issues, and choosing the right repair strategy—sistering, adding beams, or professional reinforcement—you can preserve the structure and character of your home for years to come.
If you’d like to explore design ideas and how structural changes can integrate with your living spaces, consider reading How to Design A Comfortable Modern Living Space for practical inspiration and planning tips: How to Design A Comfortable Modern Living Space.
For additional home-repair reading and inspiration from a trusted lifestyle source, see Better Homes & Gardens.
Before starting major structural work, consult a licensed structural engineer or a reputable contractor to create a repair plan tailored to your home.
👉 internal link (https://mdasid.org/) How to Design A Comfortable Modern Living Space