If you’ve noticed a ceiling sagging in one room, it’s normal to feel uneasy — a localized droop can signal anything from harmless moisture to a serious structural problem. This guide walks you through why a ceiling might sag in just one room, how to assess the risk, step-by-step temporary and permanent fixes, cost expectations, and when it’s time to call in a professional.
Why a Ceiling Can Sag in Only One Room
When a ceiling sags in one room rather than across the whole house, the issue is usually localized to factors that affect only that space. Common causes include:
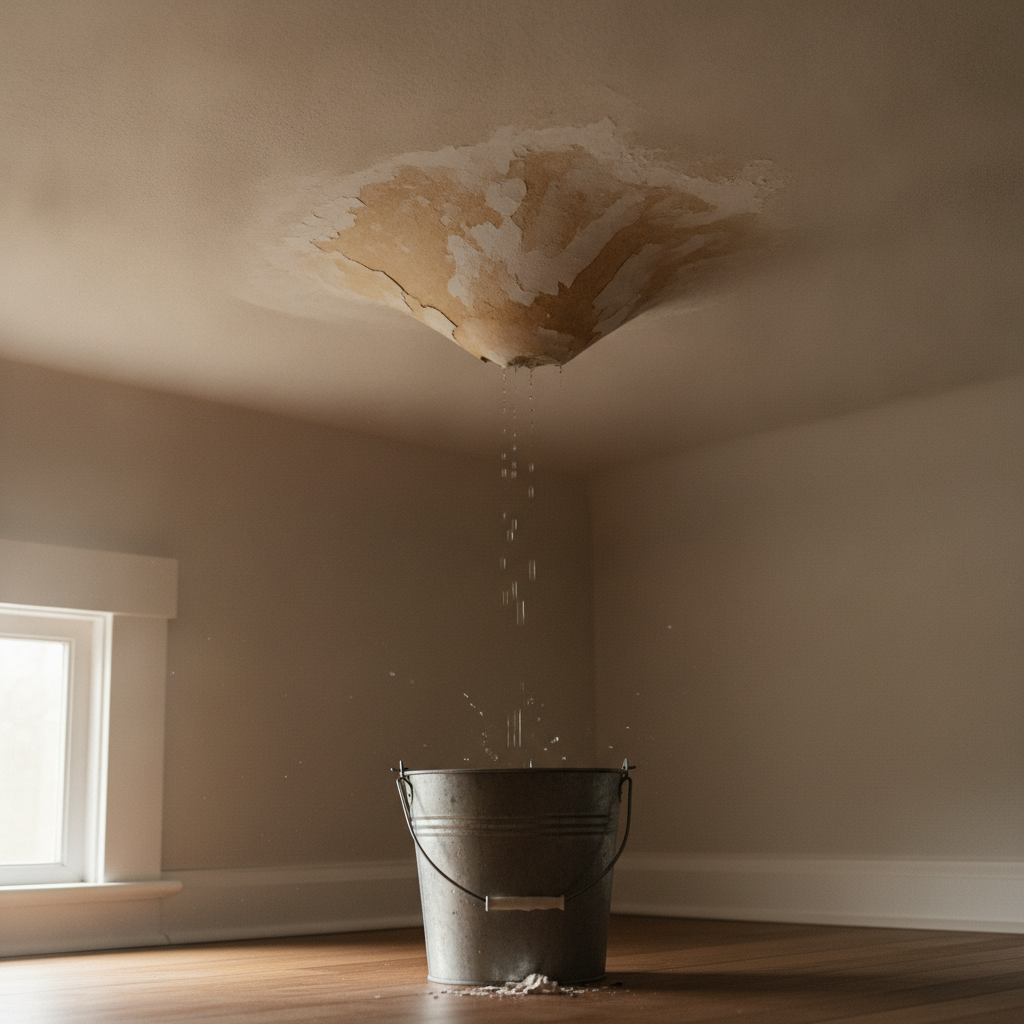
- Water damage from a roof leak, plumbing line, or HVAC condensation
- Failed drywall or plaster adhesion where the ceiling material has detached from joists or lath
- Insulation or venting problems that trap moisture and weaken the ceiling material
- Localized structural failure: damaged joists, overloaded attic storage above that room, or settlements
- Poor original installation or age-related deterioration in older plaster ceilings
Signs to Take Seriously — Safety First
Not all sagging ceilings are equally dangerous, but you should evaluate these warning signs immediately:
- Large bulge or rapid increase in size — could indicate heavy water accumulation
- Cracking along seams or paint flaking off near the sag
- Water stains, dampness, or damp smell — suggests active leak
- Visible structural cracks in adjoining walls or gaps at the ceiling line
- Ceiling feels soft to the touch or you hear creaking — possible imminent collapse
Immediate Actions to Reduce Risk
When you first notice a sagging ceiling in one room, follow these steps to protect occupants and limit damage:
- Clear the room. Remove people, pets, and valuable items beneath the sag.
- Turn off power to the room at the breaker if there’s any water involvement to avoid electrical hazards.
- If the sag is caused by a visible leak, place a bucket under the lowest point to catch water. Use a towel to contain spills.
- Support the bulge temporarily with a ceiling support pole (also called a “lally” or “prop”) or a wooden 2×4 braced from floor to ceiling — but only if you can do so safely. Avoid standing under it while installing.
- Document the damage with photos and notes for repair planning and possible insurance claims.
How to Diagnose the Cause
Accurate diagnosis helps you decide whether this is a DIY fix or a job for contractors.

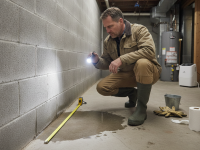
1. Inspect for water
Look for brown or yellow stains, peeling paint, or wet insulation in the attic directly above the sag. Smell for mildew. Follow plumbing lines and check roof valleys or flashing if the room is under a roof segment.
2. Check the attic or crawlspace
If you can safely access the attic above, look for:
- Wet insulation or standing water
- Damaged or split roof decking
- Rot in ceiling joists or evidence of pest activity
3. Tap and probe
Gently tap the sagging area with a broom handle (from a safe distance). A hollow/soft sound can indicate detached drywall or wet plaster. If the material feels crumbling, it may need replacement.
4. Structural cues
Large, irregular cracks that extend into walls, or sagging accompanied by sagging floors above, often point to structural issues rather than surface repairs.
DIY Fixes for a Sagging Ceiling (When Appropriate)
If the cause is minor (drywall sag from loose screws, small localized water damage that’s been fully remediated), a homeowner can often handle repairs. Here are common DIY approaches.
Tools and materials you might need
- Ceiling support prop or adjustable support post
- Drywall screws, drywall tape, joint compound
- Plywood or furring strips for added support
- Replacement drywall or plaster patch materials
- Primer and paint
- Safety gear: goggles, mask, gloves, hard hat if large sag
Step-by-step: Fixing a small drywall sag
- Ensure source of sag (e.g., water leak) has been repaired and the area is dry.
- Install temporary support props under the sag to hold it close to the joists.
- Remove any loose drywall piece and cut around the damaged area back to solid material.
- Install blocking between ceiling joists if needed, using screws through the remaining drywall into the blocking to secure new drywall edges.
- Attach a drywall patch, tape the seams, apply joint compound in thin coats, sand, prime, and repaint.
Fixing plaster ceilings
Older plaster ceilings require different treatment. Small cracks and delamination can sometimes be re-bonded with plaster adhesive (also called “plaster washers” or “rock lath”), but extensive damage usually means removing and replacing the plaster or overlaying a layer of drywall. Because of the weight and material complexity, many homeowners prefer hiring a pro for plaster ceiling repair.
When to Call a Professional
Contact a licensed contractor or structural engineer when any of the following apply:
- The sag is large or rapidly growing
- There is evidence of structural failure in joists or beams
- Water damage is extensive or mold is visible
- Ceiling is plaster and other historic materials are involved
- There are electrical fixtures or HVAC ducts near the damaged area
For suspected structural issues, a structural engineer can assess load-bearing elements and recommend repairs. A licensed contractor will handle roof or plumbing fixes and full ceiling replacement. Always request references and check reviews and insurance coverage.
Cost Estimates and What Affects Price
Costs vary widely depending on cause, materials, and labor in your area. Ballpark figures:
- Minor drywall patch (DIY): $50–$300
- Professional drywall repair (small area): $200–$800
- Replacing a whole ceiling in one room (drywall): $800–$2,500
- Plaster repair or replacement (room): $1,200–$5,000+
- Structural repairs, joist replacement, or major leak remediation: $1,000–$10,000+
Insurance may cover damage from sudden events like roof leaks if you have homeowner’s insurance. Document damage thoroughly and contact your insurer for guidance.
Preventing Future Ceiling Sagging
Long-term prevention focuses on moisture control, regular inspections, and avoiding overloading attic or ceiling spaces.
- Keep your roof in good condition: repair missing shingles, flashing, and clogged gutters promptly.
- Insulate and ventilate the attic to prevent condensation and thermal cycling that weaken materials.
- Check plumbing and HVAC lines that run above your ceilings for leaks and maintain them regularly.
- Avoid storing heavy items in the attic above a single room; distribute loads evenly across joists.
- Schedule periodic inspections, especially in older homes with plaster ceilings or known past leaks.
Documenting Damage for Insurance or Contractor Bids
When dealing with significant sagging, take clear photos and notes:
- Wide shots to show location in the home
- Close-ups of stains, cracks, and soft spots
- Photos of the attic or source area if accessible
- Dates and times you noticed the issue and any changes
- Receipts for temporary repairs or materials bought
These records make insurance claims smoother and help contractors give accurate estimates.
Resources and Further Reading
For practical tips on ceiling leak repair and moisture issues, reputable home and lifestyle sites offer clear DIY guides. For example, Better Homes & Gardens has helpful articles on diagnosing and repairing ceiling problems and preventing moisture damage.
Better Homes & Gardens — Ceiling Repair and Prevention
Common Mistakes to Avoid
- Ignoring slow leaks — small problems can lead to large sagging and mold.
- Removing damaged material without fixing the root cause (leak or structural issue).
- Using paint or quick cosmetic fixes without addressing adhesion or rot beneath.
- Attempting to work in an area with live electricity or heavy water damage without shutting power off.
FAQs
Why is only one room affected when the rest of the house is fine?
Localized issues often come from specific conditions above that room — a roof valley directly above, a plumbing line running through that section of the ceiling, or stored weight in the attic above that room. Moisture and structural problems can be highly localized depending on where leaks or failures occur.
Can I push the sag back up into place and reattach it?
Temporary prop supports can hold a sag while you secure the ceiling, but if the material is water-damaged or crumbling it will usually need replacement. Pushing it back without addressing underlying problems is only a temporary measure.
How fast can a sagging ceiling collapse?
It depends on the cause and severity. A ceiling holding a small dry bulge might stay stable for months, while one filled with water or with failing joists can collapse within hours. When in doubt, clear the area and seek professional evaluation quickly.
Is mold likely after ceiling water damage?
Mold can develop within 24–48 hours in damp conditions. If the sag was caused by a leak, check insulation and attic materials for moisture and remove or dry them promptly. Consider a mold inspection if you notice persistent odors or visible growth.
Will homeowner’s insurance cover ceiling sagging?
Coverage depends on the cause and your policy. Sudden damage from a covered peril (like a storm) is often covered, but long-term neglect or maintenance-related deterioration may be excluded. Document everything and contact your insurer as soon as possible.
Final Checklist: What to Do When You Discover a Sagging Ceiling
- Evacuate the room and protect people and valuables
- Turn off power if water is involved
- Contain any active leaks and use temporary supports
- Document the damage with photos
- Inspect attic/plumbing if safe, or call a professional for diagnosis
- Decide between DIY repair and professional help based on cause and severity
Dealing with a ceiling sagging in one room can be stressful, but timely inspection and the right action will protect your home and safety. If the problem looks more than a minor cosmetic fix, a quick assessment by a contractor or structural engineer can save money and prevent worse damage down the line.
For ideas on improving the rest of your home while you manage repairs, consider exploring How to Design A Comfortable Modern Living Space for tips on layout, materials, and comfort in everyday living: How to Design A Comfortable Modern Living Space