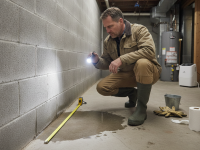
If you’ve discovered floorboards lifting after water spill, you’re not alone — a small spill can quickly turn into a frustrating problem that affects appearance, safety, and the long-term health of your floors. This guide walks you through what causes boards to lift, what to do right away, proven drying and repair techniques, when to call a professional, and how to prevent future issues.
Why floorboards lift after a water spill
Understanding why floorboards lift helps you respond properly. Most common reasons include:
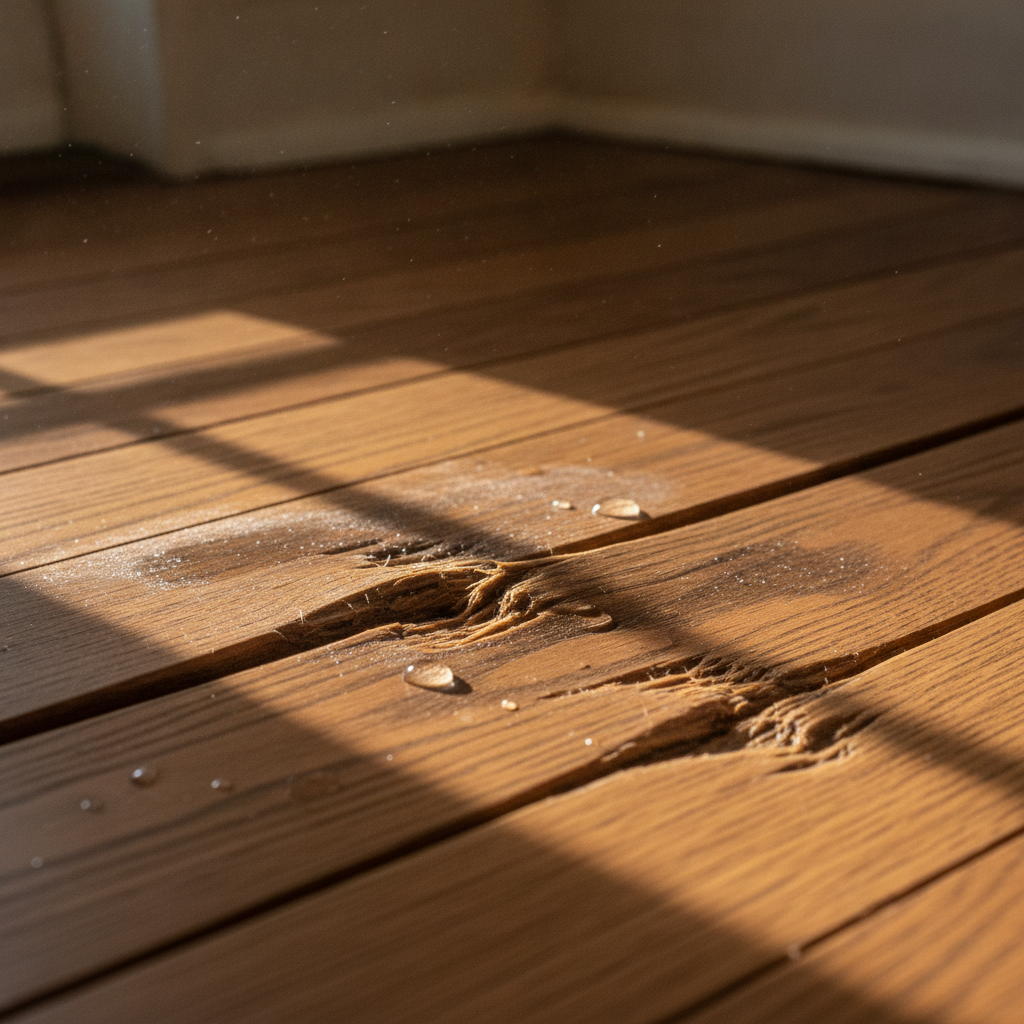
- Wood swelling: Wood absorbs moisture and expands. When boards expand unevenly they buckle or lift at the edges.
- Adhesive failure: For engineered and glued-down floors, water can weaken the adhesive, causing boards to detach and curl.
- Subfloor saturation: When the subfloor soaks up water, it can change shape or rot, pushing the finished boards up.
- Thermal and seasonal pressure: Changes in humidity after a spill can exacerbate movement, particularly in climates with wide seasonal swings.
- Existing gaps or poor installation: Floors that lacked proper expansion gaps or were installed over a damp subfloor are more likely to lift when wet.
Immediate steps to take when you notice lifted floorboards
Acting quickly minimizes damage and reduces the chance of mold or permanent deformation. Follow this immediate-response checklist:
- Stop the water source. Turn off faucets, stop leaks, and remove standing water with towels or a wet vacuum.
- Protect the area. Move furniture and rugs away from the wet zone to prevent staining or further moisture transfer.
- Ventilate and dry. Open windows and doors where appropriate and start fans to promote airflow. Place a dehumidifier in the room if available.
- Turn off electricity if water has reached outlets or appliances in the area. When in doubt, switch off the circuit at the breaker and call an electrician.
- Document the damage. Take photos for insurance claims or contractor estimates.
- Don’t remove boards immediately unless they’re obviously loose. Premature removal can allow the floor to warp further; follow drying steps first unless a professional advises otherwise.
How to dry floorboards safely and effectively
Proper drying is the most important step to prevent further lifting and mold growth. Timeframe and method depend on the type of flooring.
Short-term drying (first 24–72 hours)
- Remove standing water with a wet/dry shop vacuum or towels.
- Place several high-powered fans to direct airflow across the floor surface.
- Use a dehumidifier set to a lower humidity target (30–50%) to pull moisture from the air and materials.
- Keep the room sealed as much as possible to make drying equipment more effective.
Monitoring moisture
Use a moisture meter if you have one. Readings for hardwood should come down to manufacturer-recommended levels (often below 12%) before considering sanding, refinishing, or reinstallation. Floors may look dry on the surface while subsurface moisture remains — patience is crucial.
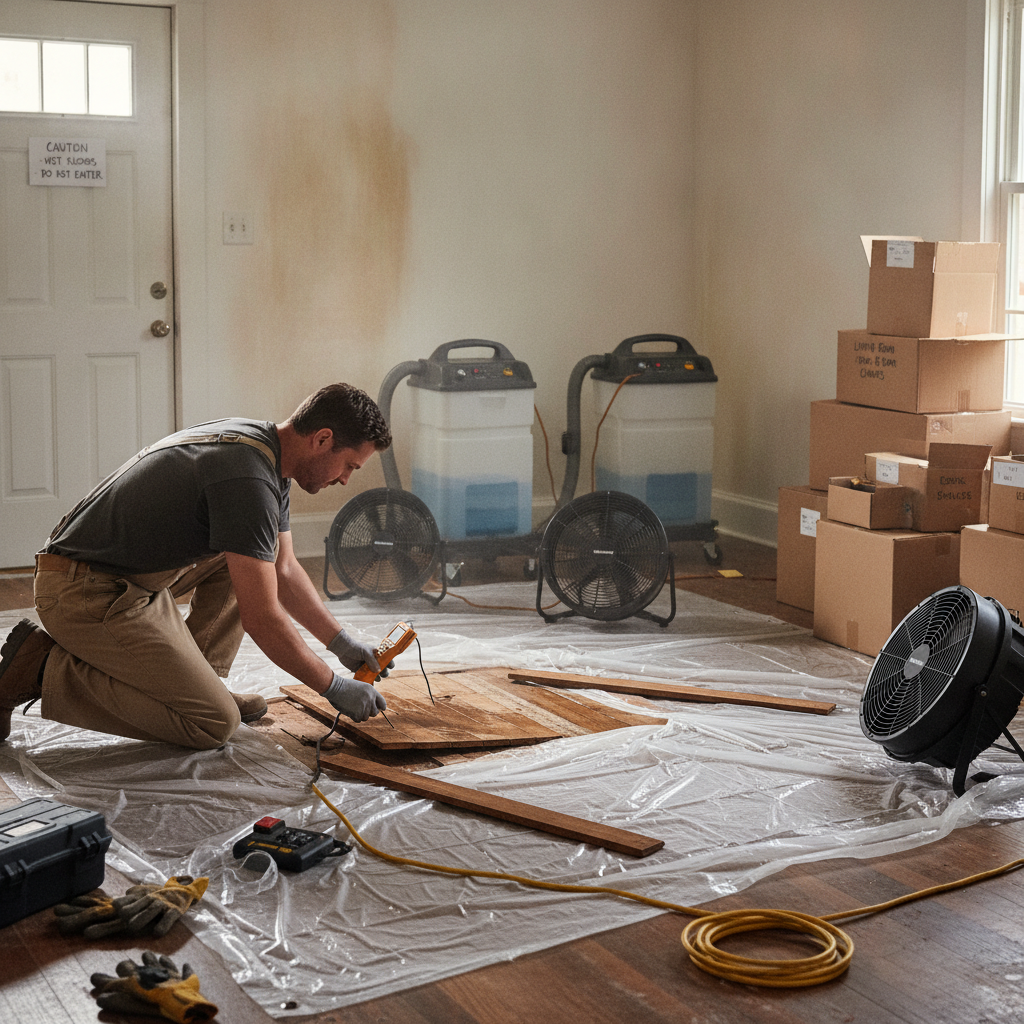
When you may need to remove boards to dry subfloor
If water seeped under the floor and the subfloor is saturated, drying from the top may not be sufficient. Signs that removal or lifting for drying is needed:
- Persistent warping after 72 hours of drying efforts.
- Musty odors indicating trapped moisture or early mold growth.
- Visible dark staining of the subfloor or discolored, soft areas when boards are lifted slightly.
Repair options for lifted floorboards
Repair depends on the flooring type (solid hardwood, engineered hardwood, laminate, or vinyl) and the extent of damage.
Minor lifting, solid wood or engineered
- If boards are slightly buckled but otherwise sound, allow complete drying first. Often boards will settle back once moisture levels stabilize.
- After drying, tighten loose boards by nailing or screwing through the tongue (if possible) or across the board into joists. Use finishing nails and countersink then fill holes with wood filler.
- Sand and refinish any surface damage once moisture content is appropriate.
Partial replacement
If individual boards are cracked, cupped, or split, replacing those boards is usually the best move:
- Remove affected boards carefully to avoid damaging neighboring planks.
- Replace with matching boards or carefully color-match new boards later with staining and finishing.
- Glue and nail or float them according to the original installation method.
Full plank or area replacement
When damage is widespread — multiple boards buckled, subfloor compromised, or mold present — you’ll likely need a larger repair:
- Remove all affected flooring and inspect/replace damaged subfloor as needed.
- Install new underlayment and flooring, maintaining proper expansion gaps and using recommended adhesives if applicable.
- Refinish to blend new sections with old floor or refinish the entire room for a uniform look.
Special considerations for laminate and vinyl floors
Laminate and some vinyl products can swell or delaminate when exposed to water. These materials often need replacement of the affected planks rather than repair:
- Laminate: Swelling and loss of tongue-and-groove integrity often require replacement of damaged planks.
- Vinyl plank: Luxury vinyl planks may recover from light spills; glued-down vinyl that loosens may require relaying or re-adhesive work.
Mold risk and health concerns
Even small water events can lead to mold growth within 24–48 hours in warm, dark, humid conditions. If you detect persistent musty odors, discoloration, or visible mold, take action:
- Increase drying efforts immediately and consider using an air scrubber or HEPA-filtered fan.
- For significant mold or if household members have allergies or respiratory issues, consult a remediation specialist.
When to call a professional
Call a flooring contractor, water remediation firm, or structural professional if you encounter any of the following:
- Large areas affected (for example, multiple rooms or an area larger than roughly 10 square feet).
- Water has soaked into the subfloor or ceiling below (on multi-level homes).
- Signs of mold or lingering musty odor after initial drying attempts.
- Warping that compromises floor stability or staircases/door thresholds are affected.
- The spill involved contaminated sources (sewer backups, floodwater), which require specialized cleaning and disinfection.
Estimated costs and timelines
Costs vary widely depending on floor type, extent of damage, and labor rates in your area. Ballpark estimates:
- Minor repairs (tightening, small board replacement): $100–$600.
- Partial room replacement or larger board replacement: $300–$1,500.
- Full sanding and refinishing of a room: $1,200–$4,000 depending on square footage and finish.
- Subfloor replacement and full relaying of floor: $1,500–$6,000+ depending on materials and structural work.
Timelines depend on drying and repair complexity:
- Drying small spills: 48–72 hours with proper equipment.
- Partial repairs and board replacement: 1–5 days, including acclimation of new wood.
- Major remediation with subfloor work and refinishing: 1–3 weeks or longer.
Prevention tips to avoid future lifting and water damage
Prevention is easier and less costly than repair. Consider these measures:
- Wipe spills immediately; even standing water from a small spill can be harmful.
- Use rugs and mats in moisture-prone areas like entryways, kitchens, and near pet water bowls.
- Maintain indoor humidity between 30% and 50% with a dehumidifier or HVAC control, especially in humid climates.
- Ensure appliances (dishwashers, refrigerators with ice makers, washing machines) are properly installed and maintained to avoid leaks.
- When installing new floors, ensure the subfloor is dry and that installers leave correct expansion gaps and use recommended adhesives under manufacturer guidelines.
- Seal hardwood floors periodically with finish appropriate for your floor type to add a moisture-resistant layer.
DIY repair vs. professional service: how to decide
Use these quick rules of thumb:
- Tackle DIY if damage is isolated to a few boards, the subfloor is intact, and you have basic tools and skills.
- Hire a pro for structural concerns, suspected mold, large areas, or if you’re uncomfortable removing/replacing boards.
Tools and materials commonly used for repairs
- Wet/dry vacuum, fans, dehumidifier, moisture meter
- Pry bar, hammer, finishing nails, floor nailer
- Wood glue, wood filler, stain, polyurethane finish
- Replacement planks that match species, grade, and thickness
- Safety gear: gloves, masks (N95 for dust/mold), eye protection
Reliable resources and further reading
For practical guidance on cleaning up water damage and protecting floors, consult trusted home authorities. A useful resource with tips and step-by-step ideas is Better Homes & Gardens: Better Homes & Gardens — water damaged hardwood floor guidance.
Frequently asked questions
Will wood floorboards return to normal after they dry?
Sometimes. If the boards only absorbed surface moisture and swelling was minor, they may settle back once thoroughly dried. However, if the grain has been permanently distorted, boards can remain warped and will need repair or replacement.
How long should I dry my floors before sanding or refinishing?
Wait until moisture readings return to manufacturer-recommended levels (often below 12% for hardwood). This may take several days to a few weeks depending on the depth of moisture and drying equipment used.
Can I prevent lifting by just increasing heat in the room?
No. Heat without dehumidification can worsen problems by trapping moisture or causing uneven drying that cracks finishes. Use ventilation, fans, and a dehumidifier for controlled drying.
Is water-damaged flooring covered by homeowners insurance?
It depends on the type of damage and your policy. Sudden accidental discharge (like a burst pipe) may be covered, while gradual damage from lack of maintenance or flooding typically isn’t. Document damage and contact your insurer promptly.
When is mold testing necessary?
If you see visible mold, smell a persistent musty odor after drying, or household members are experiencing unexplained allergy or respiratory symptoms, professional mold assessment is recommended.
Final checklist: what to do if you find floorboards lifting after water spill
- Stop the water and remove standing liquid.
- Ventilate, run fans, and deploy a dehumidifier immediately.
- Document the damage for insurance or contractor consultations.
- Monitor moisture readings and wait to see if boards settle as they dry.
- Contact professionals for extensive damage, visible mold, or subfloor issues.
- Plan repairs: tighten, replace boards, or refinish as needed after full drying.
Addressing floorboards lifting after water spill is a mix of quick action and patient drying. In many cases, thorough drying and minor repairs restore the floor; in others, timely intervention from experienced contractors prevents long-term structural and health problems. If you’re unsure about the extent of the damage, seek a professional assessment to protect your home’s value and safety.
For more ideas on improving home comfort, consider exploring guidance on designing a relaxing living space at How to Design A Comfortable Modern Living Space.
(Note: For further reading on home design tips and comfortable living spaces, you might find this helpful: How to Design A Comfortable Modern Living Space — https://mdasid.org/)