Floorboards lifting after water spill is a stressful problem for homeowners, but quick, informed action can often limit damage and restore your floors. This guide explains what causes lifting (buckling and cupping), how to assess the severity, step-by-step drying and repair techniques, when to call a professional, and practical prevention tips to protect your investment.
Why floorboards lift after a water spill
Wood is hygroscopic — it absorbs and releases moisture from the environment. When floorboards are exposed to a sudden wetting (a spill, leak, or flood), moisture causes the wood fibers to swell. Depending on how the boards were installed, the subfloor material, and how long the boards stayed wet, this swelling can show up as:
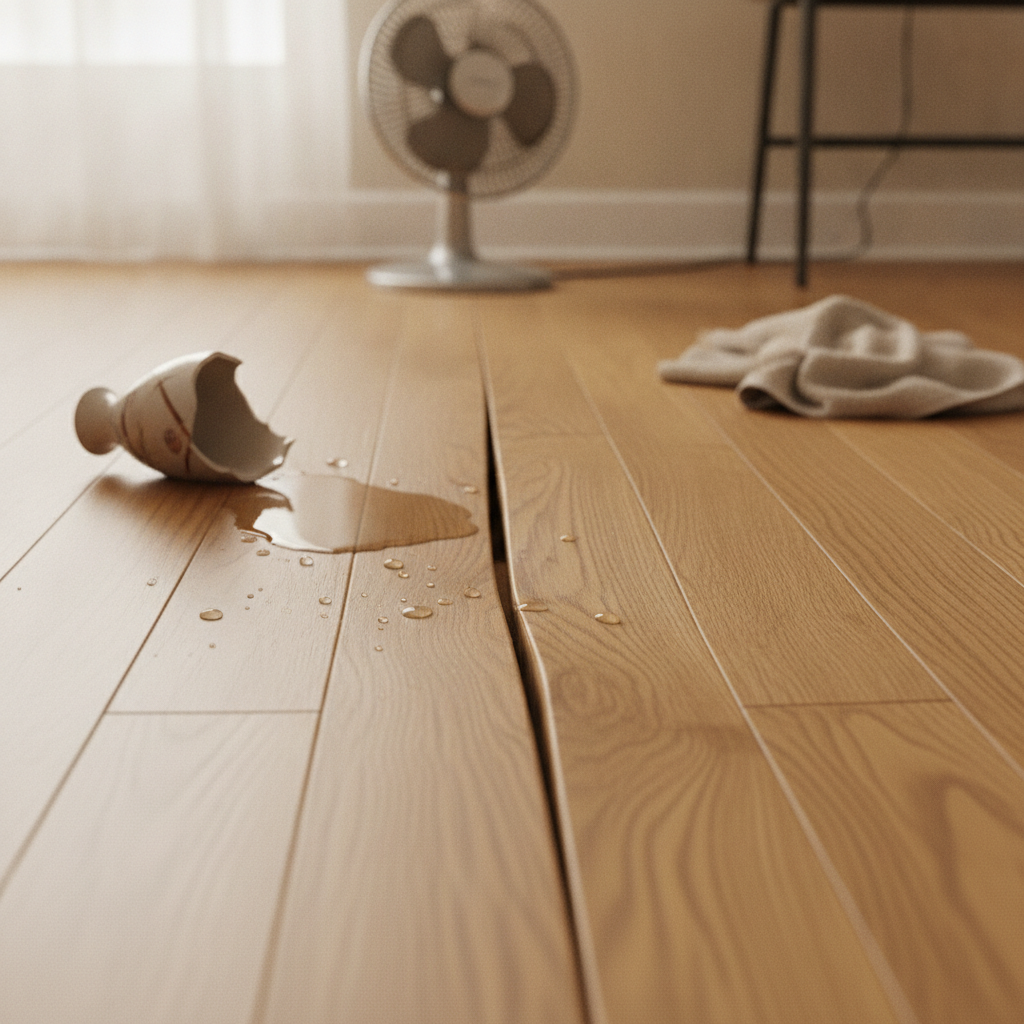
- Buckling (boards lifting up off the subfloor and forming waves)
- Cupping (edges higher than the center)
- Crowning (center higher than edges after drying)
- Separation or gaps between boards
Knowing the difference between these conditions helps determine the right remedial approach.
Immediate steps to take after a water spill
Act fast. The first hours and days after a spill determine how severe the damage will be.
- Remove standing water right away using towels, a wet/dry vacuum, or mops.
- Turn off power to affected rooms if water reached outlets or appliances (safety first).
- Move furniture and rugs away from the wet area so the floor can be assessed and dried.
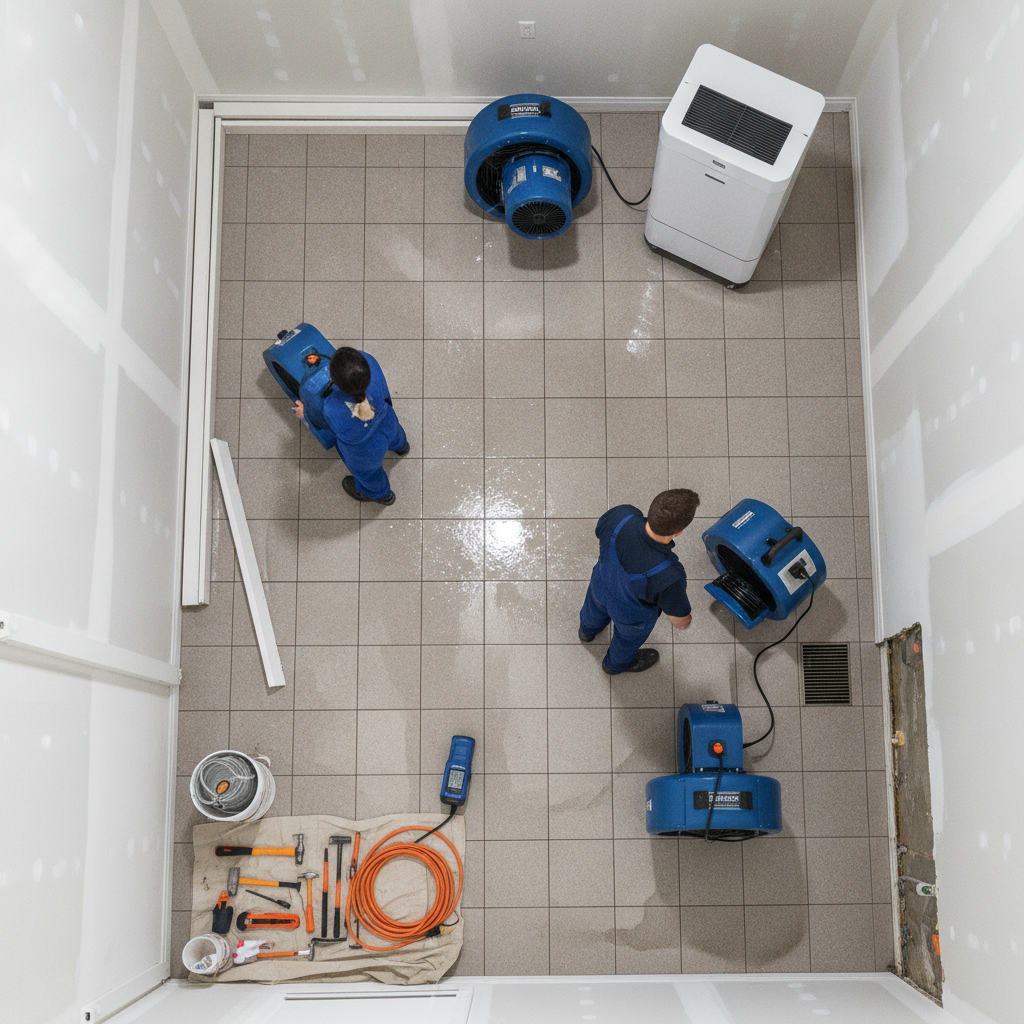
- Open windows and doors to encourage airflow; run fans and a dehumidifier to reduce humidity.
- Document damage with photos for insurance (if relevant).
How to assess the damage: quick checks
Before you begin repairs, determine how deep and extensive the problem is.
- Surface water only: dry surface quickly and monitor. Minor cupping might reverse as boards dry.
- Persistent moisture or wet subfloor: likely deeper damage — you may see gaps, discoloration, or smell mustiness.
- Large area buckling: usually indicates that boards absorbed significant water and may need partial or full replacement.
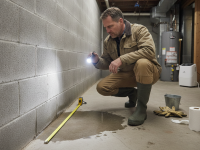
- Use a moisture meter if you have one: check both floorboards and subfloor. Normal wood moisture content for installed hardwood is about 6–9% in many climates; anything above ~12–15% after several days of drying suggests problems.
Drying techniques to try at home
Drying is the priority. Proper drying reduces risk of mold and gives you better information about whether boards can recover.
Tools and supplies
- Wet/dry vacuum
- High-powered fans (axial or box fans)
- Dehumidifier (ideally a continuous-run desiccant or refrigerant model)
- Moisture meter (pin-type or pinless)
- Clean towels and mops
Step-by-step drying process
- Remove visible water immediately with a wet/dry vacuum and towels.
- Set up fans to move air across the floor; place dehumidifier in the room to extract moisture from the air.
- Keep HVAC running to circulate conditioned air (if safe to do so).
- Check moisture levels daily with a moisture meter. Continue drying until readings fall consistently toward normal range for your region and floor type.
- If water seeped into seams or under the floor, lift a small section (if you’re comfortable) to allow air circulation; otherwise, consult a professional restoration contractor.
Repair options based on severity
Once the floor is dry, damage will be clearer. Here are common repair paths:
Minor cupping or separation
- If boards are slightly cupped but structurally sound, they may flatten as moisture equalizes. Keep drying and monitor for weeks.
- Light sanding and refinishing can correct surface irregularities after the boards have fully dried and stabilized.
Moderate damage: loose or slightly lifted boards
- Glue-down boards: re-adhere loose boards using construction adhesive and weights until set.
- Nail-down boards: remove fasteners and re-secure, or replace any badly swollen boards with new ones that match.
Severe buckling or warping
- If boards have buckled significantly or broken, they usually need replacement. Replace affected boards and inspect the subfloor for staining, rot, or mold.
- In cases where the entire floor has been soaked, partial replacement may leave visual mismatches — full refinish or replacement may be necessary.
Step-by-step: replacing a damaged board
For nail-down or click-lock floors, a homeowner can sometimes replace a damaged plank. General steps:
- Locate and remove surrounding trim or baseboards to access edges.
- Cut out the damaged board carefully using a circular saw set to the board’s thickness, then pry out the pieces with a chisel.
- Prepare a new plank trimmed to size; glue or nail it into place depending on your floor system.
- Sand and finish to match surrounding floor if needed.
If you’re unsure about matching materials or maintaining structural integrity, hire a flooring professional.
When to call a professional restoration company
Call a pro if any of the following apply:
- Water affected a large area (multiple rooms or entire floor)
- Standing water for several hours or days
- The subfloor is saturated or shows signs of rot or mold
- Electrical systems were exposed to water
- You detect a persistent musty odor or see visible mold growth
Professionals use industrial dehumidifiers, air movers, infrared cameras, and moisture mapping to thoroughly dry the structure and prevent long-term issues. They can also advise on insurance claims and structural repairs.
Costs and timeline
Costs depend on the scale and method of repair:
- DIY drying: low cost (fans, dehumidifier rental) — $50–$500.
- Minor repairs and sanding: $200–$1,000 depending on materials and labor.
- Board replacement (per plank) or patch repairs: $50–$300 per plank depending on wood species and installation complexity.
- Professional water restoration for significant damage: $1,000–$10,000+ depending on area, extent, mold remediation, and structural repairs.
Drying timeline varies: small spills may dry in 1–3 days; soaked subfloors or large areas may require several days to a few weeks of drying with professional equipment.
Preventing floorboard lifting after spills
Prevention reduces the chance of future issues:
- Wipe up spills immediately and keep a wet/dry vacuum handy for accidental flooding.
- Install water sensors near appliances, dishwashers, and plumbing fixtures that can leak.
- Use area rugs in high-traffic or spill-prone spots but lift them often so moisture doesn’t trap under the rug.
- Maintain indoor humidity levels around 30–50% with a humidifier or dehumidifier as appropriate for your climate.
- Ensure proper installation of floors with recommended expansion gaps and vapor barriers for your climate and subfloor type.
- Regularly inspect and maintain plumbing, appliances, and seals around sinks, tubs, and toilets.
Insurance and water damage coverage
Standard homeowners insurance often covers sudden, accidental water damage (like a burst pipe) but usually excludes gradual leaks or neglect. Document damage promptly and contact your insurer early. Restoration contractors can often provide the drying logs and damage reports insurance companies require. For more homeowner-focused tips on dealing with water-related home damage and choosing the right repairs, resources such as HGTV provide practical guidance and checklists for homeowners.
Helpful reading: HGTV — Home repair and water damage resources
Common mistakes to avoid
- Waiting too long to dry the floor — increases mold and rot risk.
- Using heat guns or space heaters to force-dry wood — can cause cracking or additional warping.
- Painting or refinishing before moisture levels have stabilized — finish may fail later.
- Assuming surface dryness equals full dryness — wood and subfloor layers can retain moisture longer.
Signs mold might be growing under floorboards
Mold thrives in warm, damp conditions and can develop within 24–48 hours under the right circumstances. Watch for:
- Musty or mildew-like odors
- Dark spots appearing on subfloor or under lifted boards
- Allergy-like symptoms worsening when in the home
If you suspect mold, stop DIY sanding or sweeping that could release spores and consult a remediation specialist.
Long-term care for wood floors after repair
After repairs or replacement, maintain your floors to extend their life:
- Refinish periodically according to manufacturer recommendations (solid hardwood often every 7–10 years depending on wear).
- Use felt pads on furniture legs and lift rather than drag heavy pieces.
- Keep indoor humidity stable to minimize seasonal expansion and contraction.
- Address small leaks and spills immediately.
FAQs
Can wet floorboards snap back into place once they dry?
Sometimes. Light cupping or minor swelling can reverse as moisture returns to equilibrium. Buckling or severe lifting usually indicates permanent deformation, and those boards often need repair or replacement.
How long should I dry the floor before repairing?
Drying should continue until moisture readings are stable and near normal for your region and flooring type — often several days to a few weeks. Never sand or refinish until moisture content is acceptable.
Is it safe to live in the house while drying occurs?
In many cases yes, if there is no structural danger or significant mold. However, if mold is present, or if electrical systems were compromised, you should consult professionals and follow safety guidance.
Will my warranty or insurance cover floor replacement?
Warranties vary by manufacturer and generally exclude moisture damage from negligence. Homeowner insurance may cover sudden disasters, but not long-term leaks from neglected maintenance. Document everything and contact your insurer promptly.
Can I prevent future lifting with better installation?
Yes. Correct installation — including the proper moisture barrier, expansion gaps, and secure fastening — reduces the likelihood of lifting after a spill. Choose flooring systems suited to the room’s moisture exposure (e.g., engineered hardwood in damp areas).
Final checklist after a water spill
- Remove standing water immediately.
- Start drying with fans and a dehumidifier.
- Document damage for insurance.
- Monitor moisture levels and odor for mold.
- Decide on DIY repair, partial replacement, or professional restoration based on damage.
- Fix underlying cause and add preventive measures to avoid recurrence.
Floorboards lifting after water spill is a problem that rewards fast, sensible action. With proper drying, accurate assessment, and the right repairs, many homes recover fully. If damage is extensive or you detect mold, bring in experienced professionals to ensure a safe, long-lasting repair.
Explore more ideas about creating comfortable, resilient homes and consider consulting for tailored advice here: How to Design A Comfortable Modern Living Space