If you’ve noticed floorboards lifting after water spill, act quickly — the sooner you respond, the better your chance of saving flooring and avoiding costly repairs. This guide explains why wooden floors lift when exposed to water, what immediate steps to take, how to dry and assess damage, repair options (DIY and professional), cost expectations, and prevention strategies to protect your floors in the future.
Why floorboards lift after water spill
Wood is hygroscopic, meaning it absorbs and releases moisture based on its environment. When floorboards get wet from a spill, leak, or flood, the wood fibers swell. Uneven swelling across the thickness or along the board length creates pressure that can cause cupping, crowning, or outright lifting (buckling) of boards. Other contributors include:
- Prolonged exposure to standing water
- Poor subfloor ventilation or trapped moisture under the boards
- Insufficient acclimation of the wood at installation (boards installed too tight)
- High indoor humidity following the spill
- Weak or damaged adhesives on engineered floors
Immediate actions after a water spill
Acting fast helps minimize swelling and long-term damage. Follow these practical steps right away:
- Stop the source. Turn off water at the supply if the spill comes from a leak or appliance.
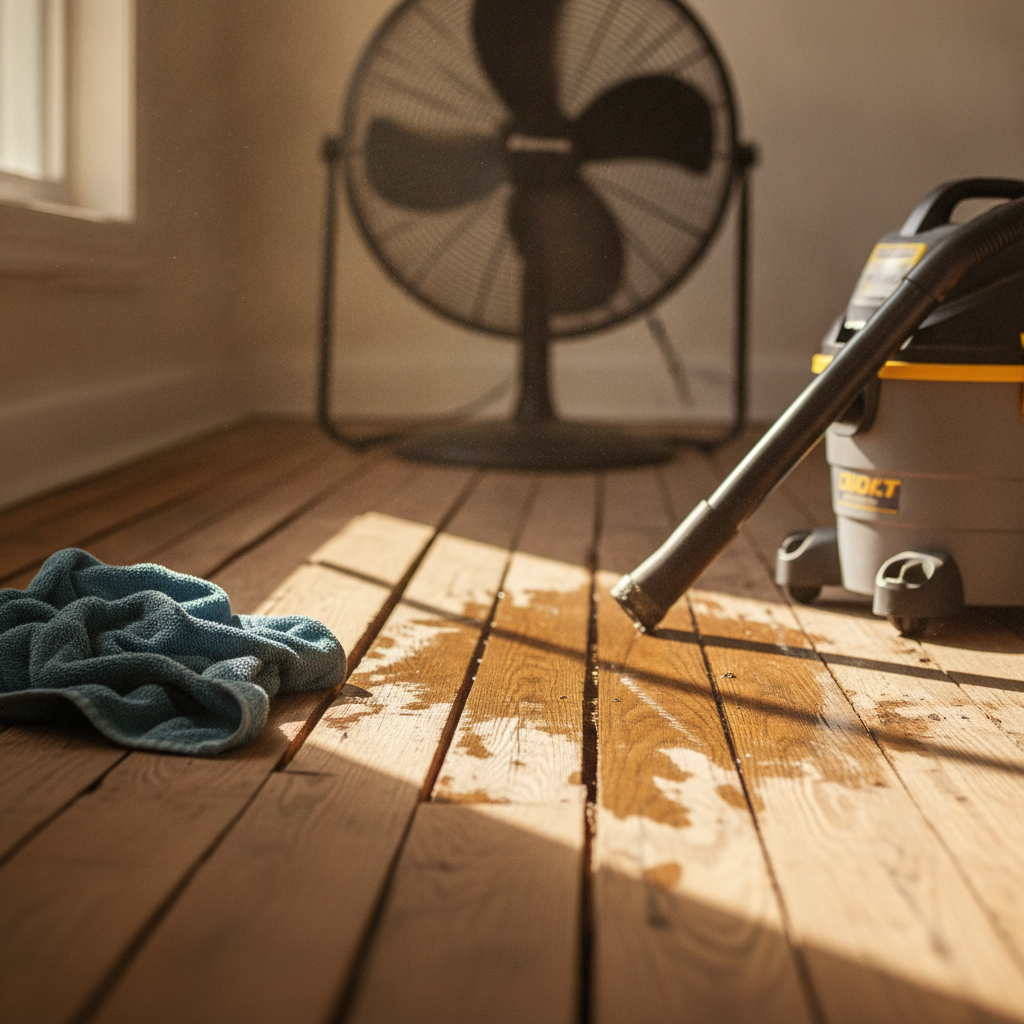
- Remove standing water. Use towels, a wet/dry vacuum, or mop to remove as much water as possible within the first hour.
- Clear the area. Move furniture, rugs, and other items off the wet zone to prevent staining, warping, and mold growth.
- Increase air circulation. Open windows and doors if outdoor humidity is lower; run fans to promote evaporation.
- Use a dehumidifier. A dehumidifier speeds moisture removal from the air and from porous materials like wood.
- Temperature control. Maintain moderate indoor temperature—don’t blast with high heat, which can crack or further stress wood.
How to dry floorboards properly
Drying needs to be controlled to prevent further damage. Rapid heating or uneven drying can cause splitting or further warping. Use a combination of these methods:
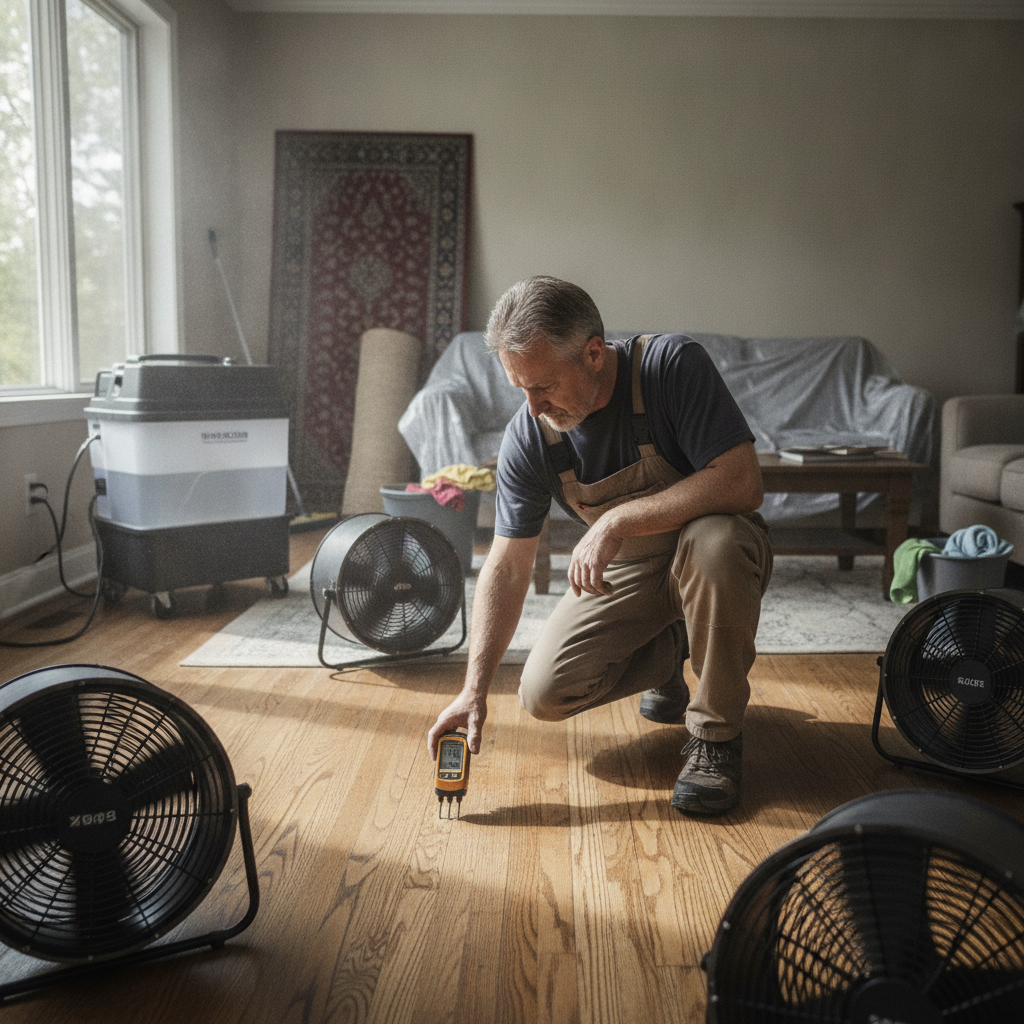
- Fans positioned to move air across the surface, not directly at a single seam.
- Dehumidifiers to lower ambient humidity to 40–60%.
- Wet/dry vacuum suction for puddles in seams or along edges.
- Moisture meters to monitor percent moisture content in the wood (important for hardwood).
- Remove baseboards in severe cases to allow trapped moisture under the edges to escape.
Depending on the severity and humidity, drying can take 24 hours to several weeks. Keep monitoring and be patient—immediate cosmetic concerns may settle as moisture equilibrates.
Signs the damage is minor (possible DIY fix)
Minor cases may resolve after drying or need small repairs:
- Slight cupping (edges higher than centers) that reduces after drying.
- Small gaps appear as boards shrink—normal seasonal movement once moisture is back to recommended levels.
- Boards that are slightly raised but still attached and not splitting.
For these, follow drying steps, clean and let the boards acclimate for a week or more, then sand and refinish if the appearance remains uneven.
When lifting indicates serious problems
Some signs point to more extensive damage that requires repair or replacement:
- Boards buckling upward with clear gaps underneath (buckling where boards lift off the subfloor).
- Persistent cupping or crowning after thorough drying.
- Boards splitting or showing discoloration and mold/mildew.
- Engineered boards delaminating (top veneer separating from substrate).
- Subfloor damage or plywood swelling under the finish floor.
These conditions often require removing affected boards, drying and possibly replacing the subfloor, and reinstalling or replacing flooring sections.
Repair options: DIY vs professional
Choose repair method based on the severity and your comfort with home repairs.
DIY fixes for minor problems
- Allow full drying with fans and dehumidifiers.
- Use a moisture meter to confirm moisture content returns to normal (hardwood typically 6–9% depending on region).
- Sand cupped boards flat, then recoat with finish. For small gaps, rope fill or wood filler can help.
- Fasten slightly loose boards with finishing nails driven into the tongue at an angle or through the face if the board will be sanded later.
- If one board is irreparably warped, remove it and replace with a matching board.
Professional repairs for major damage
- Complete board replacement and color-matching by a flooring specialist.
- Subfloor repair or replacement when plywood or OSB is swollen or moldy.
- Structural drying for deep water intrusion, including floor cavity drying systems.
- Refinishing large areas after replacement to ensure color uniformity.
Hiring a pro is often faster and more reliable for large-scale or hidden damage. Experts can also detect mold and structural issues that DIYers might miss.
Replacement thresholds: when to replace entire floors
Consider replacing the entire floor if:
- More than 20–30% of boards are buckled, cupped, or delaminated.
- Subfloor is extensively damaged or mold-infested.
- Engineered floor veneers have delaminated across multiple boards.
- Multiple repairs would create inconsistent appearance or structural weakness.
Partial replacement can work in small damaged zones, but wide-area damage usually calls for a full replacement to restore uniformity and performance.
Typical repair and replacement costs
Costs vary by material, labor, region, and damage severity. Typical ballpark figures:
- Minor repair (sanding, small board replace): $150–$700
- Moderate repair (several boards, localized subfloor repair): $700–$2,500
- Full floor replacement (materials + labor): $3,000–$12,000+ depending on flooring type and area
Get multiple estimates from reputable flooring contractors and request itemized quotes so you can compare subfloor repair, labor, and finishing costs separately.
Prevention: how to stop floorboards lifting after future spills
Prevention reduces the chance of recurring problems:
- Wipe up spills immediately and avoid letting liquids pool.
- Install catch pans under appliances (dishwashers, refrigerators, washing machines).
- Use water alarms around appliances and in basements.
- Seal perimeter gaps and apply appropriate finishes that add a moisture barrier.
- Ventilate well—use exhaust fans in bathrooms and kitchens and run dehumidifiers in damp basements.
- Choose water-resistant flooring in moisture-prone areas (vinyl plank, tile, or waterproof engineered wood).
Maintenance tips to protect wooden floors
- Keep indoor humidity between 35% and 55% year-round if possible.
- Use area rugs near sinks and entrances to catch water and grit; ensure rugs are breathable and removed occasionally to prevent trapped moisture.
- Inspect under sinks and appliances regularly for leaks.
- Refinish hardwoods on schedule to maintain the protective topcoat.
Tools and materials commonly needed for repairs
- Wet/dry vacuum
- Fans and dehumidifier
- Moisture meter (wood and ambient)
- Pry bar, circular saw, or oscillating tool for board removal
- Replacement boards and matching finish
- Flooring adhesive or nails/cleats depending on installation type
- Sander and finish supplies for refinishing
When to involve your insurance
Water damage from sudden, accidental causes (burst pipes, appliance failure) may be covered by homeowner’s insurance. Document the damage with photos and keep receipts for mitigation and repairs. Contact your insurer early to check coverage and follow their preferred vendor recommendations if required by policy.
Further reading and reputable resources
For practical, step-by-step advice about water-damaged floors and drying techniques, this guide from Better Homes & Gardens offers reliable tips you can reference: How to Fix Water-Damaged Hardwood Floors (Better Homes & Gardens).
Frequently asked questions (FAQs)
Q: Can wet floorboards return to normal after drying?
A: Sometimes. If the wood swelled slightly and the subfloor and fastenings are intact, boards may return close to their original shape after thorough drying. However, severe swelling, buckling, or delamination often requires board replacement.
Q: How long should I dry my floors before deciding on repairs?
A: Drying time depends on humidity and amount of water exposure. Allow at least 48–72 hours of active drying for minor spills; serious water exposure could take weeks. Use a moisture meter to confirm the wood has returned to acceptable moisture levels before sanding or refinishing.
Q: Will sanding fix warped boards?
A: Sanding can correct crowning (center higher than edges) but not cupping (edges higher than center) until the board dries and the cup relaxes. Sanding a still-wet or high-moisture board can cause more problems, so verify moisture content first.
Q: Is engineered wood resistant to lifting after water spills?
A: Engineered wood is more dimensionally stable than solid hardwood due to its cross-layered plywood core, but it is not waterproof. Prolonged exposure or veneer delamination can still cause lifting. Prompt drying is essential.
Q: Can I prevent lifting by sealing the floor?
A: A good finish provides a moisture-resistant surface but not a waterproof barrier. Sealing helps reduce liquid penetration but won’t prevent damage from standing water or leaks. For high-risk areas, consider waterproof flooring options.
Summary: a clear plan when floorboards lift after water spill
When floorboards lift after water spill, act quickly: stop the water, remove standing liquid, increase airflow, and use a dehumidifier. Monitor moisture levels and assess the type of damage—some problems resolve after drying, while severe buckling or delamination often requires board replacement or professional repair. Prevent future issues with good maintenance, quick spill response, and appropriate floor materials for moisture-prone areas.
If you’re unsure whether a problem is repairable or needs a pro, document the damage, monitor drying progress, and consult a flooring specialist who can evaluate subfloor condition and structural concerns.
For more ideas on designing comfortable, resilient interiors and selecting materials that work for busy households, explore this resource: How to Design A Comfortable Modern Living Space


