If your floorboards lifting after water spill, you’re likely feeling frazzled—and rightly so. Water is one of the quickest ways to damage hardwood and engineered floors, causing boards to cup, buckle, or separate at the seams. This guide walks you through immediate steps to minimize damage, how to dry and assess affected boards, repair and replacement options, timelines and costs, and smart prevention to reduce future risks.
Why floorboards lift after a water spill
Wood is hygroscopic: it absorbs and releases moisture from the environment. When a spill soaks into the boards or subfloor, the fibers swell. If one side of the board swells more than the other, the board can warp, cup, or lift. Key factors that determine the severity of lifting include:
- Type of flooring: solid hardwood, engineered wood, laminate, or vinyl each reacts differently.
- Amount and duration of water exposure: a quick wipe-up often prevents damage; prolonged exposure almost always causes problems.
- Subfloor condition: saturated subfloors can keep releasing moisture into the boards.
- Room humidity and temperature during and after the spill.
Signs the spill caused lasting damage
After a spill, inspect the floor carefully. Early detection improves your chance of salvaging boards.
- Visible cupping (edges of boards higher than center) or convex shaping.
- Buckling: boards lifting from the subfloor or separating at joints.
- Gaps or raised seams between boards.
- Discoloration, dark stains, or a musty smell indicating deeper saturation or mold growth.
- Soft or spongy areas underfoot—possible compromised subfloor.
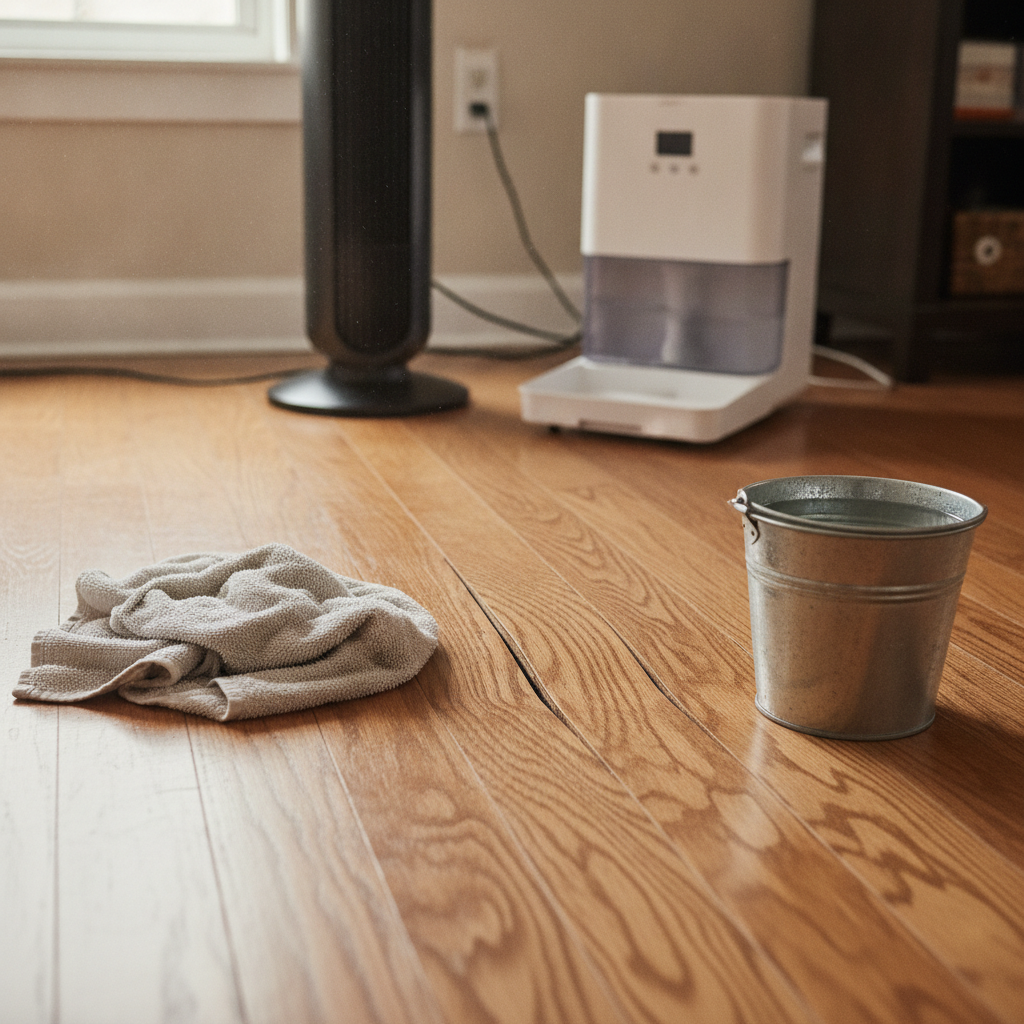
Immediate steps to take when you notice floorboards lifting after water spill
Quick, methodical action reduces irreversible damage. Follow these priorities:
- Stop the source of water. Shut off valves or taps and remove standing water with towels, mops, or a wet vacuum.
- Remove area rugs, furniture, and items from the wet zone to prevent staining and trapped moisture.
- Open windows and doors for ventilation if weather permits; set fans to circulate air toward windows or exits.
- Use absorbent towels or a shop vacuum to pull moisture from seams and around lifted boards.
- Turn off radiant floor heating and any underfloor heating until moisture levels are normal.
Safe drying methods and equipment
Choosing the right tools and a drying plan helps protect both finish and structural elements.
- Fans: Position several high-output fans to push air across the floor and out of the room. Use oscillating fans for even airflow.
- Dehumidifiers: A refrigerant dehumidifier lowers relative humidity and draws moisture from wood and subfloors. For serious saturation, consider a desiccant dehumidifier.
- Wet/dry vacuum: Useful for extracting water from joints and cracks.
- Air movers and floor drying mats: Professionals use commercial air movers and specialized drying mats to pull moisture from layers without removing flooring.
- Heat: Avoid high heat directly on floors—rapid drying can cause cracking. Maintain a stable room temperature around 65–75°F (18–24°C) while drying.
Do you need to remove the floorboards?
Removing boards is sometimes necessary, but not always. Assess the situation:
- Minor surface spills that were cleaned quickly often dry without removal.
- If boards are cupped or buckled after 48–72 hours of thorough drying, removal and inspection of the subfloor may be needed.
- For engineered floors, it’s sometimes possible to pry a few affected planks to dry the subfloor and underside of the flooring.
- If mold, persistent odor, or subfloor saturation is present, partial or full removal is prudent to prevent long-term damage and health risks.
Step-by-step: Drying and stabilizing floorboards
Here is a systematic approach you can try before calling in a contractor.
- Clear the area and begin water extraction with towels, mop, or wet vacuum.
- Set up fans and a dehumidifier to maintain strong airflow and reduce humidity below 50% if possible.
- Check daily for changes in cupping or buckling. Take photos to track progress.
- If boards remain lifted after 3–5 days, loosen the affected board(s) carefully and allow underside to dry. Use a moisture meter to confirm drying progress.
- If boards return to flat shape while drying, secure them with finishing nails or flooring adhesive as recommended for your flooring type.
When floors don’t return to normal: repair and replacement options
If drying doesn’t restore boards, you have several repair pathways depending on the damage:
- Sanding and refinishing: For minor warping and cupping that has stabilized, sanding and re-finishing can restore appearance—but only if boards are structurally sound.
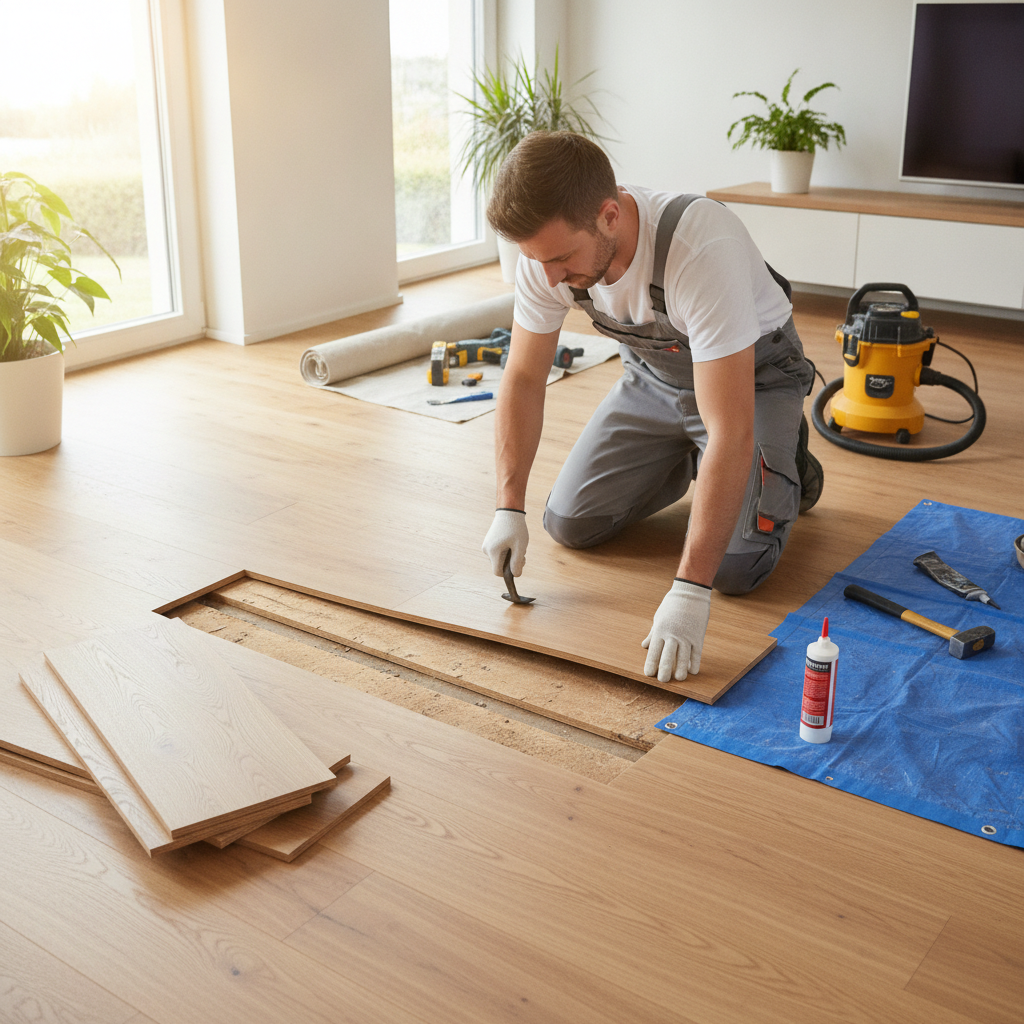
- Board replacement: Remove and replace individual damaged planks. This is common for hardwood and engineered planks with localized damage.
- Subfloor repair: If subflooring is compromised (rot, delamination), boards should be removed and subfloor replaced before new flooring is installed.
- Full floor replacement: In widespread water damage or when matching older boards is impossible, full replacement may be the most practical option.
Costs and timelines
Costs vary widely by flooring type, region, and extent of work. Typical ranges:
- DIY drying (fans/dehumidifiers): $50–$400 for rental equipment and supplies.
- Moisture assessment and localized repair: $200–$1,000 depending on labor and materials.
- Replacing a few boards professionally: $300–$1,200.
- Partial or full floor replacement: $1,500–$10,000+ depending on floor material and square footage.
Drying can take 2–7 days for surface spills; deeper saturation into subflooring can take 1–3 weeks or longer. Repairs are typically scheduled once moisture readings stabilize and any mold issues are resolved.
Mold risk and health considerations
Standing water and damp materials create ideal conditions for mold growth within 24–48 hours. If you notice a musty odor, visible mold, or if household members have allergy symptoms, take these steps:
- Wear gloves, eye protection, and a mask when inspecting or handling moldy materials.
- Isolate and remove porous materials (rugs, pads, drywall) that are contaminated.
- For visible mold on flooring or subfloor, consult a remediation professional—especially for large areas or HVAC involvement.
- Consider contacting a local health or environmental agency for guidelines if you have health concerns.
Tools and materials to have on hand
Basic supplies that help early intervention:
- Wet/dry vacuum
- Absorbent towels and mops
- High-output fans and box fans
- Dehumidifier (rental if necessary)
- Moisture meter (for wood and subfloor readings)
- Putty knife/pry bar for testing and removing affected boards
- Replacement planks, adhesive, finishing nails (for repairs)
When to call a flooring professional
Call a pro if:
- Large areas are affected (more than a few square feet).
- There is subfloor damage, rot, or persistent odors.
- Mold is visible or strongly suspected.
- Flooring is historic or difficult to match—consult a specialist.
- You prefer not to risk improper repair that could reduce property value.
Insurance and documentation
Document damage with photos, videos, and dates. Contact your homeowners insurance to determine coverage—many policies cover sudden accidental water damage (e.g., burst pipes) but exclude long-term leaks. Keep receipts for rental equipment, cleaning supplies, professional inspections, and repair estimates to support claims.
Prevention and maintenance to avoid future spills causing lifting
Once repaired, adopt these habits to reduce future risk:
- Wipe up spills immediately and avoid letting water sit on floors.
- Use area rugs in high-risk zones (kitchen, entrances) but lift them occasionally to inspect for trapped moisture.
- Maintain indoor humidity between 30–50% to reduce wood movement.
- Install water sensors near appliances, under sinks, and at appliances like dishwashers.
- Ensure proper caulking and sealing around fixtures and thresholds.
- Schedule annual inspections of plumbing and seals to catch slow leaks early.
Special considerations by flooring type
Different floor materials respond differently to water:
- Solid hardwood: Prone to cupping and permanent warping if water soaks in. Often requires board replacement if swelling is severe.
- Engineered hardwood: Better resistance due to plywood core, but surface can still lift or delaminate if moisture penetrates.
- Laminate: Susceptible to swelling at seams; replacement of affected boards is common.
- Vinyl and luxury vinyl plank (LVP): More water resistant, but subfloor moisture can cause adhesive failure or buckling.
Measuring progress: using a moisture meter
A moisture meter is a practical tool to determine whether floors and subfloors have returned to safe moisture levels. For hardwood, typical equilibrium moisture content targets are within manufacturer recommendations—commonly around 6–9% depending on climate. Compare readings to baseline or manufacturer specifications before refinishing or permanently fastening boards.
Expert resources and further reading
For authoritative tips on protecting and restoring wood floors, consult guides from trusted household publications. For example, Better Homes & Gardens provides practical advice for drying and preventing water damage to wood floors: Better Homes & Gardens.
Quick summary: what to do when floorboards lift after water spill
- Act fast—stop the source and remove standing water.
- Begin drying with fans and a dehumidifier immediately.
- Assess after 48–72 hours; if boards remain lifted, consider removal to dry the underside.
- Use a moisture meter to confirm safe moisture levels before repairing or refinishing.
- Call a professional when damage is extensive, mold is present, or you’re unsure about repairs.
FAQs
How long after a spill will floorboards start to lift?
Floorboards can begin to cup or show signs of lifting within 24–48 hours if moisture soaks into the wood. The visible lifting may progress over several days depending on the extent of saturation and ambient conditions.
Can lifted floorboards be glued back down?
Sometimes. If the boards have dried and returned close to their original dimensions, adhesive or fastening can secure them. If boards are permanently warped, replacement is often necessary.
Is it okay to sand and refinish a floor that was wet?
Only when moisture levels have returned to the manufacturer-recommended range. Sanding a still-wet floor can cause further damage and poor finish adhesion. Always check moisture readings first.
Will a dehumidifier alone save water-damaged floors?
A dehumidifier helps but works best with air movement from fans and initial water extraction. For deep or prolonged saturation, professional drying equipment may be required.
How do I choose a contractor for water-damaged flooring?
Look for licensed flooring professionals with water-damage experience, positive reviews, and clear estimates. Ask about moisture-testing protocols, drying timelines, and mold remediation capabilities if needed.
Dealing with floorboards lifting after water spill can be stressful, but quick action and the right drying strategy often prevent permanent damage. If you’d like more guidance on revamping your space once repairs are complete, consider exploring ideas in How to Design A Comfortable Modern Living Space (https://mdasid.org/), a helpful resource for planning a resilient, stylish interior.


