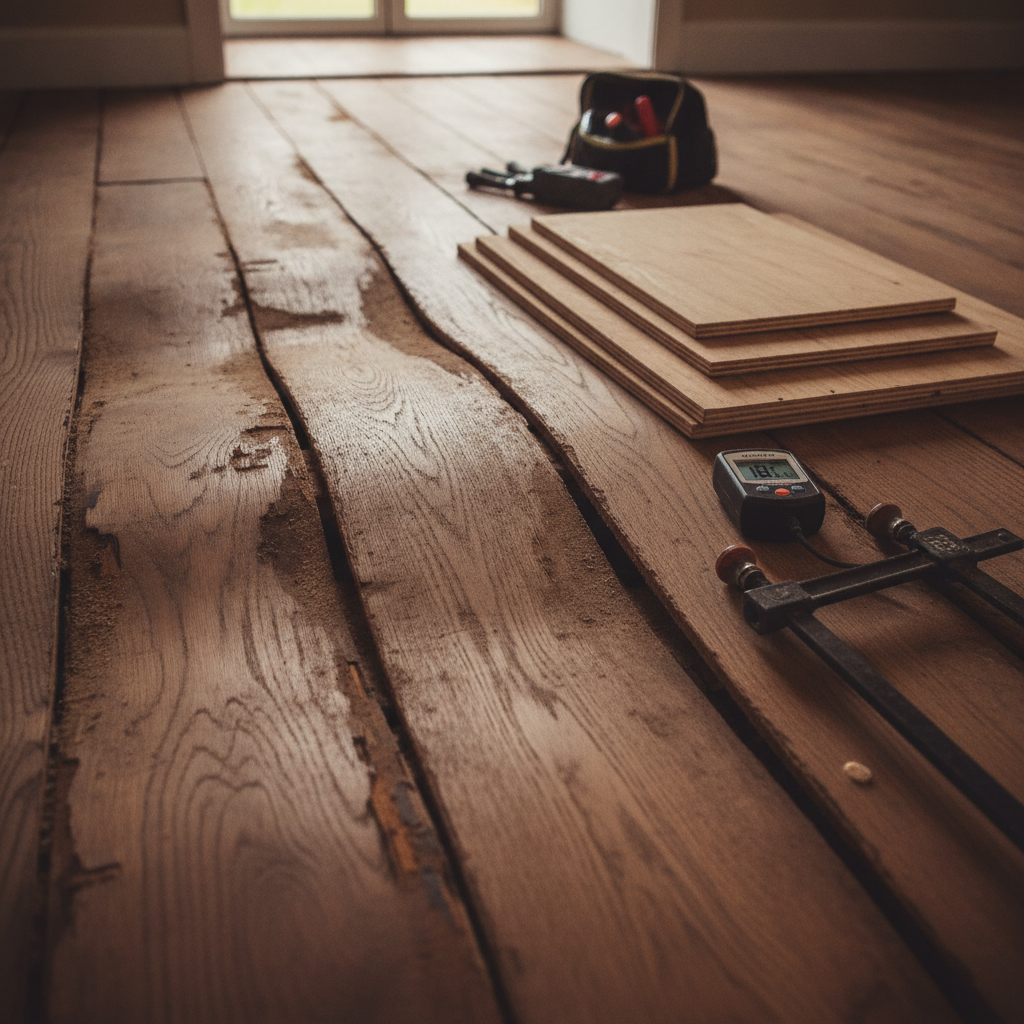
Floorboards lifting after water spill is a common and urgent problem that, left unchecked, can lead to costly repairs and mold growth. Whether you spilled a large glass of water, had a minor leak under the sink, or experienced a larger household spill, recognizing the signs and acting quickly is the difference between a simple repair and a full floor replacement.
Why floorboards lift after a water spill
Wood and many floor coverings are hygroscopic—they absorb moisture from the air and direct contact. When water reaches boards or the subfloor, it causes the wood fibers to swell. Depending on the construction and material, water exposure can produce different visible problems:
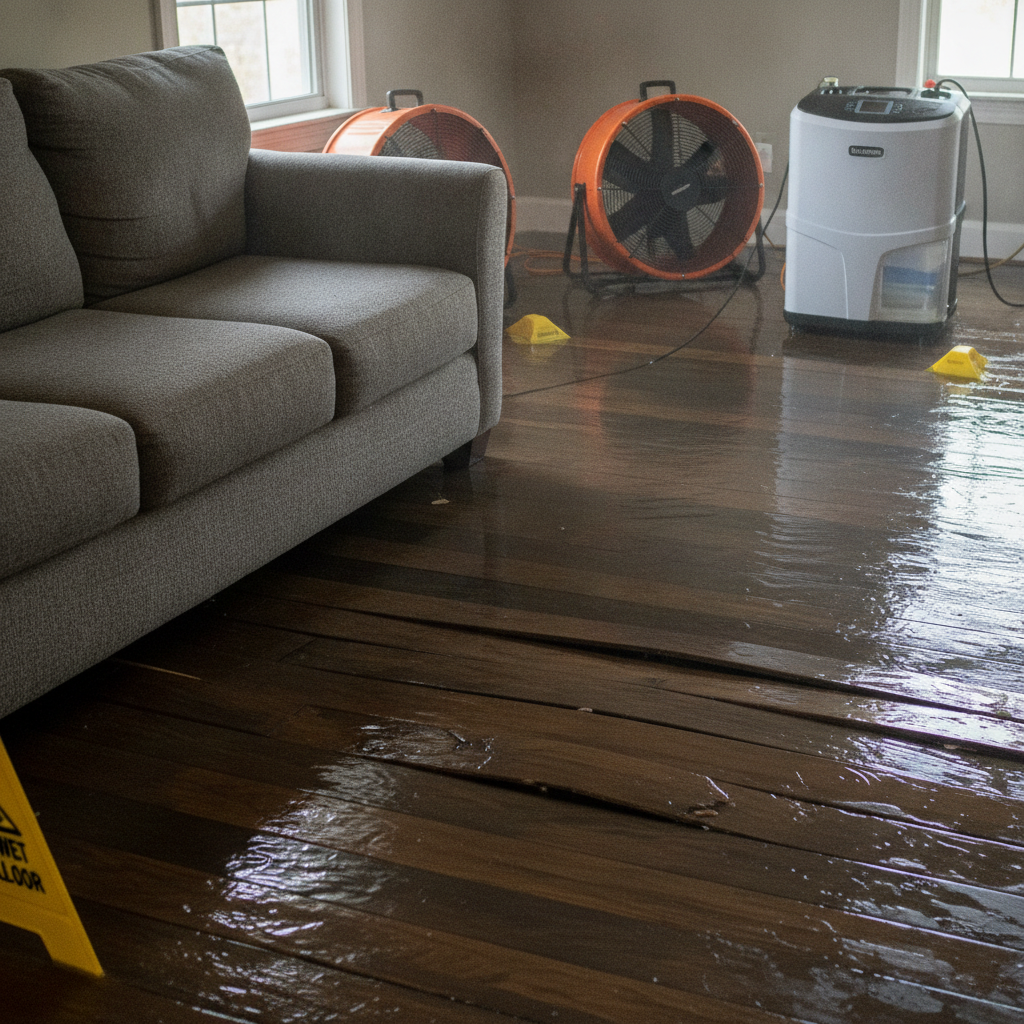
- Cupping: edges higher than the center (often from moisture reaching the base of the board)
- Crowning: center higher than the edges (often after boards have been wet, dried while cupped, then sanded)
- Buckling: entire boards lift and separate from the subfloor (severe swelling or fast saturation)
- Gapping: boards shrink after drying (common if excessive heat or dryness follows moisture)
Step 1 — Assess the damage safely and quickly
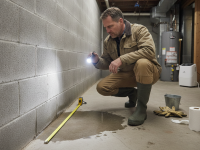
Start with a calm, methodical inspection. Your goal is to determine the extent of wetness, pinpoint the source, and stop further water exposure.
- Stop the source: Turn off the water supply if the spill is from plumbing, or unplug and remove any leaking appliance.
- Remove surface water: Use towels, a wet/dry vacuum, or mops to remove standing water immediately.
- Check nearby rooms and baseboards: Water can travel under door thresholds and through gaps in flooring.
- Look for visible signs: discoloration, cupping, raised seams, soft spots when walked on, or an expanding gap around walls.
- Document the damage: Take photos for insurance and for tracking progress during drying/repair.
Step 2 — Start drying as soon as possible
Drying is the most important immediate action. The longer moisture remains, the greater the risk to subfloor and joists and the higher the chance of mold.
- Ventilate the room: Open windows and doors if weather allows.
- Use fans and dehumidifiers: Position fans to move air evenly across the floor. A dehumidifier speeds up moisture removal from the air and wood.
- Raise temperatures moderately: Warmer air holds more moisture, which the dehumidifier can extract faster—but avoid extreme heat that could cause cracking or additional warping.
- Remove area rugs and furniture: Lift damp rugs to prevent trapped moisture. Move furniture to a dry area or elevate it on blocks.
- Monitor progress: Use moisture meters if available to track wood moisture content. Aim to return boards to their normal moisture content for your climate (often 6–9% for hardwood, but local norms vary).
How to tell if the floor can be saved
Not every lifted board requires full replacement. The determining factors include how long the boards were wet, the moisture readings, and whether the subfloor or joists are compromised.
- Short exposure (a few hours to a day): Many boards will flatten after proper drying and weight/fastening adjustments.
- Moderate exposure (1–3 days): Some cupped or slightly buckled boards may recover, but edge gaps and finish damage are likely.
- Long exposure (several days or more): Expect to replace affected boards and possibly the subfloor; watch for mold and structural damage.
DIY repairs for minor lifting and cupping
If the water event was caught quickly and damage is limited, you can try these do-it-yourself steps.
Materials and tools you may need
- Wet/dry vacuum, towels, fans, dehumidifier
- Moisture meter (pin or pinless)
- Plywood or heavy objects to weigh down boards
- Wood glue, wood filler, brad nails or flooring nailer
- Clamps, putty knife, sandpaper, finish (polyurethane or floor finish)
Procedure for minor cupping or slight lifting
- Dry completely: Continue using fans and a dehumidifier until wood moisture readings approach normal levels.
- Weight the boards: Place a sheet of plywood across the affected area and set weights on it for several days to help flatten cupped boards.
- Re-secure loose boards: If boards have lifted but are structurally intact, apply a high-quality wood glue to the tongue and groove, clamp or use weights, and re-nail using a flooring nailer or brad nails where appropriate.
- Fill and sand: Once secure and dry, fill gaps or nail holes with matching wood filler, sand smooth, and refinish the area to blend with the surrounding floor.
Fixing buckled boards and serious damage
Buckling—where boards peel away from the subfloor—usually means replacement is needed. Here’s a practical overview for more serious repairs.
Steps for replacing damaged boards
- Remove the damaged boards: Carefully cut along the damaged boards and extract them. For tongue-and-groove hardwood, you may need to remove adjacent boards to access the tongue.
- Inspect and replace subfloor as needed: If the subfloor is swollen, soft, or moldy, remove and replace the affected section. Ensure joists are dry and sound.
- Acclimate replacement boards: New wood should be acclimated to room conditions for several days to a week to match moisture content before installation.
- Install and fasten: Fit new boards, glue or nail into place per manufacturer recommendations. Use the correct underlayment and fastening pattern for your floor type.
- Finish: Sand and refinish to match the existing floor. If matching exactly is difficult, you may need to refinish a larger patch or the entire room.
Special notes for different flooring types
- Solid hardwood: Susceptible to cupping, crowning, and buckling. Often repairable if caught early; prolonged exposure likely needs replacement of affected boards.
- Engineered hardwood: Better resistance to moisture but still vulnerable at edges/cuts. Replacement is often easier because engineered boards can float or be glued down.
- Laminate: Click-lock systems can buckle and often require panel replacement; laminate does not respond well to being sanded or refinished.
- Vinyl plank: Generally more water-resistant; many modern vinyl floors can be dried and re-used, but glued-down vinyl may lift and need re-adhering or replacement.
Mold risks and health considerations
Where water has been absorbed for more than 24–48 hours, mold becomes a real concern. Mold can grow in subfloors, insulation, and behind baseboards. Signs of mold include musty odor, visible discoloration, and allergic reactions among occupants.
- Wear PPE: When inspecting or removing wet materials, use gloves and an N95 mask if mold is suspected.
- Isolate and dry: Contain the area to prevent spores from spreading; keep drying equipment running.
- Professional remediation: If you see significant mold or have health concerns, hire a certified remediation contractor.
When to call a professional
DIY repairs save money but know your limits. Contact a professional flooring contractor or water damage restoration specialist if any of the following apply:
- More than a few boards are buckled or cupped
- Subfloor or joists are wet or soft
- Visible mold or a widespread musty smell
- Moisture persists despite drying efforts
- You’re unsure of proper repair technique for your floor type
Cost expectations
Repair costs vary widely by floor type, extent of damage, and region. Typical ranges:
- Minor repairs and refinishing: $200–$1,000
- Board replacement (per board plus labor): $50–$200 per board depending on species and finish
- Partial floor replacement and subfloor work: $1,000–$5,000
- Full floor replacement: $2,500–$10,000+ depending on materials and room size
Always get at least two quotes and ask contractors about moisture readings, warranties on repair work, and whether they handle mold remediation if needed.
Insurance and documentation
Water damage coverage depends on your policy and the cause of the spill. Sudden accidental spills (like a broken pipe) are more likely to be covered than long-term leaks or neglect. Document everything—photos, repair receipts, contractor estimates—and contact your insurer promptly. Your adjuster may require evidence of mitigation (photos showing drying equipment in use).
Prevention: how to stop floorboards lifting after a future spill
Prevention is always less expensive and disruptive than repair. Adopt these practices to minimize future risk:
- Quick cleanup: Treat every spill as an emergency—remove water immediately.
- Use mats and rugs: Place absorbent mats near sinks, dishwashers, and external doors. Use waterproof pads beneath plants and pet bowls.
- Maintain appliances: Check hoses, seals, and drip pans on dishwashers, refrigerators, and washing machines regularly.
- Install water alarms: Place alarm sensors in bathrooms, under sinks, near appliances, and in basements to get early warnings.
- Control indoor humidity: Use a dehumidifier in damp climates or during wet seasons; indoor humidity levels between 30–50% help protect wood floors.
- Choose water-tolerant flooring when appropriate: In areas prone to moisture (laundry rooms, kitchens, basements), consider engineered wood, luxury vinyl plank, or tile instead of solid hardwood.
- Proper installation: Allow new hardwood to acclimate; maintain recommended expansion gaps around the room; install vapor barriers and suitable underlayment.
Expert tips to keep in mind
- Never sand a wet floor: Sanding before boards are fully dry can create crowned boards that look worse after finishing.
- Don’t rush refinishing: Ensure moisture content matches typical seasonal levels before final sanding and finish application.
- Use a moisture meter: For accurate assessment, invest in or rent a moisture meter to track drying progress and to verify the success of drying efforts.
- Match materials: When replacing boards, try to match species, thickness, and plank width for a seamless repair.
Further reading and authoritative guidance
For more home safety and repair guidance, reliable home-lifestyle sites offer practical checklists and deeper advice. Better Homes & Gardens is a helpful general resource for home care and maintenance: Better Homes & Gardens.
Frequently Asked Questions (FAQs)
Q: Can warped floorboards return to normal after drying?
A: It depends. Minor cupping often corrects after thorough drying and weighting. Buckling and severe warping usually require board replacement. Use a moisture meter to guide your expectations.
Q: How long should I dry the floor before repairs?
A: Drying time varies by severity, material, and environment. Small spills might dry in 24–72 hours with aggressive drying. Larger incidents can take several days to weeks. Only repair or refinish once moisture content is stable and matches typical levels for your area.
Q: Will my homeowner’s insurance cover replacement?
A: Coverage depends on your policy and the cause. Sudden accidental damage often has better coverage than long-term neglect. Document everything and contact your insurer. Prevention documentation (alarms, maintenance receipts) helps when filing claims.
Q: Are engineered floors better for homes prone to spills?
A: Engineered floors resist moisture movement better than solid hardwood because of their layered construction, making them a good choice for kitchens and basements. However, seams and edges can still be vulnerable to prolonged exposure.
Q: What if I find mold under the floor?
A: If mold is visible or you suspect it, prioritize safety. Wear protective gear and consult a qualified mold remediation professional. Small, non-poisonous surface mold may be cleaned with appropriate products, but large infestations often require removal of affected materials.
Dealing with floorboards lifting after water spill is stressful, but acting quickly and methodically can save your floor. If you’re unsure of the severity, reach out to a reputable local contractor for a moisture assessment and repair estimate.
To explore room-by-room design ideas and how to update your space once repairs are finished, consider this helpful guide: How to Design A Comfortable Modern Living Space
👉 internal link (https://mdasid.org/) How to Design A Comfortable Modern Living Space