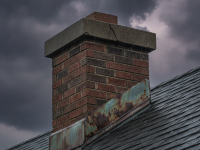
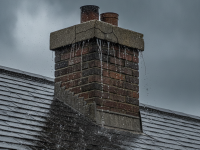
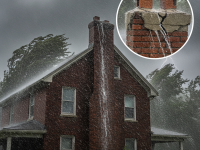
If you’ve noticed attic beams showing moisture, you’re right to be concerned. Moisture on attic beams can mean anything from harmless seasonal condensation to an active roof leak that threatens structural timbers, insulation, and indoor air quality. This guide will walk you step-by-step through identifying the cause, assessing the damage, performing safe short-term fixes, planning long-term repairs, and preventing future problems.
Why attic beams showing moisture matter
Wood exposed to moisture for extended periods can rot, attract wood-destroying organisms, and support mold growth. Even when moisture is intermittent, repeated wetting and drying weakens timbers over time. That’s why early detection and the right response are essential to protect the structural integrity of your home and your family’s health.
Common signs that moisture is affecting attic beams
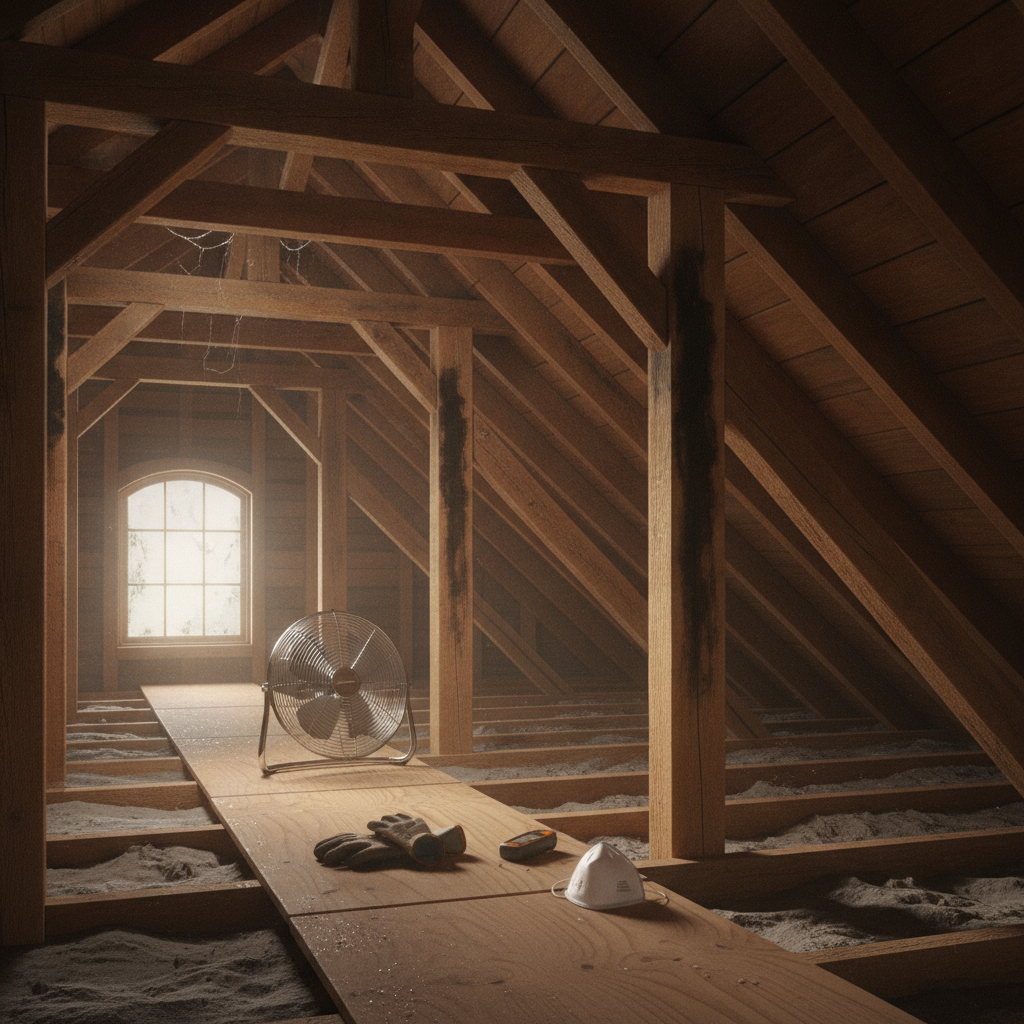
- Visible dark stains or water streaks on beams and rafters
- Soft, spongy, or crumbling wood when pressed
- White, fuzzy, or discolored mold patches on wood
- A musty or damp odor in the attic or rooms below
- Rust or corrosion on nails and metal connectors
- Peeling paint or buckling on ceilings beneath the attic
- Insulation that’s damp, clumped, or discolored
Likely causes of moisture on attic beams
Understanding the source of moisture will guide the right fix. Typical causes include:
- Roof leaks: Damaged shingles, flashing failures, or deteriorated roof penetrations (chimneys, plumbing vents, skylights).
- Poor attic ventilation: Inadequate intake or exhaust vents trap humid air and allow condensation to form on cooler wood surfaces.
- Warm-moist air from the living space: Inadequate air sealing lets humid indoor air rise into the attic (common around recessed lights, bathroom vents, attic hatches, or knee walls).
- Plumbing or HVAC leaks: Leaks from upstairs plumbing, A/C drain lines, or HVAC duct seams that run through the attic.
- Ice dams: In cold climates, ice dams force melting snow under shingles and into the attic.
- Condensation: Rapid temperature swings and high relative humidity cause moisture to condense on colder surfaces.
Immediate safety precautions
Before climbing into the attic, take safety steps to protect yourself and avoid making the problem worse:
- Wear gloves, goggles, and an N95 respirator if mold is present.
- Use a flashlight; avoid stepping between joists—only walk on secure flooring or a plywood walkway.
- Turn off electrical circuits if you suspect wet electrical fixtures. If unsure, consult an electrician.
- Do not disturb large mold growths yourself—professional remediation may be needed.
Step-by-step inspection when you find attic beams showing moisture
Perform an organized inspection to identify scope and probable cause:
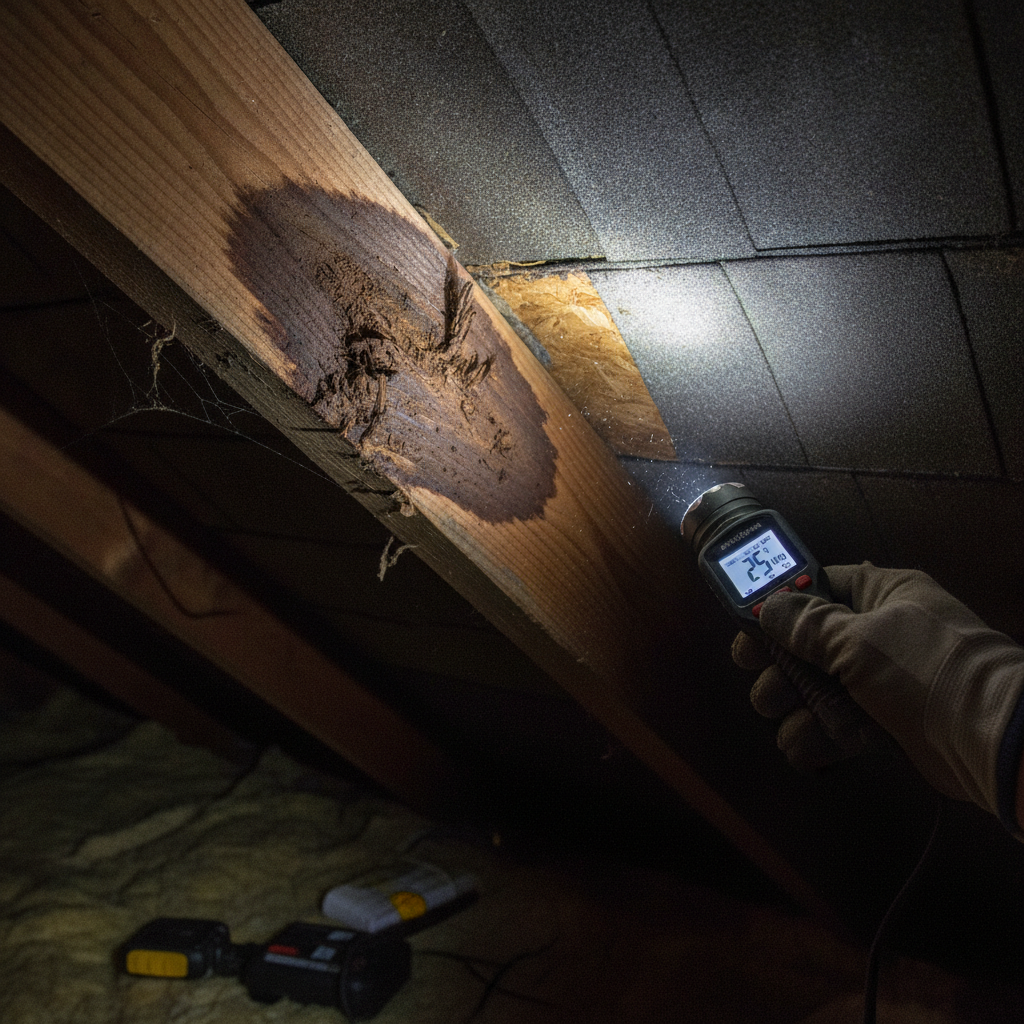
- Note location and pattern: Is moisture near a roof penetration (skylight, vent stack), along an eave, or more widespread?
- Check roof from outside: Look for missing or damaged shingles, cracked flashing, or clogged gutters.
- Inspect underside of decking: Look for wet spots or gaps between boards that suggest water intrusion.
- Examine insulation: Damp or matted insulation points to ongoing moisture issues and can reduce R-value.
- Test wood firmness: Use a screwdriver or awl to probe suspect beams—soft spots indicate rot.
- Measure moisture content: A handheld moisture meter gives a good read—wood under 15% is typically safe; 20%+ indicates concern.
Short-term fixes you can do right away
When you need to limit damage quickly, these short-term actions can help while you arrange permanent repairs:
- Place a tarp over an obvious roof leak until a roofer can repair it.
- Run a dehumidifier or attic fan to lower humidity and speed drying.
- Open attic access and increase airflow by cracking windows (if weather allows) or using box fans.
- Remove wet insulation and bag it for disposal if it’s contaminated or compressed.
- Contain mold-affected materials in plastic sheeting before removal to limit spread.
When to call a professional
Certain conditions merit expert help:
- Large or recurrent leaks, or when you can’t find the source
- Extensive mold, especially black mold or growth covering several square feet
- Soft structural members or visible sagging rooflines
- Electrical wiring affected by water
- If you’re uncomfortable performing inspections or repairs
Long-term repairs and strategies
Fix the root causes, not only symptoms. These are the most common long-term solutions when attic beams are showing moisture:
- Roof repairs: Replace damaged shingles, reseal or replace flashing around chimneys, vents, and skylights, and repair flashings at valleys and eaves.
- Improve ventilation: Ensure balanced intake (soffit/eave vents) and exhaust (ridge, gable, or roof vents). Proper ventilation reduces condensation risk and regulates attic temperatures.
- Air sealing: Caulk and foam gaps around recessed lights, attic hatches, plumbing stacks, and top plates to prevent warm indoor air from entering the attic.
- Install a vapor retarder or control: In cold climates, consider a vapor barrier at the ceiling plane; in mixed or hot-humid climates, focus on air sealing and ventilation instead of vapor barriers.
- Replace damaged wood: Cut out and sister new lumber where beams are rotted; consult a structural pro for load-bearing replacements.
- Replace wet insulation: Install fresh insulation rated for your region after repairs are complete.
- Address gutters and drainage: Clear clogged gutters and ensure downspouts direct water away from the foundation and roof edge to prevent leaks and ice dams.
Condensation versus active leaks: how to tell the difference
Knowing whether moisture is from condensation or a leak matters:
- Condensation tends to appear as uniform dampness, often in colder months, and is correlated with high indoor humidity. It’s common near roof sheathing, insulation tops, and metal surfaces.
- Active leaks usually leave distinct drip stains, wet spots after rain, or puddles and are concentrated around roof penetrations or damaged sections.
Tools and materials to help diagnose and repair
Helpful tools for homeowners and professionals include:
- Handheld moisture meter (wood setting)
- Infrared (thermal) camera to spot cool wet areas
- Flashlight/headlamp and extension ladder
- Pry bar, roofing nails, roofing cement, and replacement shingles
- High-quality caulk and low-expanding foam sealant
- Dehumidifier and portable fans
- Personal protective equipment: respirator, gloves, goggles
How much repairs typically cost?
Costs vary widely depending on cause and extent:
- Minor roof repairs (flashing or shingles): $200–$1,000
- Moderate roof repairs (multiple penetrations, larger areas): $1,000–$3,500
- Major re-roof or structural repairs: $4,000–$20,000+
- Mold remediation for small areas: $500–$3,000; large or structural remediation can be much higher
Get multiple written estimates and ask contractors to show references and licensing where required.
Prevention: keeping attic beams dry for years to come
Preventative maintenance is the best investment. A few reliable steps:
- Schedule annual roof inspections—especially after storms.
- Maintain gutters and downspouts; ensure water drains away from the house.
- Seal attic penetrations and insulate properly to limit heat transfer and moisture migration.
- Balance attic ventilation—aim for continuous airflow from soffit to ridge where possible.
- Control indoor humidity with exhaust fans in bathrooms and kitchens, and dehumidifiers where needed.
- Monitor attic conditions seasonally and after heavy storms.
Ventilation guidelines and expert resources
Proper ventilation is a common and effective fix. The recommended net free ventilating area for attics has historically been 1 square foot per 300 square feet of attic floor area when a balanced system is used (intake and exhaust), but always consult local building codes and installer guidance for your region and roof system. For practical guidance on attic ventilation and moisture control, see Better Homes & Gardens for trusted homeowner tips and diagrams.
External reference: Better Homes & Gardens – Attic Ventilation Guide
Mold and health concerns when attic beams are showing moisture
Mold growth can begin within 24–48 hours on damp materials. Common occupant symptoms include nasal and sinus irritation, coughing, and allergic reactions. If you find significant mold, especially hidden behind insulation or structural members, engage a certified mold remediation specialist. Small surface mold on cleanable surfaces can often be cleaned with detergent and water, followed by thorough drying, but always wear protective gear and avoid spreading spores.
Case study examples (realistic scenarios)
Scenario A: After a heavy windstorm, homeowner finds a dark streak on a rafter that appears when it rains. Action: Temporary tarp, roofers replace damaged flashing, moisture meter checks show drying; insulation replaced where wet. Result: Problem solved with minimal structural damage.
Scenario B: Seasonal staining on beams every winter. Action: Home energy audit reveals poor attic ventilation and significant air leakage from the home. Air sealing and adding soffit and ridge vents reduces condensation, stopping the recurring stains.
Scenario C: Widespread soft beams and visible sagging. Action: Structural engineer and contractor assess, rotten timbers removed and sistered with new lumber; underlying hurricane-damaged roof deck replaced. Result: More expensive but restored structure and improved roofing details to prevent repeat.
Checklist: What to do if you discover attic beams showing moisture
- Document the problem with photos and notes (date, weather conditions).
- Perform a careful visual inspection—don’t step where there is no solid flooring.
- Contain and remove any wet insulation safely.
- Run fans and a dehumidifier to begin drying the space.
- Make temporary exterior protections (tarps) if rain is ongoing.
- Call a roofer or contractor if you can’t locate the source or if damage is significant.
- Follow up with permanent repairs and preventive upgrades (ventilation, air sealing).
Frequently asked questions (FAQs)
1. How dangerous is it if attic beams are wet?
Short-term moisture is usually manageable, but prolonged dampness can lead to structural rot, weakened joints, and mold growth—each with increasing health and safety risks. Treat any persistent or extensive moisture as a priority.
2. Can I dry out attic beams with just fans?
Fans help, but drying is most effective with a combination of increased airflow and reduced humidity—using fans plus a dehumidifier and fixing the source of moisture. Warm dry air is much more effective than cool air alone.
3. How do I know whether to replace a beam or repair it?
A professional should assess structural members. If the wood is soft more than about 10–20% of its cross-section, or if fasteners and connections are severely corroded, replacement or reinforcement is often required. Minor surface rot can sometimes be cut out and sistered with new lumber.
4. Will insurance cover water damage to attic beams?
Insurance typically covers sudden, accidental damage (like a storm-driven leak), but not damage resulting from neglect or lack of maintenance. Review your policy and document the damage promptly. Contact your insurer for guidance.
5. What moisture level in wood is considered safe?
Wood moisture content below about 15% is generally considered safe for interior structural members. Readings above 20% are cause for concern and warrant investigation.
Final thoughts
Attic beams showing moisture are a warning—not a sentence. With careful inspection, quick interim measures, and targeted long-term repairs (roofing, ventilation, and air sealing), you can protect your home and prevent recurrence. When in doubt, consult qualified roofers, structural engineers, or mold professionals to make sure the job is done safely and effectively.
Want to go deeper into improving your living space layout and reducing moisture risks in everyday rooms? Explore practical design and comfort tips at How to Design A Comfortable Modern Living Space (https://mdasid.org/).