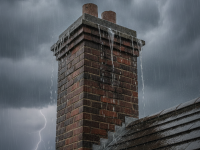
If your chimney leaking during storms has become a recurring worry, you’re not alone. Water intrusion through a chimney can cause unsightly stains, accelerate mortar and brick deterioration, damage ceilings and attics, promote mold growth, and even create safety hazards if hidden moisture reaches the flue or structural framing. This guide explains how to diagnose where water is coming from, what temporary steps to take during a storm, permanent repairs to consider, and how to prevent leaks before the next heavy weather event.
Why chimneys leak during storms
Understanding why your chimney leaks during storms helps you prioritize fixes. Common causes include:
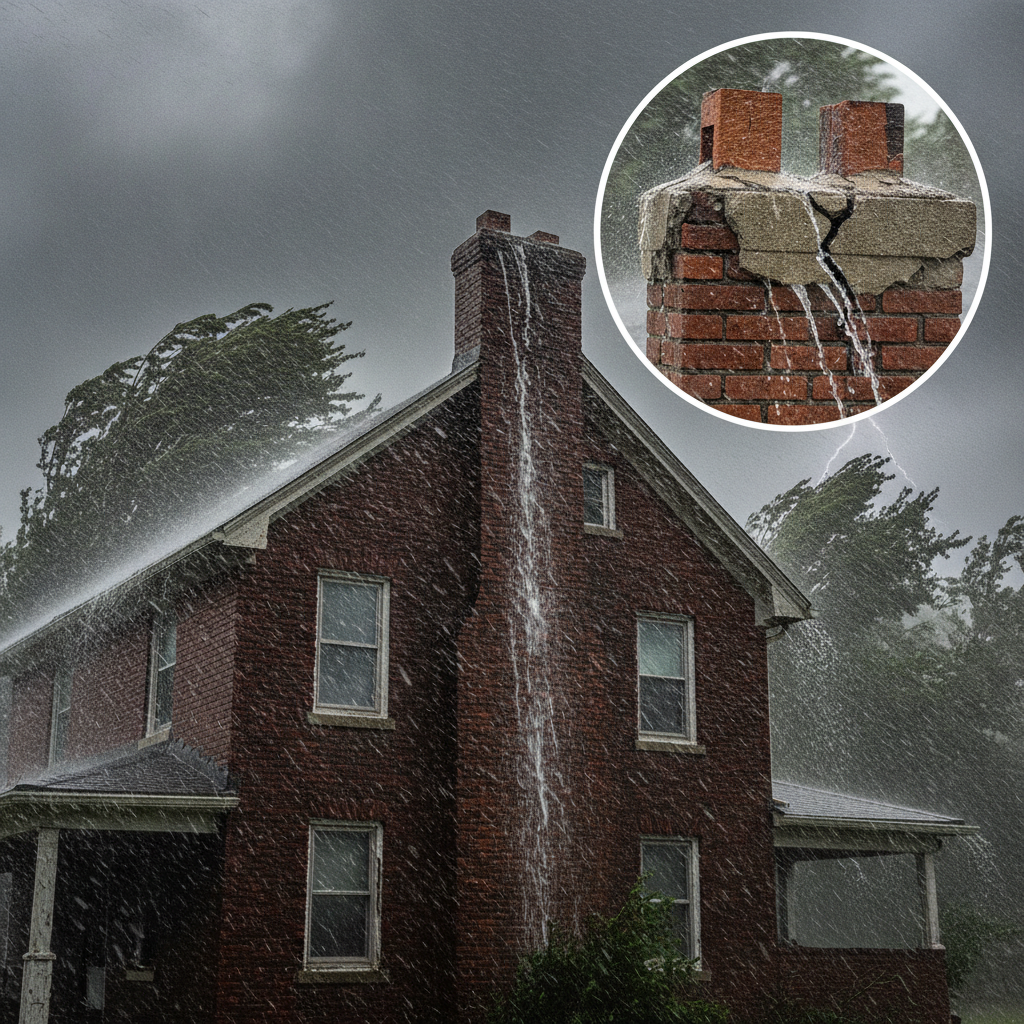
- Damaged or missing chimney cap that allows rain and wind-blown water into the flue.
- Cracked or degraded chimney crown (the concrete top) that allows water to soak into brick and mortar.
- Failing or improperly installed flashing where the chimney meets the roof.
- Porous bricks and deteriorated mortar joints that absorb water.
- Missing or corroded chase covers on manufactured chimney chases (common on modern homes with prefabricated chimneys).
- Wind-driven rain being forced down behind masonry or through gaps in the chimney chase.
- Pooled water on a flat roof or improper roof slope that sends moisture along the chimney base.
Typical leak patterns and what they mean
Where water appears inside your home can point to the source:
- Stains on the ceiling adjacent to the chimney: likely flashing or roofing issues at the roof-to-chimney intersection.
- Water pouring or dripping from the flue: missing or damaged chimney cap or flue liner issues.
- Efflorescence (white, powdery residue) or spalling bricks: moisture moving through the brick itself, often from a failing crown or porous masonry.
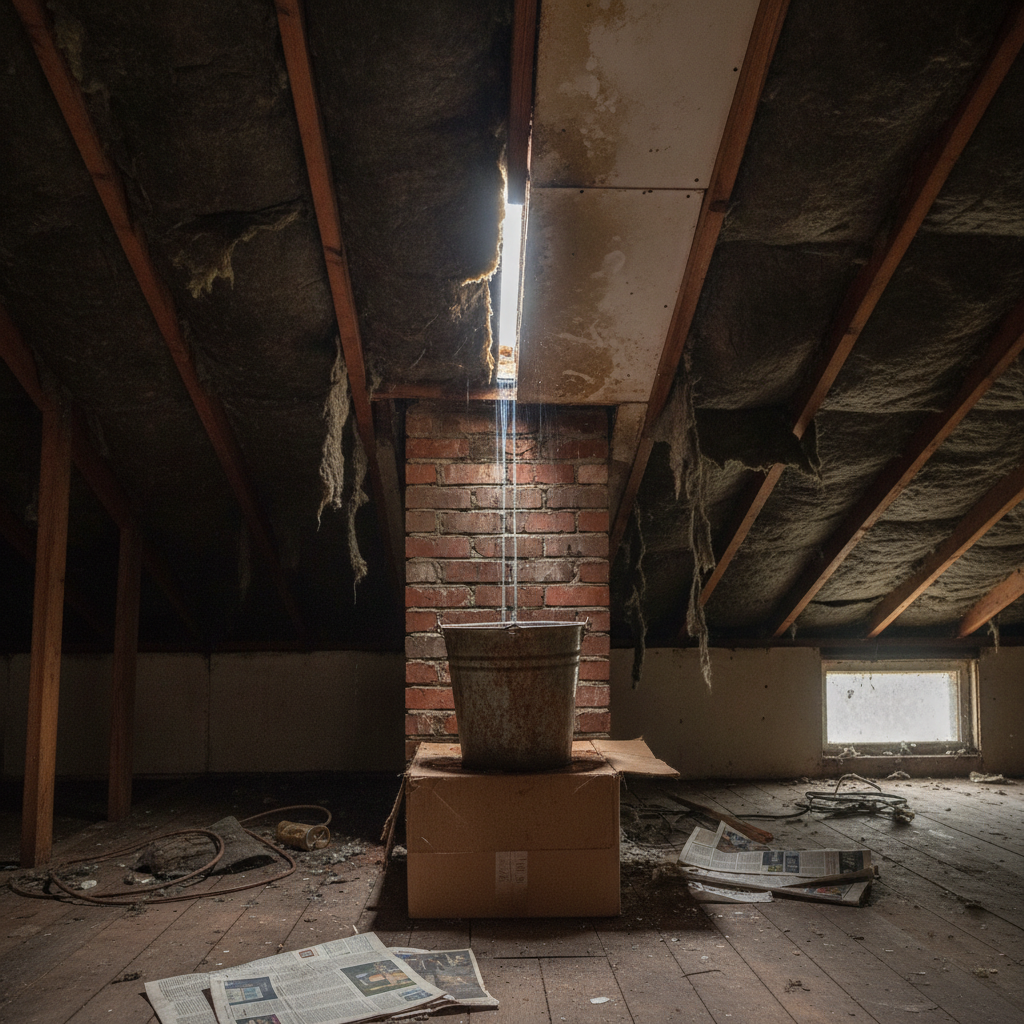
- Staining in attic near chimney chase: water entering above the ceiling, commonly from the chase cover or flashing.
- Mold or musty smell in rooms near the chimney: chronic dampness and inadequate ventilation after repeated leaks.
Immediate steps to take during a storm
When a storm is actively causing a leak, quick temporary measures can reduce damage until permanent repairs are possible:
- Place buckets or heavy pans to catch drips and protect floors and furniture.
- Move wet insulation away from wood framing to prevent rot and mold; wear a mask and gloves if you handle attic insulation.
- Avoid lighting fires. Do not use the fireplace until the chimney is inspected and dry—moisture can compromise chimney liners and masonry, and combustibles can hide water-damaged areas.
- If safe to access, cover the top of the chimney with a tarp anchored around the roof to divert rain (temporary only). Never secure a tarp in a way that creates additional roof punctures.
- Open windows or run a dehumidifier and fans after the storm to speed drying and reduce mold risk.
How professionals diagnose chimney leaks
Experienced chimney technicians and roofers use a combination of visual inspections and diagnostic tests:
- Exterior inspection of cap, crown, flashing, masonry, and chase cover.
- Interior attic and ceiling inspection to track the path of water stains.
- Water testing—controlled hose testing to simulate rain and confirm the entry point.
- Video inspection of the flue with a camera to check liner condition and internal leaks.
- Masonry probe and mortar inspection to check for soft or missing mortar that allows seepage.
Common permanent repairs and their costs
Repair choices depend on the root cause. Below are typical options and broad cost ranges (prices vary by region and contractor):
- Install or replace a chimney cap: $150–$700. A stainless steel cap with a screen and spark arrestor is a good investment to keep rain and animals out.
- Repair or rebuild the chimney crown: $300–$1,500. Small cracks can be patched, but severely deteriorated crowns need rebuilding with a proper slope and crown edge to shed water.
- Replace or reinstall flashing: $200–$1,200. Properly integrated, step flashing with counterflashing prevents leaks at the roof-to-chimney joint.
- Re-pointing mortar joints: $500–$3,000 depending on chimney size and extent. Re-pointing removes loose mortar and replaces it with fresh mortar that resists water penetration.
- Apply breathable chimney water repellent: $150–$600. A silane/siloxane product penetrates masonry and reduces water absorption while allowing trapped moisture to escape.
- Install a stainless steel liner: $800–$3,000. If the flue is damaged, a liner can restore function and help prevent leaks from inside the flue system.
- Replace chase cover (for manufactured chimneys): $200–$1,000. A good cover prevents water from entering the chase and reaching framing.
DIY checklist: what you can safely do yourself
If you’re handy and the problems are minor, some preventive steps and small repairs are DIY-friendly:
- Install a chimney cap. Many homeowners can fit a pre-made stainless steel cap to the flue throat.
- Apply a silicone-based or silane chimney waterproofing sealer following manufacturer instructions—only to the exterior masonry (not inside the flue).
- Replace caulk or roofing tar around small, accessible flashing seams as a temporary patch.
- Clear debris inside the chase and keep gutters and nearby roof drains clear to prevent water pooling near the chimney base.
Do not attempt crown reconstruction, major flashing replacement, extensive re-pointing, or flue liner work unless you have masonry or roofing experience—these are best left to professionals to avoid making leaks worse or creating safety issues.
When to call a professional
Hire a certified chimney sweep or a licensed roofing/masonry contractor if:
- Water is pouring down the flue or you have large, active leaks.
- There is visible structural damage to brick, crown, or flashing.
- You smell gas, notice electrical issues, or see extensive mold growth that could indicate broader moisture problems.
- You need flue liner replacement, crown rebuild, or major flashing rework.
Look for technicians certified by reputable organizations (such as the Chimney Safety Institute of America—CSIA) and obtain at least two written estimates. A proper diagnosis often pays for itself by preventing repeated repair costs.
How to prevent future leaks: a seasonal maintenance plan
Routine maintenance reduces the odds of a storm revealing hidden weaknesses:
- Annual chimney inspection and sweep. Regular cleaning removes creosote and allows the technician to spot small defects before they become leaks.
- Inspect caps, crowns, and flashing after severe weather events and when seasons change.
- Apply a breathable masonry water repellent every 3–5 years if you live in a wet climate; avoid paints or impermeable coatings that trap moisture.
- Trim overhanging branches and clear debris that can hold moisture near the chimney.
- Maintain roof health—replace damaged shingles and ensure gutters are clear so water doesn’t pool near the chimney.
- Consider adding a full-weather chimney cap or a stainless steel liner if the flue is exposed to frequent driving rain or strong winds.
Special situations: snow, ice, and freeze-thaw cycles
In cold climates, freeze-thaw is one of the most damaging processes for chimneys. Water absorbs into brick and mortar, freezes, expands, and causes spalling and cracks. Mitigation steps:
- Use breathable water repellents to reduce water absorption while allowing trapped moisture to escape.
- Ensure proper crown profile and drip edges so melting snow runs off the outside of the chimney rather than into it.
- Address small cracks right away; they grow quickly with repeated freezing cycles.
Health and safety concerns from chimney leaks
Beyond structural damage, chimney leaks can create secondary hazards:
- Mold and mildew growth in insulation and framing—can cause respiratory issues.
- Corroded flue liners or damp creosote deposits—can lead to chimney inefficiency or increase the risk of a chimney fire.
- Electrical components or wiring in the attic exposed to moisture may short and present fire hazards.
If you suspect mold or electrical damage, consult qualified remediation and electrical professionals.
Choosing materials and contractors wisely
Quality materials and skilled installation make repairs last. When evaluating options:
- Prefer stainless steel caps and liners for durability.
- Use breathable silicone or silane-based masonry sealers rather than surface coatings that trap moisture.
- When hiring contractors, ask for references, proof of insurance, certifications (CSIA for chimney work), and detailed written estimates that describe materials, warranty, and timeline.
Cost-benefit: when to rebuild versus repair
If your chimney has widespread brick spalling, a crumbling crown, long-term water damage to framing, or a severely deteriorated flue, a rebuild may be more economical over the long term. Consider rebuilding when:
- More than 40–50% of brick faces are spalled or damaged.
- The crown is extensively cracked or missing and patching is only a temporary fix.
- Structural framing or the flashing interface with the roof is compromised.
Rebuilding costs more up front but can resolve chronic issues and provide a longer service life compared to repeated spot repairs.
Where to learn more
For general chimney care and waterproofing tips, established home-lifestyle resources can be helpful. Better Homes & Gardens has practical articles on chimney and roof maintenance that homeowners find useful: Better Homes & Gardens — chimney and roof care.
Frequently Asked Questions (FAQs)
Why does my chimney only leak during heavy wind-driven rain?
Wind-driven rain can be forced into small gaps, behind flashing, or down the flue in ways that regular vertical rain doesn’t. Caps that stop vertical rain might not block wind-driven water. Properly designed caps, crowns, and integrated flashing usually handle wind-driven rain better.
Can I waterproof my chimney interior to stop leaks?
No. Interior waterproofing of the flue is unsafe. Only exterior breathable masonry sealants should be used on the outside of the chimney. Water that enters the flue usually comes from the outside or through the top; fixing the cap, crown, flashing, or masonry is the correct approach.
Is a leaking chimney dangerous?
Yes, chronic leaks can lead to mold, wood rot in structural framing, and flue damage that affects ventilation and fire safety. Small leaks might seem harmless but can escalate quickly, so prompt attention is important.
How often should chimneys be inspected?
Most experts recommend an annual inspection and cleaning if you use your fireplace regularly. If you don’t use it, an inspection every 2–3 years is still wise—especially after major storms or if you notice water stains.
Will a chimney cap stop all leaks?
A chimney cap prevents rain, animals, and debris from entering the flue, and it reduces many leak scenarios, but it won’t stop leaks caused by failing flashing, a cracked crown, or porous brick. Caps are an important part of a comprehensive solution.
Final checklist before the next storm
- Verify a functional chimney cap is in place.
- Inspect crown for cracks and proper slope; repair if needed.
- Check flashing and roof-to-chimney seals; clear debris from the roof area.
- Schedule a chimney sweep/inspection if you haven’t had one in the last year.
- Consider a water-repellent treatment for exterior masonry in wet climates.
Addressing a chimney leaking during storms sooner rather than later protects your home, keeps heating systems working safely, and reduces long-term repair costs. If you’re unsure what the next step should be, a qualified chimney professional can perform a targeted inspection and recommend the right mix of temporary and permanent fixes.
If you want to explore broader home comfort tips or redesign ideas that include safe, functional fireplace and chimney setups, consider reading How to Design A Comfortable Modern Living Space for related inspiration and practical guidance.