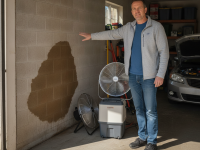
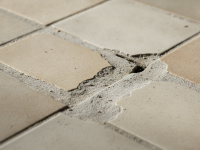
Chimney leaking during storms is one of the most stressful home problems because water can travel through masonry, damage ceilings, and create mold long after the rain stops. Knowing how to identify the source, take safe temporary measures, and arrange proper repairs will protect your home and avoid costly follow-ups.
Why chimneys leak during storms
Storms subject chimneys to heavy, driven rain, high winds, snow, and debris. Water can enter a chimney in many ways—through damaged flashing, cracked chimney crown, porous bricks, a missing or damaged chimney cap, or gaps in mortar joints. Once water breaches the chimney envelope, it can run down the flue or behind the masonry and appear as stains on ceilings, wet insulation in attics, or damp spots around the fireplace.
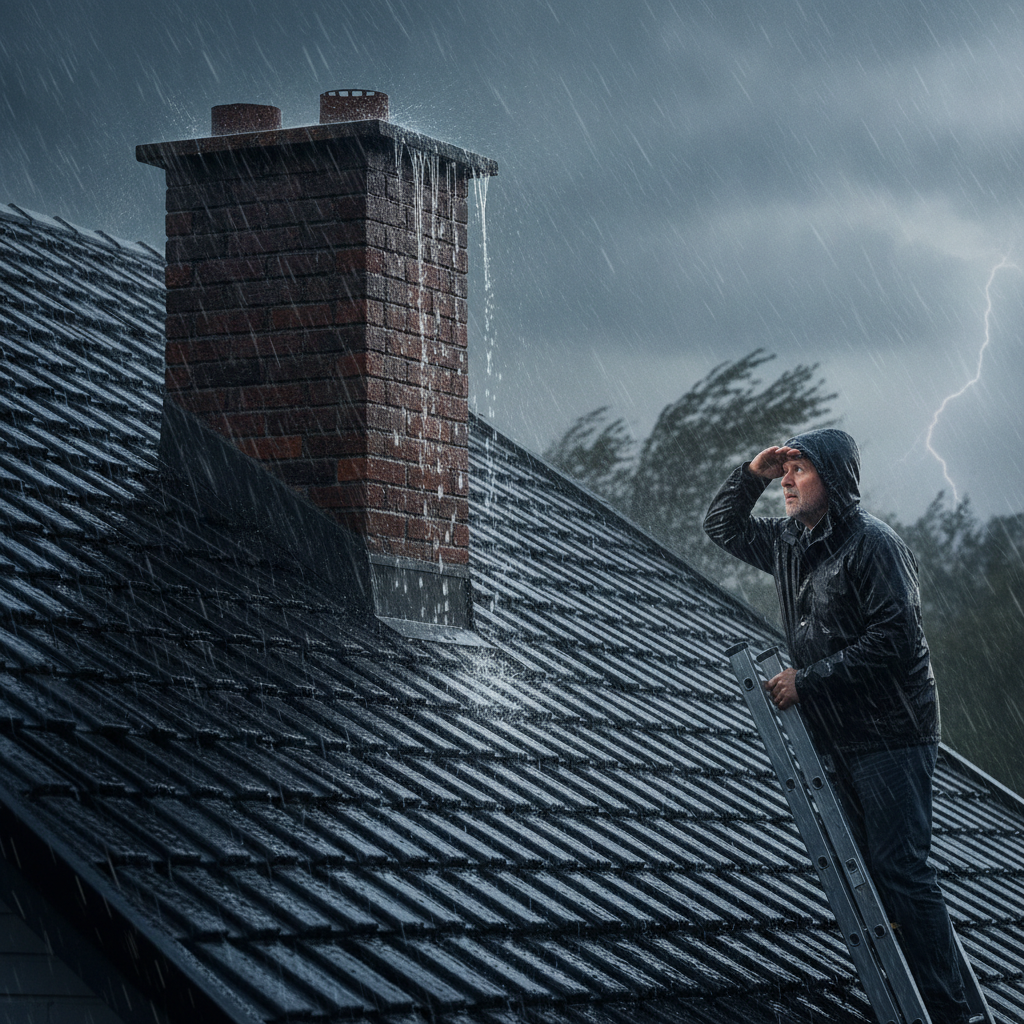
How to tell if your chimney is leaking during storms
- Water stains on ceilings, walls, or around the fireplace after heavy rain.
- Drips or visible water at the top of the fireplace or inside the flue.
- Attic wet spots near roof flashing and the chimney chase.
- Mildew, musty odors, or peeling paint near the chimney area.
- Loose or crumbling mortar joints, spalling bricks, or efflorescence (white mineral streaks) on the chimney exterior.
Common causes of chimney leaks during storms
1. Damaged or failing flashing
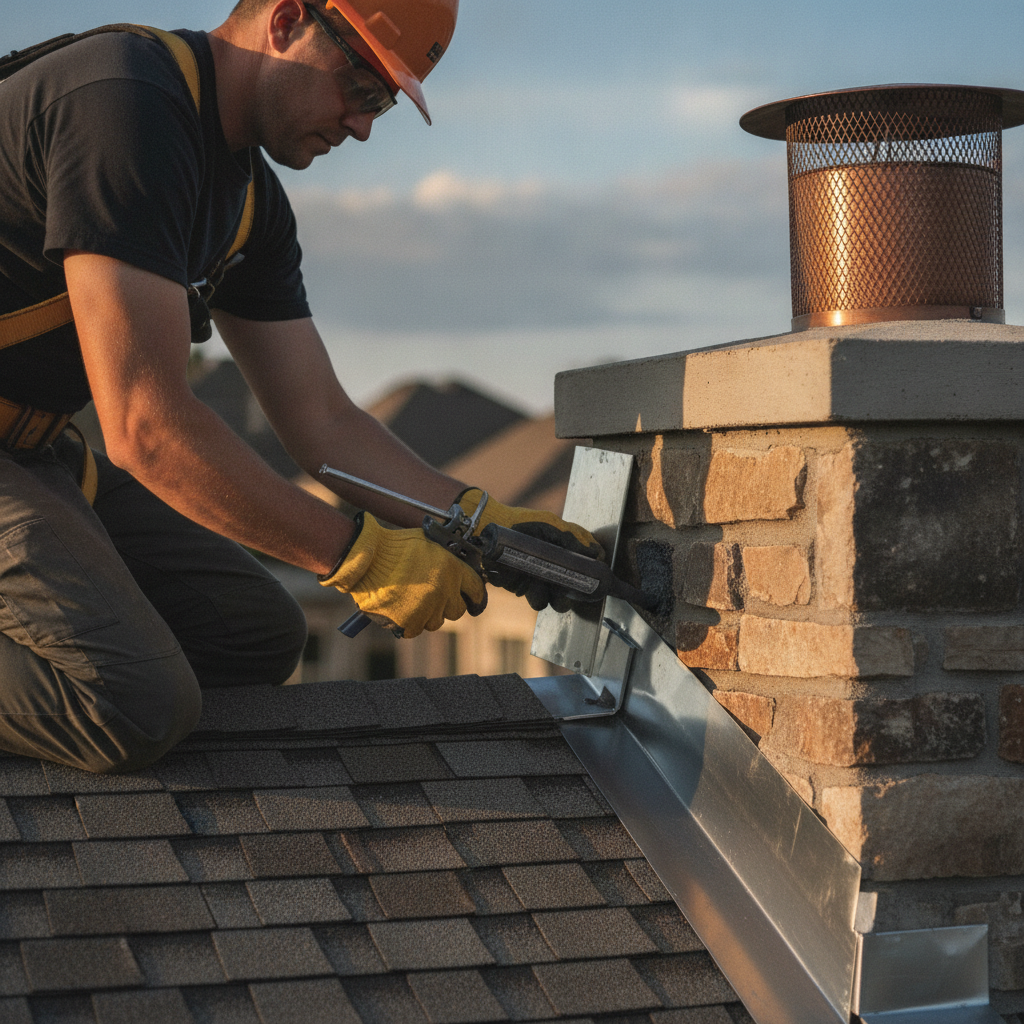
Flashing is the metal (usually aluminum or galvanized steel) that seals the joint between the chimney and the roof. If flashing is corroded, lifted, or installed improperly, rain driven by wind can get under the shingles and into the roof framing.
2. Cracked or deteriorated chimney crown
The chimney crown (the concrete cap that sheds water from the top of the chimney) can crack with freeze–thaw cycles or age. Cracks let water seep into the masonry and flue.
3. Missing or damaged chimney cap
A cap prevents rain, animals, and debris from entering the flue. Without a properly fitted cap, heavy rain will enter the chimney directly.
4. Porous or spalling bricks and failing mortar (repointing needed)
Brick and mortar can absorb water; over time that moisture entry increases and can route water indoors.
5. Flue liner cracks
A damaged flue liner can allow water into the inside layers of the chimney or into the home; it also poses safety risks when burning a fire.
Immediate steps to protect your home during a storm
When you discover a leaking chimney in the middle of a storm, focus on limiting water damage and safety:
- Move furniture, rugs, and electronics away from the wet area and place buckets under active drips.
- Use towels and tarps to protect flooring and furniture from ongoing drips.
- If water is coming through the ceiling, nail a temporary drip board (a small piece of wood or a paint tray) to redirect water into a bucket away from valuables.
- Turn off any attic fans or electrical outlets/switches near the leak to reduce electrical hazards—if wiring is wet, turn off power to that circuit and consult an electrician.
- Do not light a fire or use gas appliances if you suspect water damage to the chimney or flue—this can be dangerous. Ensure carbon monoxide detectors are working.
Temporary fixes you can do during or just after the storm
- Use a tarp on the roof if you can safely access it: cover the area around the chimney and secure the tarp with roofing nails or sandbags. This is only a short-term measure until a professional can repair flashing.
- Install a temporary chimney cap: if the existing cap is gone and conditions allow, place a heavy plastic sheet over the crown and secure it. Do not use this as a substitute for a metal cap designed for venting.
- Seal gaps inside with waterproof caulk: for small interior leaks where water enters a chase, use silicone or polyurethane exterior-grade caulk as a stopgap.
How to diagnose the leak after the storm
Once weather permits, perform a careful inspection or hire a qualified chimney professional (mason or roofer with chimney experience). Key places to check:
- Roof flashing for rust, gaps, or sealant failures.
- Chimney crown for visible cracks or crumbling edges.
- Chimney cap and spark arrestor—check for missing parts or holes.
- Masonry for spalled bricks, loose mortar, or efflorescence.
- Attic and ceiling for water paths and insulation saturation.
- Interior flue liner condition—consider a camera inspection by a chimney sweep.
Permanent repairs that stop chimney leaks
1. Flashing replacement or repair
Replacing flashing is one of the most common permanent fixes. Proper flashing should be a combination of step flashing and counterflashing (or a specially fabricated chimney flashing system) and be installed under the shingles with watertight seams.
2. Crown repair or replacement
A cracked crown should be cut out and rebuilt with a crown mix (properly reinforced and sloped to shed water). Avoid simple cosmetic patches that won’t stop deep cracks.
3. Install or replace a chimney cap
A correctly fitting cap with a screen keeps rain and animals out and directs water away from the flue opening.
4. Repointing and brick replacement
Repointing (removing deteriorated mortar and replacing it) and replacing spalled bricks restores the masonry’s ability to shed water and prevents interior leaks.
5. Flue relining
If the flue liner is cracked, relining the flue (cast-in-place or stainless steel liner) protects the chimney structure and improves safety when burning fires.
6. Waterproofing with a breathable sealant
Applying a water-repellent, silane/siloxane-based breathable masonry sealer can reduce water absorption while allowing moisture vapor to escape. Do not use film-forming paints that trap moisture inside the chimney.
Costs and choosing between DIY and professional repairs
Costs vary by region and damage extent:
- Minor flashing repair: $200–$700
- Flashing replacement: $500–$1,500
- Chimney crown repair: $300–$1,200
- Chimney cap installation: $100–$800
- Repointing (partial): $500–$3,000 depending on size
- Full relining: $1,000–$3,000+
DIY may work for simple tasks like cleaning the flue, installing a cap if you’re comfortable on ladders, or minor caulking. But flashing work, crown replacement, relining, and major masonry repairs are best handled by licensed roofers or chimney masons with insurance and proper warranties. Improper repairs can lead to recurring leaks and safety hazards.
Preventive maintenance to avoid future leaks
- Have the chimney inspected annually by a certified chimney sweep or masonry pro.
- Clean the flue yearly if you burn wood to reduce creosote and check liner condition.
- Inspect flashing and shingles after big storms and replace sealant or flashing promptly.
- Apply a breathable masonry water repellent every 3–5 years if your chimney is exposed to severe weather.
- Install a high-quality stainless-steel chimney cap with a proper stainless screen to keep out water and pests.
Insurance, documentation, and when to contact a pro
Document leaks with photos and dates—this helps with insurance claims if storm damage is covered. Contact your homeowner’s insurance company early to understand your coverage. If water is entering multiple locations, if you smell mold, or if there are structural cracks, call a professional immediately. Also consult an electrician if wiring near the leak may have been wet.
Safety concerns related to chimney leaks
- Wet insulation and framing increase mold risk and decrease thermal performance.
- Water-damaged chimney liners can allow carbon monoxide into living spaces if you operate your fireplace or gas appliances—keep detectors working and avoid using the fireplace until a pro inspects it.
- Standing water near electrical fixtures or outlets is an electrocution risk—shut power if necessary.
How professionals diagnose chimney leaks
Chimney pros use a combination of methods:
- Visual roof and chimney inspection for visible damage.
- Water testing—professionals can run water over the chimney to find the entry point.
- Camera inspection of the flue to check liner condition and identify leaks from inside.
- Infrared or moisture meters to trace water paths through walls and ceilings.
Helpful resources
If you want step-by-step homeowner tips about chimney flashing and roof concerns, see this practical guide from Better Homes & Gardens for additional background and visual aids: Better Homes & Gardens guide to fixing a leaky chimney.
Frequently asked questions (FAQ)
Q: Can rain come down the chimney even if the flashing looks okay?
A: Yes. Wind-driven rain can enter through small gaps, a cracked crown, an old cap, or porous masonry even when flashing seems intact. A water test by a pro will pinpoint the source.
Q: Is waterproofing the chimney exterior a permanent fix?
A: Breathable waterproofing reduces water absorption but is a preventive measure, not a cure for structural problems like cracked crowns or failed flashing. Use it alongside necessary repairs.
Q: Can I patch a cracked crown myself?
A: Small surface cracks can be temporarily sealed, but a proper crown replacement uses reinforced crown mixes and slope—usually best left to professionals.
Q: How long after a storm should I expect mold to appear?
A: Mold can begin to grow within 24–48 hours in moist conditions. Address leaks quickly and dry affected areas to reduce mold risk.
Q: Will my homeowner’s insurance cover chimney leaks from a storm?
A: Coverage depends on your policy and whether the leak is from sudden storm damage (often covered) or gradual maintenance issues (often excluded). Document damage and contact your insurer promptly.
Bottom line
A chimney leaking during storms can be alarming, but timely action—temporary containment during the storm, followed by a careful inspection and the right permanent repairs—can prevent larger structural damage and health hazards. Prioritize a professional diagnosis for flashing, crown, and liner issues, and schedule regular chimney maintenance to keep water out for good.
For more ideas on improving your home’s comfort, energy efficiency, and design as you handle repairs, you might find this helpful resource on modern living space design: 👉 internal link (https://mdasid.org/) How to Design A Comfortable Modern Living Space