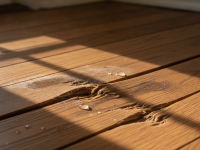
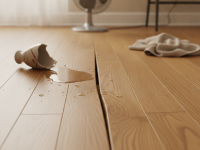
Discovering floorboards lifting after water spill is stressful — seeing gaps, buckling, or raised seams can make any homeowner worry about long-term damage and costly repairs. This guide explains why floorboards lift after a spill, immediate steps to reduce damage, practical drying and repair methods for different floor types, and how to prevent future problems so your floors stay stable and beautiful.
Why water makes floorboards lift
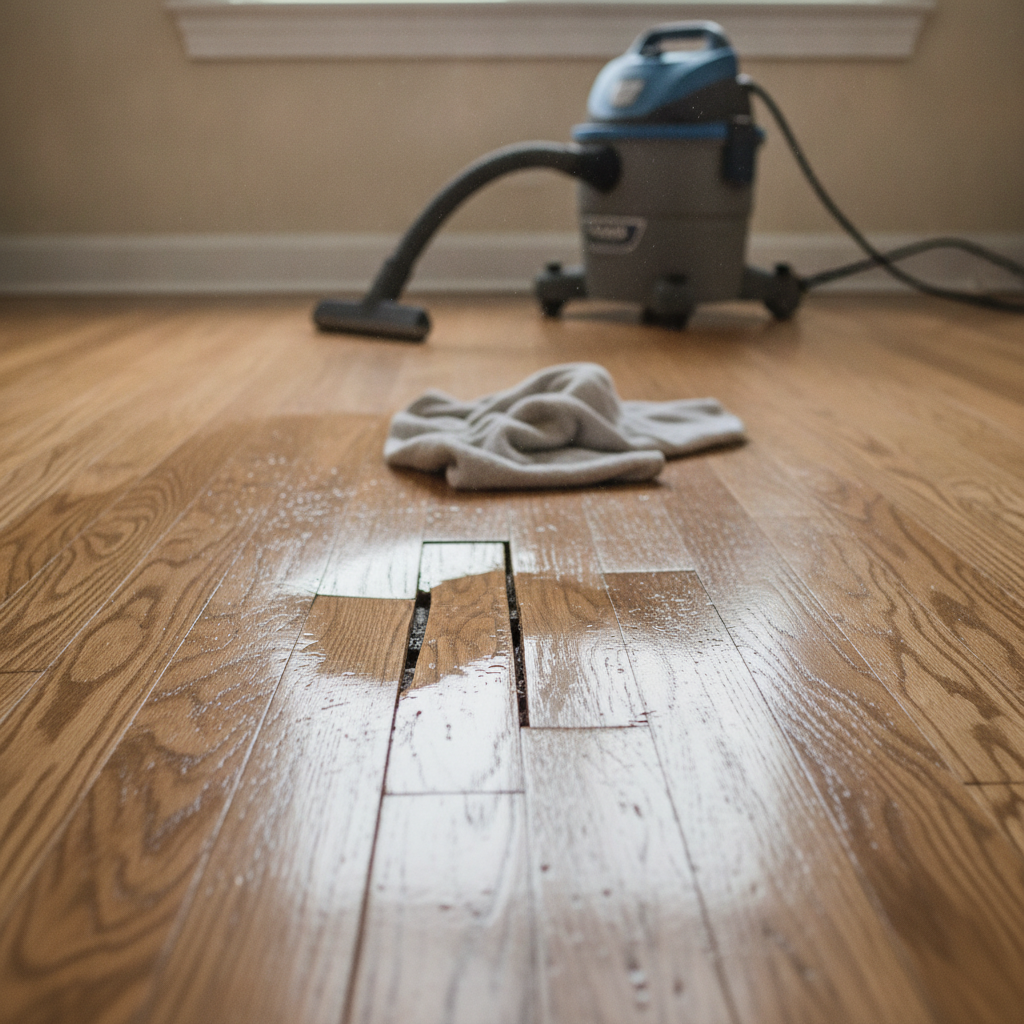
Wood and many composite flooring products absorb water. When moisture gets into the board or the subfloor, the materials swell. Because boards are installed with limited space for expansion, that swelling has to go somewhere: upward or sideways. This causes cupping (edges higher than the center), crowning (center higher than edges), or full buckling where strips push up and separate. Adhesives, nails, and tongue-and-groove joints can fail when wet, and trapped water under the floor can damage subfloors and support structures.
First actions: what to do right after a spill
Quick action limits how much floorboards lift after water spill. Follow these immediate steps:
- Stop the source. If the spill is from a leaking appliance, shut off the water or power if needed.
- Remove people and pets from the area for safety if the water is deep or involves electricity.
- Remove furniture, rugs, and any items on the floor to reduce weight and avoid staining.
- Blot and soak up standing water with towels or a wet/dry vacuum; remove as much surface moisture as possible within the first few hours.
- Open windows and exterior doors to increase ventilation if weather allows.
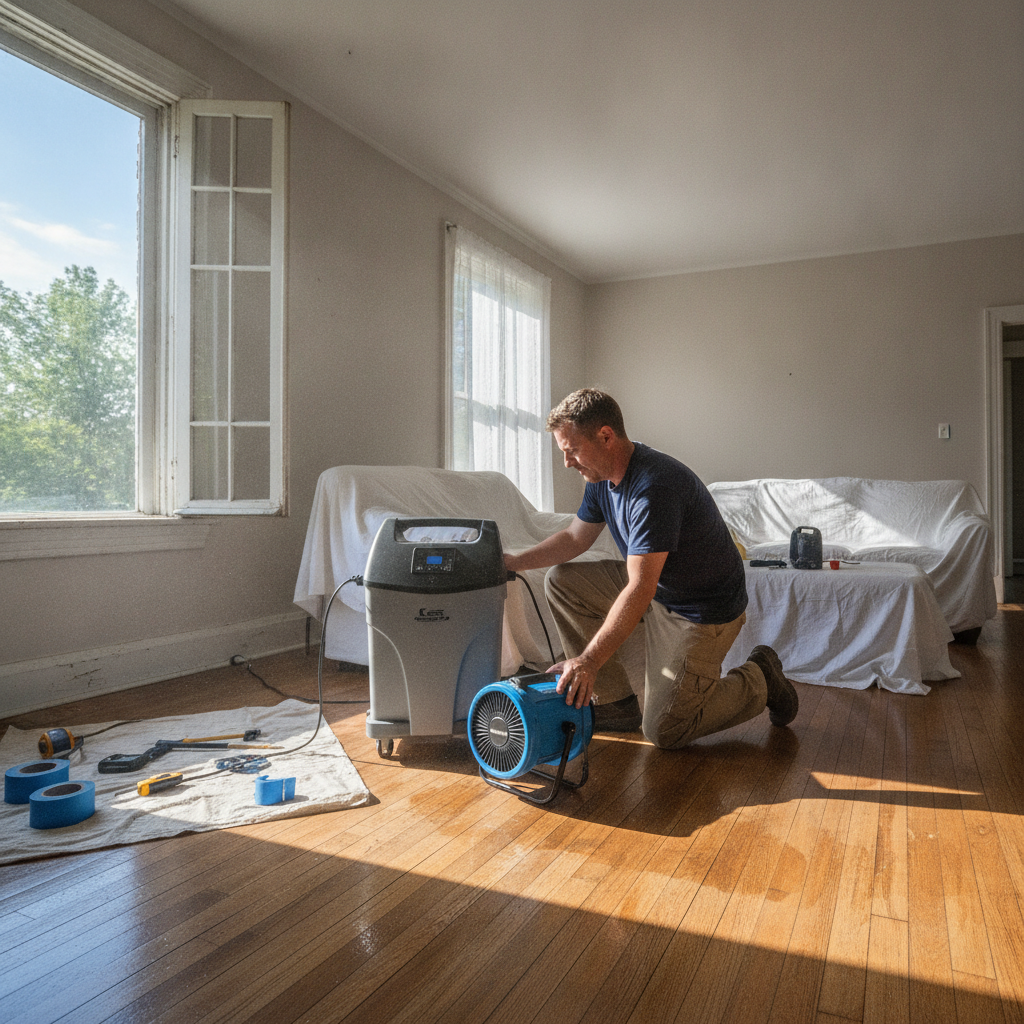
- Set up fans and a dehumidifier immediately. Point fans along the surface and use a dehumidifier to reduce ambient humidity quickly.
- Don’t apply heat directly to wooden boards (for example, with a heat gun) — that can cause further damage.
- Document the spill with photos and notes for insurance if needed.
How drying works — and how long it takes
Drying time depends on the type of flooring, how much water was involved, and environmental conditions. Small spills on well-ventilated floors can be dry within 24–48 hours. If water soaked into the subfloor or the spill was large, drying can take several days to weeks. Using high-capacity fans and a dehumidifier speeds the process significantly. Aim for a consistent indoor relative humidity below 50% during drying and a moisture content in the wood that matches the recommended level for your region (usually 6–9% for hardwood). Consider renting professional-grade drying equipment for serious exposure.
Drying and repair approaches by flooring type
Solid hardwood
Solid hardwood is most prone to swelling and buckling because it reacts directly to moisture changes. If the spill was small and caught early, drying with fans and dehumidifiers may allow boards to shrink back. For minor cupping, controlled drying over several days using directed airflow and reduced humidity often corrects the shape as the wood equilibrates.
If boards remain lifted or the joints open, you might need to: tighten boards with weight/clamps, face-nail and trim, sand and refinish, or replace damaged planks. Severe buckling usually requires removing and replacing affected boards and inspecting the subfloor.
Engineered hardwood
Engineered flooring has a plywood or HDF core with a thin hardwood veneer. It’s more dimensionally stable than solid wood and tolerates moisture better, but the core can delaminate if water reaches it. Quick drying often prevents long-term issues. If planks lift, they may be reinstalled or replaced depending on glue failure or edge damage.
Laminate flooring
Laminate often uses a click-lock system and an HDF core that swells and can crumble when saturated. If only the surface absorbed moisture and the core is intact, remove the affected planks and dry the subfloor before reinstalling. When the core is swollen, replacement is usually necessary because sanding won’t fix structural swelling.
Vinyl and luxury vinyl tile (LVT)
Vinyl is water-resistant, so surface spills rarely cause lifting unless water gets underneath (through seams or damage) and disrupts the adhesive. For glued vinyl, check if adhesive failed — re-adhering may restore the floor. For click-lock vinyl, remove and dry or replace planks that have distorted.
Assessment: how to tell if damage is superficial or structural
- Surface water removed and boards return to flat = likely superficial.
- Persistent gaps, buckled boards, or loose boards = deeper issue.
- Soft or sagging subfloor or creaks = potential structural damage.
- Musty odor, visible mold, or staining under the floor = mold risk — treat promptly.
DIY fixes for lifting floorboards
If the damage is limited, you can try a few careful DIY repairs:
- Continue drying with fans, dehumidifiers, and good ventilation until moisture levels match ambient conditions.
- Weighting — after partial drying, place clean plywood sheets over the lifted area and add weight (books, sandbags) to encourage boards to settle flat. Do this only after most moisture is removed; otherwise boards can trap water between layers.
- Re-gluing loose boards — clean the old adhesive and use an appropriate wood flooring adhesive between joints, then clamp or weight until cured.
- Face-nailing or screwing boards back temporarily — countersink and fill holes before refinishing.
- Small cupping can sometimes be flattened by sanding the high edges once fully dry, then refinishing. Don’t sand while boards are still swollen.
When to call a professional
Hire a flooring or water-damage restoration professional when:
- Large areas are wet or water soaked into the subfloor.
- Boards remain buckled or separated after 48–72 hours of drying.
- You see mold or smell persistent mildew.
- Structural joists or subfloor show signs of rot or weakening.
- Insurance documentation or professional drying certification is needed.
Professionals use industrial dehumidifiers, inject-drying systems, moisture meters, and structural assessments to ensure complete drying and repair.
Repair options professionals typically use
- Structural drying with high-capacity equipment to remove moisture from subfloor and joists.
- Board replacement and subfloor repair, including replacing damaged plywood or OSB.
- Inject-drying (specialized machines that dry underneath floors) for glued floors to save flooring from removal.
- Sanding and refinishing solid hardwood once stable moisture levels are achieved.
- Mold remediation if contamination is present.
Estimating costs
Costs vary widely by damage severity, floor type, and region:
- DIY drying and small fixes: under $200–$600 (fans, dehumidifier rental, adhesives).
- Professional drying/restoration for small rooms: $500–$2,000.
- Board replacement and refinishing: $2–$8 per sq ft for materials and labor (varies by species and finish). Complete sand-and-refinish jobs can run $3–$10 per sq ft.
- Extensive subfloor replacement or mold remediation: potentially several thousand dollars.
Always get multiple quotes and document damages for potential insurance claims.
Tools and materials you may need
- Moisture meter (for wood and concrete)
- Wet/dry vacuum
- High-velocity fans and directional air movers
- Dehumidifier (rental recommended for serious cases)
- Pry bar, hammer, nail set
- Flooring adhesive and seam sealer (type depends on flooring)
- Replacement boards or planks
- Clamps or heavy weights and clean plywood for flattening
- Sander and finishing supplies if refinishing
Mold risks and health considerations
Even small amounts of trapped moisture can encourage mold growth, which affects indoor air quality and health. Signs of mold include a musty smell, visible spores, discoloration under the flooring, or persistent dampness. If you suspect mold, isolate the area, increase drying and ventilation, and consult a mold remediation professional for testing and removal. For general cleaning and mold-prevention guidance, reputable lifestyle sources provide useful tips on caring for floors and indoor environments.
For further reading on proper maintenance and repair techniques for wood floors, see Better Homes & Gardens’ flooring resources: Better Homes & Gardens – Flooring.
Prevention: how to keep floorboards from lifting in the future
Long-term prevention addresses both moisture entry and room conditions:
- Fix leaks promptly—check appliances (dishwashers, refrigerators, washers), plumbing, and windows regularly.
- Install water alarms near vulnerable appliances and in basements.
- Leave proper expansion gaps around perimeter when installing hardwood or laminate so boards have room to move without buckling.
- Maintain indoor humidity between 30–50% with a humidifier or dehumidifier depending on season and climate.
- Use waterproof underlayment where recommended and seal seams on engineered products where appropriate.
- Use area rugs or mats in high-risk spill zones (kitchen, entryways) and wipe spills immediately.
- Allow hardwood to acclimate before installation — bringing materials into the home for a few days helps prevent later movement.
Insurance and warranty considerations
Check your homeowner’s insurance policy for water damage coverage — many policies differentiate between sudden accidental discharge (often covered) and gradual damage (often excluded). Keep receipts, photos, and professional assessment reports for claims. Also, review flooring manufacturer warranties; many do not cover water damage, but installation-related failures might be covered under installer guarantees.
Frequently Asked Questions (FAQs)
Q: How long after a spill will floorboards lift?
A: Boards can start to swell within hours if moisture penetrates the wood. Visible cupping or slight lifting often appears within 24–72 hours. The full extent may reveal itself after a few days as materials equilibrate.
Q: Can warped or cupped boards return to normal?
A: Minor cupping may reverse as the wood dries and returns to its original moisture content. Severe warping or buckling usually requires repair or replacement of affected boards.
Q: Is sanding enough to fix water-damaged hardwood?
A: Sanding can address surface irregularities like cupping edges (after the boards are completely dry), but it won’t fix structural damage, glue failure, or boards that remain swollen or split. Ensure moisture content is appropriate before sanding.
Q: How do I know when it’s safe to refinish after a spill?
A: Only refinish when moisture readings show the wood has stabilized to the normal range for your region (commonly 6–9% for hardwood). Refinishing too early traps moisture and leads to finish failure and further problems.
Q: Will my subfloor be damaged if floorboards lifted?
A: Possibly. If water pooled and soaked through to the subfloor, plywood or OSB can delaminate, weaken, or rot. A professional inspection will determine if subfloor repair is necessary.
Quick checklist to follow if you find floorboards lifting after water spill
- Stop the source of water immediately.
- Remove surface water and dry with fans and dehumidifiers.
- Move furniture and items off affected area.
- Document damage for insurance.
- Monitor moisture levels with a meter until they normalize.
- Decide between DIY fixes and professional help depending on severity.
- Address mold concerns quickly and safely.
- Make repairs, then take preventive steps to avoid future incidents.
Dealing with floorboards lifting after water spill is stressful, but quick action and the right drying and repair approach often prevent permanent damage. If you’re unsure about the extent of the damage or encounter mold and structural concerns, bring in a professional to evaluate and restore your floors safely.
For more ideas on creating a comfortable, resilient home—and to help you think beyond repair toward long-term design—consider exploring design tips and room planning resources that balance style with practical living needs.
👉 internal link (https://mdasid.org/) How to Design A Comfortable Modern Living Space