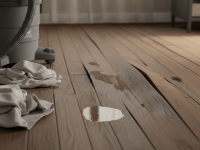
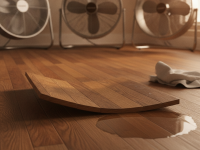
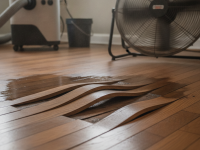
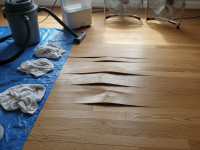
Seeing your floorboards lifting after a water spill is stressful—whether it’s a single cupped plank or broad buckling across a room, quick, correct action can mean the difference between a minor repair and a costly replacement. This guide walks you through immediate steps to reduce damage, how to assess and repair different floor types, when to call a professional, and long-term prevention so one spill doesn’t turn into an ongoing problem.
Why floorboards lift after a water spill
Wood and many flooring materials absorb moisture. When floorboards take on water they expand; as they dry they can shrink unevenly. That movement can cause cupping (edges higher than the center), crowning (center rises above edges), or buckling (entire boards separate and lift). The severity depends on amount of water, time before drying, and the flooring material (solid hardwood, engineered wood, laminate, vinyl, etc.).
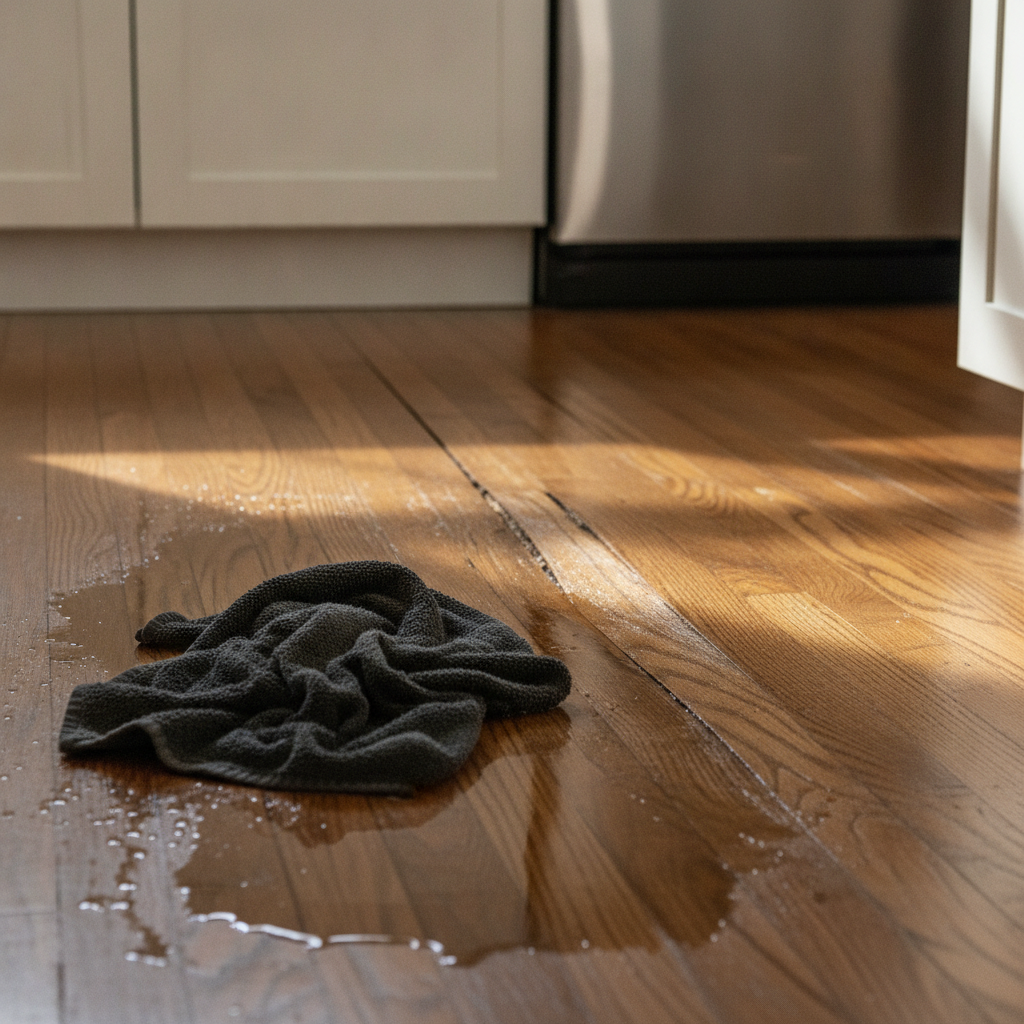
Immediate steps to take if you notice lifting
Act fast. The first hours after a spill are critical to limit swelling and mold growth.
- Stop the water source. Turn off the supply, unplug appliances, or remove the wet object causing the spill.
- Protect people and belongings. Keep foot traffic off the affected area and move rugs, furniture, and electronics away.
- Remove standing water. Use towels, a mop, or a wet/dry vacuum to extract water quickly.
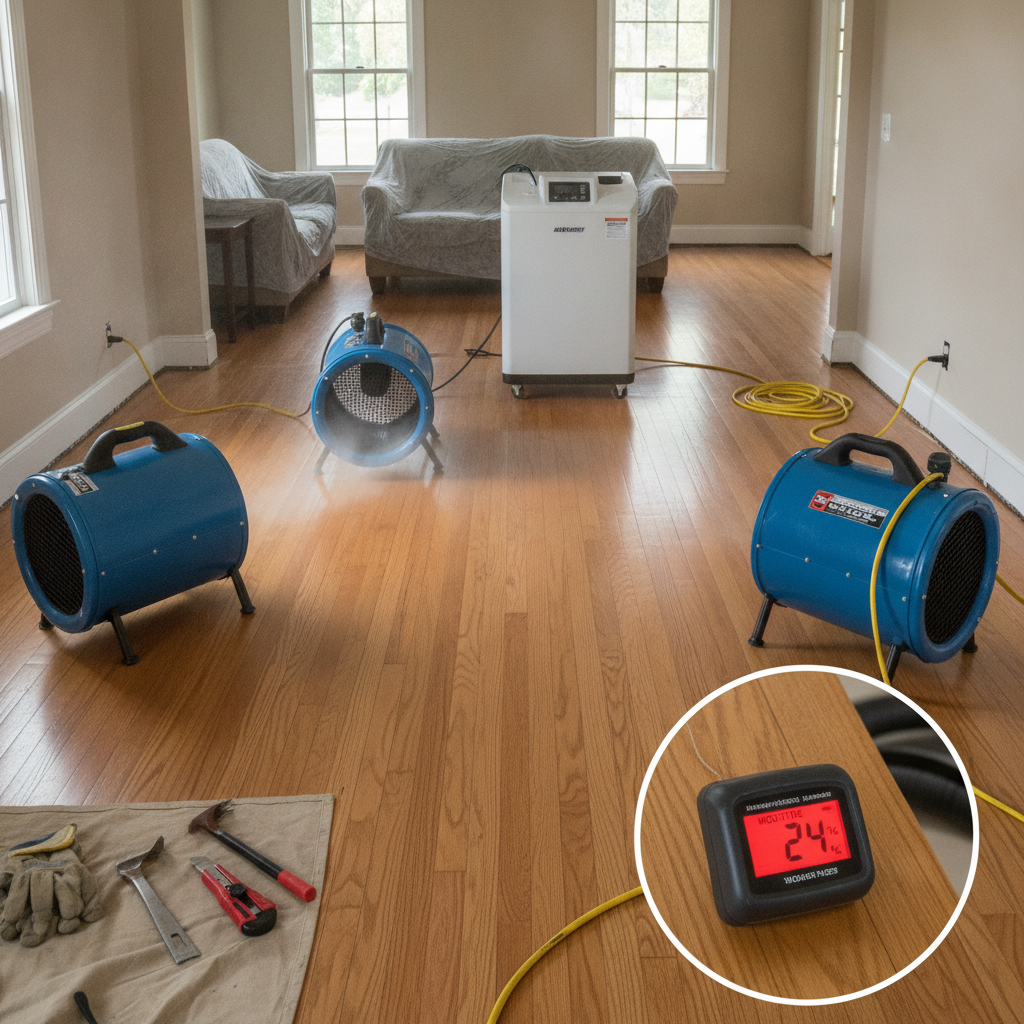
- Increase airflow and drying. Place fans and a dehumidifier in the room; open windows if weather permits.
- Lift baseboards and trim if possible. This allows air under the boards—only do this if you’re comfortable removing trim without damaging it.
- Document damage for insurance. Take clear photos and notes about what happened, when, and first actions taken.
How to dry and stabilize the floor
Proper drying means controlling both airflow and humidity. Use a combination of tools and techniques to speed drying while preventing further damage.
Tools you’ll likely need
- Wet/dry vacuum
- High-capacity fans (air movers)
- Dehumidifier (ideally a refrigerant unit for faster drying)
- Moisture meter for wood or concrete
- Towels, mops, and absorbent materials
- Plastic sheeting and fans for directed airflow under lifted boards (if needed)
Drying timeline and targets
Small spills with prompt attention may dry in 24–72 hours. Larger incidents—especially if water soaked a subfloor or came from a burst pipe—can take days to weeks. Use a moisture meter to track progress. For hardwood, aim for wood moisture content within a few percentage points of the rest of the house (typically around 6–12% depending on regional climate and wood species) before making permanent repairs like sanding or gluing.
Assessing damage by flooring type
Solid hardwood
Solid hardwood is most vulnerable to swelling and buckling because it’s a solid piece of wood. If the spill was small and dried quickly, boards may cup but flatten as they return to stable moisture content. For major swelling or buckling, boards often need to be replaced. Do not sand or refinish until moisture readings are stable—sanding too soon can damage the floor permanently.
Engineered wood
Engineered wood is more dimensionally stable because of its plywood core. If only the surface layer is affected and drying is prompt, you may be able to sand and refinish or replace only a few boards. Long exposure increases risk of delamination, in which case replacement is likely.
Laminate
Laminate has a fiberboard core that swells and disintegrates when wet. Often laminate can’t be salvaged if water penetrated seams. Replace boards or the whole floor depending on extent.
Vinyl and luxury vinyl plank (LVP)
Vinyl is water-resistant but not immune. LVP can buckle if trapped water under the seams or adhesive fails. Many vinyl floors can be dried and re-adhered, but boards or sections may need replacement.
Bamboo and other engineered products
Bamboo behaves like hardwood but has its own properties. Rapid drying can sometimes restore shape, but long exposures cause permanent distortion and must be replaced.
DIY fixes for minor lifting and cupping
If the damage is small and the boards are still structurally sound, try these steps first:
- Dry thoroughly with fans and dehumidifier for several days.
- Weigh down cupped boards with flat, heavy objects (plywood + sandbags) after the wood has started to dry; check daily—do not glue while wood is still damp.
- For small gaps, use a hardwood floor cleaner and then refill gaps with color-matched wood filler once moisture stable.
- If a board edge lifted but didn’t crack, you can sometimes tighten it back into place using construction adhesive and weights—only after confirming low moisture content.
When you need professional repair or replacement
Call a professional if:
- Large sections of the floor are buckled or the subfloor is wet.
- Moisture meter reads significantly above normal limits and won’t drop with drying equipment.
- There’s visible mold, persistent musty odor, or you have health concerns.
- Structural members, stairs, or load-bearing flooring are affected.
Professionals can provide structural drying, subfloor repair, and properly matched replacement boards. They typically use commercial dehumidifiers and moisture probes to confirm dryness, and can advise on whether sanding/refinishing or full replacement is needed.
Repair options and typical costs (ballpark)
Costs vary wildly by material, region, and extent of damage. Below are very general ranges to help planning:
- Drying and minor repairs: $200–$1,000
- Replacing several boards or patch repair: $300–$1,500
- Refinishing a section of hardwood: $1,000–$3,500
- Full floor replacement (hardwood): $3,000–$10,000+
- Structural or subfloor repairs: depends on extent—often $1,000–$5,000+
Get multiple estimates and ask for moisture readings and warranties on work.
How to tell if sanding will fix the problem
Sanding is only appropriate when the wood is structurally intact and moisture content is within acceptable range. If boards are cupped but flatten after drying, sanding and refinishing can restore appearance. If wood delaminated, cracked, or buckled permanently, sanding won’t fix it; replacement is required.
Mold risk and safety
Water that soaks into flooring and subflooring can create ideal conditions for mold within 24–48 hours. If you smell mold or see discoloration, contain the area, wear N95 respirator and gloves when inspecting, and consult a remediation specialist. Addressing mold early prevents health risks and larger remediation bills.
Preventing future lifting after spills
Prevention is the best investment. Use these habits and upgrades to reduce future risk:
- Wipe up spills immediately—soap and water counts as a spill.
- Use waterproof mats near sinks, dishwashers, laundry machines, and entryways.
- Install a water alarm near appliances and under sinks.
- Maintain consistent indoor humidity between 30–50% with a humidifier/dehumidifier as needed.
- Ensure proper installation with adequate expansion gaps around the room.
- Seal joints and transitions, especially in kitchens and bathrooms, and inspect seals each year.
- Acclimate new flooring before installation to match home humidity conditions.
Dealing with insurance
Homeowner policies often cover sudden, accidental water damage (like a burst pipe) but may exclude gradual leaks or poor maintenance. Steps to maximize chances of a claim:
- Document: photograph damage immediately and keep records of repairs and professional assessments.
- Call your insurer promptly to report the loss and ask about next steps.
- Keep receipts for mitigation (fans, dehumidifier rental, professional drying)—these can be reimbursable.
- Be honest about the cause—deliberate concealment of prior damage can void claims.
When replacement is the best option
Replace flooring if:
- Boards are warped, split, delaminated, or have lost structural integrity.
- Mold or contamination is extensive and the material cannot be guaranteed clean.
- Long-term exposure has caused subfloor damage or rot.
Replacing with more water-resistant materials (waterproof LVP, ceramic tile) in high-risk areas like laundry rooms or basements often makes sense.
Quick troubleshooting checklist
- Within minutes: stop water source, remove standing water, move people and items away.
- First 24–72 hours: wet/dry vac, towels, fans, dehumidifier, lift trim if possible.
- Days 3–14: monitor moisture with a meter; continue drying until readings stabilize.
- After dryness: evaluate for sanding, refinishing, or replacement. Consult a pro for structural concerns.
Resources and further reading
For general guidance on home and floor care, Better Homes & Gardens offers trusted articles and tips for floor maintenance and recovery. You can browse their home page here: Better Homes & Gardens.
FAQs
Q: Can lifted floorboards return to normal once dried?
A: Yes—if the moisture exposure was brief and the wood hasn’t permanently deformed. Cupped boards often flatten as moisture evens out. However, buckling, splitting, or delamination usually requires repair or replacement.
Q: How long should I dry a wet wood floor before sanding?
A: Wait until moisture meter readings for the affected boards match stable readings for other parts of the house—or meet manufacturer recommendations—often several days to a few weeks depending on conditions.
Q: Is it safe to walk on buckled floors?
A: Avoid walking on heavily buckled or loose boards. They can break or cause trips. Keep weight off until a professional evaluates structural safety.
Q: Will finish coat (polyurethane) protect floors from spills?
A: Finish helps resist short spills, but it’s not waterproof—liquids can seep into seams or damaged areas. Always clean spills quickly and maintain seals and transitions.
Q: Can I prevent water damage in a rental or older home?
A: Yes—install water alarms, use waterproof flooring in vulnerable rooms, maintain appliances, and keep humidity controlled. Report leaks promptly and use mats in high-risk zones.
Final thoughts
A water spill that causes floorboards to lift is unnerving, but prompt, calm action can minimize lasting damage. Focus first on stopping the source, extracting water, and drying thoroughly. Use moisture readings to guide repairs, and don’t rush into sanding or gluing while wood remains wet. For large incidents, structural damage, or mold, bring in qualified professionals to ensure safe, lasting repairs.
If you want to explore ideas for making your living space both resilient and beautiful, take a look at How to Design A Comfortable Modern Living Space: How to Design A Comfortable Modern Living Space.