Floorboards lifting after a water spill is a stressful sight for any homeowner. Whether it’s a small puddle from a knocked-over plant or a larger event like a burst pipe, wood reacts visibly and quickly to moisture: boards can swell, buckle, cup, or separate. Understanding what’s happening and taking the right steps fast can limit damage, reduce repair costs, and restore your floors properly.
Why floorboards lift after water exposure
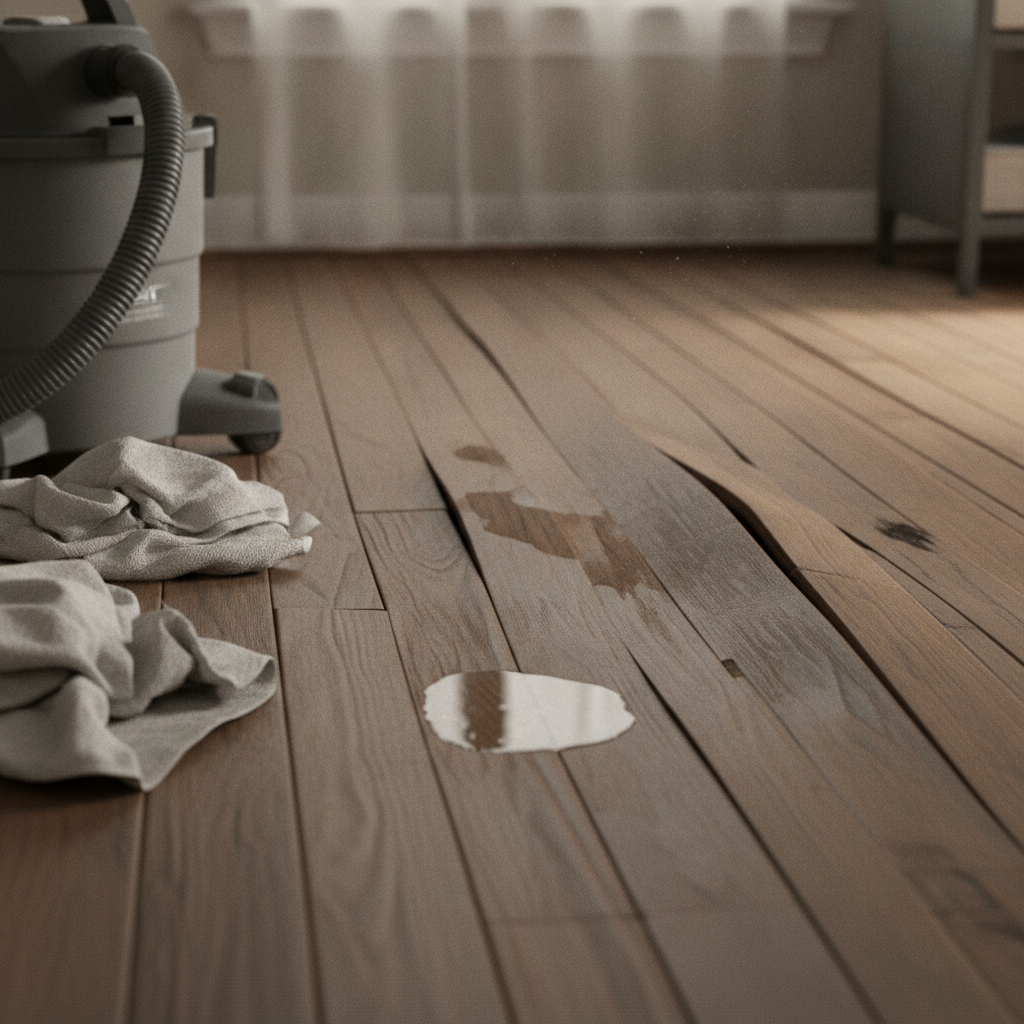
Wood is hygroscopic, which means it absorbs and releases moisture until it reaches equilibrium with the surrounding humidity. When water contacts a floorboard—especially solid hardwood or engineered wood—the fibers expand. If the expansion is constrained (for example, by adjacent boards or a fixed subfloor), the boards have nowhere to go but up, creating raised, buckled, or cupped boards.
- Solid hardwood vs engineered wood: Solid hardwood is more likely to swell and buckle because it’s a single piece of wood through and through. Engineered wood has a plywood or HDF core and a thin veneer; it’s more dimensionally stable but can still delaminate or warp if saturated.
- Subfloor and adhesive issues: Water can weaken glues used for glued-down floors or promote movement between the floor and subfloor, contributing to lifting.
- Prolonged moisture vs short spill: A quick, cleaned-up spill is less likely to cause severe lifting than a hidden leak or flood that soaks the floor over hours or days.
Immediate steps to take after a spill
Quick action reduces the chance of severe damage. Follow these immediate steps after any visible water spill that affects your floor:
- Stop the source: If the spill is ongoing (leak or burst pipe), turn off the water source right away.
- Protect yourself and valuables: Remove area rugs, furniture, and items from the wet area to prevent stains and further damage.
- Contain and blot: Use towels or a wet/dry vacuum to remove standing water. Blot rather than wipe to avoid spreading water deeper into joints.
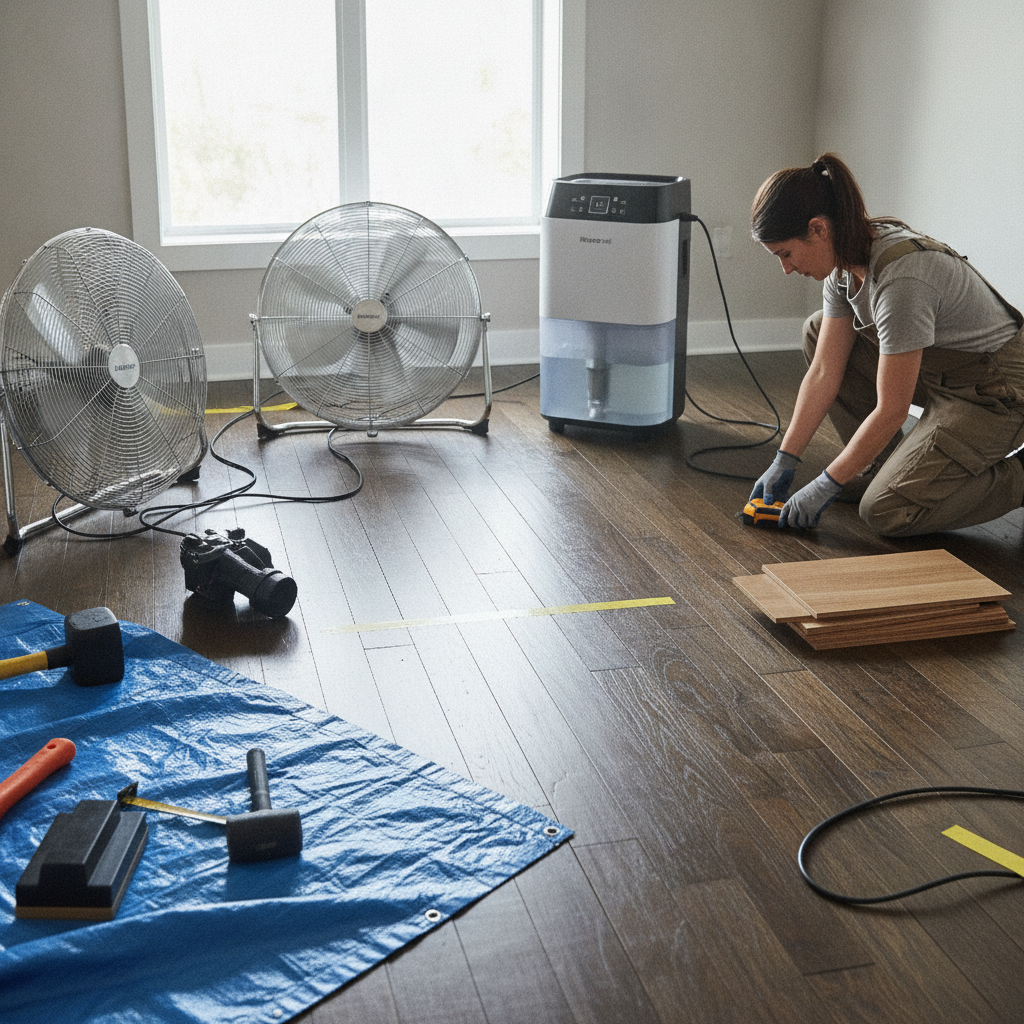
- Dry the area: Open windows, run fans, use dehumidifiers, and increase airflow to accelerate evaporation. Place fans so they blow across the seams and edges where water may pool.
- Document the damage: Take photos and notes for insurance or contractor assessments.
Assessing the damage: what to look for
Once the immediate mess is under control, assess the floor carefully to determine the extent of damage and the proper repair approach.
Signs you can try to salvage the boards
- Minimal lifting with tight seams once dry
- No discoloration or mold growth
- Boards return to near-flat after drying over several days
Signs you need professional repair or replacement
- Severe buckling or popping up of boards
- Delamination (layers separating in engineered boards)
- Persistent gaps, warping, or cupping after drying attempts
- Signs of mold or a musty smell indicating hidden moisture
DIY fixes for minor lifting
If damage is minor and boards are only slightly raised, you can try these DIY approaches. Always proceed carefully—incorrect interventions can make things worse.
Step-by-step minor repair
- Finish drying: Continue with fans and dehumidifiers until moisture readings return to normal. A moisture meter helps determine when wood content is back to safe levels.
- Weight and time: If boards are slightly lifted but structurally intact, place weights (wrapped to avoid damage) over the area for several days while drying. This can sometimes coax boards back into place.
- Tighten loose boards: For floating floors, you may be able to reposition or tap boards back in with a tapping block and mallet. For nailed floors, carefully drive a finishing nail where needed and countersink, then fill and refinish.
- Replace damaged boards: For individual boards that are buckled but not saturated, remove and replace just the affected boards. Keep an extra board or two from installation for this purpose if possible.
When to call a professional
Call a flooring professional or water damage restoration company when you encounter any of the following:
- Multiple boards are buckled or lifting extensively
- Engineered flooring panels are delaminating
- Water entered under the subfloor or through seams extensively
- There’s visible mold or a strong mildew odor
- You’re unsure about the moisture content—professionals use meters and drying protocols that protect your floor long term
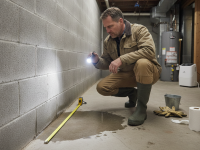
A reputable contractor will inspect the situation, measure moisture levels in the floor and subfloor, recommend drying techniques (HEPA filtration, industrial dehumidifiers), and estimate repairs. For more detailed homeowner guidance on addressing water damage to wood floors, resources like Better Homes & Gardens provide helpful overviews and steps to consider: https://www.bhg.com/home-improvement/flooring/maintenance-repair/repair-water-damaged-hardwood/.
Repair options professionals typically offer
- Specialized drying and moisture control: Using drying mats, floor vacuums, and industrial dehumidifiers that target moisture under boards and between seams.
- Board-level repair: Replacing individual boards with matching species, grain, and finish.
- Sanding and refinishing: If boards have minor cupping or stains but are structurally sound, sanding and refinishing can restore appearance.
- Subfloor repair or replacement: If moisture damaged the subfloor, it may require partial replacement before reinstalling a finished surface.
- Full replacement: In severe cases where widespread buckling or mold exists, replacing the floor is often the safest long-term solution.
Costs and timelines
Costs depend on the severity, floor type, and whether you need drying services, board replacement, or complete reflooring. Rough guidelines:
- Drying equipment rental and basic drying: $200–$1,000 (short events)
- Minor board replacement (DIY): $50–$200 per board depending on species and finish
- Professional localized repair: $300–$1,000
- Refinishing a hardwood floor: $2–$6 per square foot
- Full hardwood replacement: $8–$15+ per square foot for materials and installation
Timelines vary: small spills may only take a few days to dry; professional drying and repairs often span one to three weeks; full replacements take longer depending on material availability and project scale.
Insurance and documentation
Homeowner policies often cover sudden, accidental water damage (burst pipes, appliance failures) but not gradual damage from neglected leaks. Document everything: photos, dates, cause, and any mitigation steps you took. Contact your insurer early to understand covered services, required contractors, and any claims process timelines.
Prevention: how to stop floorboards from lifting in the future
Prevention is the most cost-effective strategy. Some practical measures:
- Control humidity: Maintain indoor humidity around 30–50% using HVAC systems or dehumidifiers, especially in basements and moisture-prone areas.
- Use mats and barriers: Place absorbent mats near sinks, dishwashers, and entryways to catch spills and melted snow.
- Seal gaps: Ensure baseboards and thresholds seal properly and that transitions between flooring types provide adequate expansion space.
- Routine maintenance: Inspect under sinks, behind appliances, and around plumbing fixtures regularly for leaks. Fixing small leaks quickly prevents bigger problems.
- Install moisture barriers: For ground-level or below-grade installations, use a proper moisture barrier as recommended for your floor type.
- Choose the right product: In humid or spill-prone rooms, consider water-resistant flooring options such as luxury vinyl plank, tile, or water-resistant engineered wood.
Common flooring problems after water exposure and what they mean
- Buckling: Entire boards or sections lift off the subfloor—usually means swelling and pressure buildup.
- Cupping: Edges of a board are higher than the center—often from moisture reaching the bottom of the boards more than the top.
- Crowning: The center of a board is higher than the edges, often a sign that the floor was sanded or refinished while still swollen.
- Delamination: Layers of engineered flooring separate—usually permanent and may require replacement.
Tools and products that help with drying and repair
- Wet/dry vacuum
- High-velocity fans and air movers
- Dehumidifiers (commercial or residential)
- Moisture meters (wood and ambient humidity)
- Flooring tapping block, pry bar, and mallet
- Replacement boards or matching flooring materials
- Wood filler, putty, and matching stain/finish
When repair is worth it vs when to replace
Consider these factors when deciding whether to repair or replace:
- Extent of damage: Small, localized lifting or staining is often repairable. Large-area buckling, mold, or structural subfloor damage favors replacement.
- Age and condition of floor: Older floors near the end of their lifespan might be candidates for replacement rather than repeated repairs.
- Matching material availability: If you can source matching boards, patch repairs are seamless. If not, a full replacement might be more visually consistent.
- Cost and long-term value: Compare the cost of a quality repair against the expected lifespan extension versus installing new flooring now.
FAQ
How long does it take for wood floors to dry after a spill?
It depends on the amount of water, room ventilation, and temperature. Small spills can evaporate in 24–72 hours with fans and open windows. Saturation, hidden leaks, or porous subfloors can take several days to weeks with professional drying equipment.
Can I sand and refinish floorboards that were wet?
Only after the wood has completely dried and moisture content has returned to normal. Sanding too early can remove the finish while the wood is still swollen, causing crowning or further issues. Use a moisture meter before proceeding.
Will nails or screws hold buckled boards down?
Temporary nailing might help in minor cases, but if swelling remains, nails can pop or the board may split. Permanent repair usually requires drying and, if necessary, replacing damaged sections.
Is mold a guaranteed outcome after floor wetting?
Not always, but the risk increases if moisture sits for more than 24–48 hours, especially in warm conditions. Mold may grow underboards, in the subfloor, or in wall cavities. If you detect mold or a musty smell, consult a remediation professional.
Are engineered floors immune to water damage?
Engineered floors are more stable than solid hardwood and resist minor moisture better, but they are not waterproof. Prolonged exposure can cause delamination, swelling, or surface finish failure.
Final checklist: immediate to long-term actions
- Stop the water source and remove standing moisture.
- Document damage for insurance.
- Dry thoroughly with fans and dehumidifiers.
- Monitor moisture levels with a meter.
- Attempt minor DIY fixes only if you’re confident; otherwise call a pro.
- Consider replacement for widespread damage or mold.
- Install preventive measures to reduce future risk.
Facing lifting floorboards after a water spill is frustrating, but with fast action, careful assessment, and the right repair strategy you can often restore your flooring or make an informed choice about replacement. If you need more guidance on how to create a resilient, comfortable home or decide which floor type to choose next, explore additional design and living tips in this helpful guide: How to Design A Comfortable Modern Living Space