Floorboards lifting after a water spill is stressful — seeing gaps, buckling, or cupped boards can make any homeowner worry about permanent damage. Whether you have hardwood, engineered wood, or laminate, a fast, methodical response can often limit damage and save you from a costly repair. This guide walks you through immediate steps, drying methods, short-term fixes, long-term repairs, and prevention so you can act confidently when water meets your floor.
Why floorboards lift after water exposure
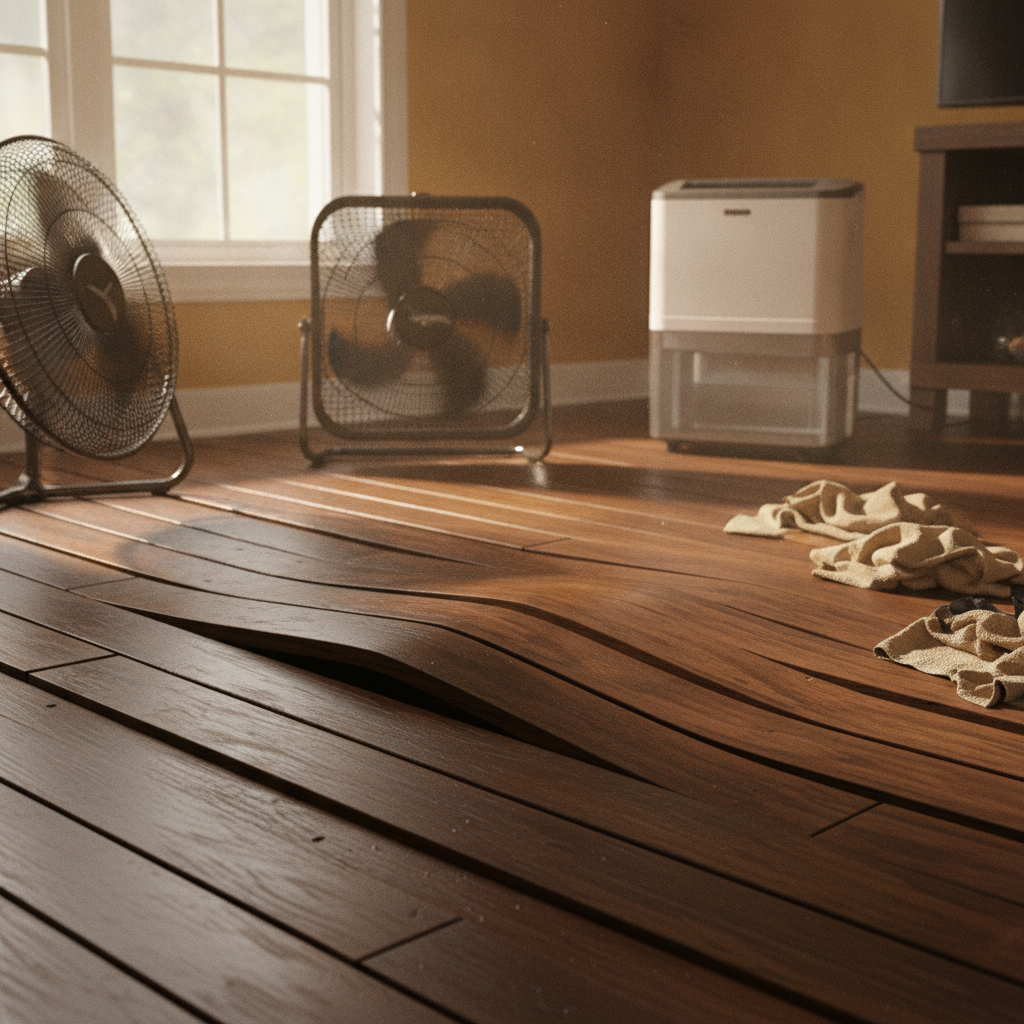
Wood floorboards are porous and react to moisture by swelling. When boards absorb water unevenly or when moisture remains trapped underneath, the wood expands and pushes against adjacent boards and fasteners. That pressure causes lifting, buckling, or cupping. Different floor types react differently:
- Hardwood (solid): Prone to permanent warping and gaps if water sits too long; can sometimes be sanded and refinished if damage is minimal.
- Engineered wood: More dimensionally stable due to layered construction, but surface layers still swell and separate if moisture is prolonged.
- Laminate: The core (fiberboard) swells rapidly and delaminates; often irreversibly damaged from prolonged exposure.
First 0–24 hours: Immediate actions to limit damage
Speed matters. The faster you act, the better the chances of saving the floor.
- Stop the source of water. Turn off plumbing, move appliances, or fix the spill source immediately.
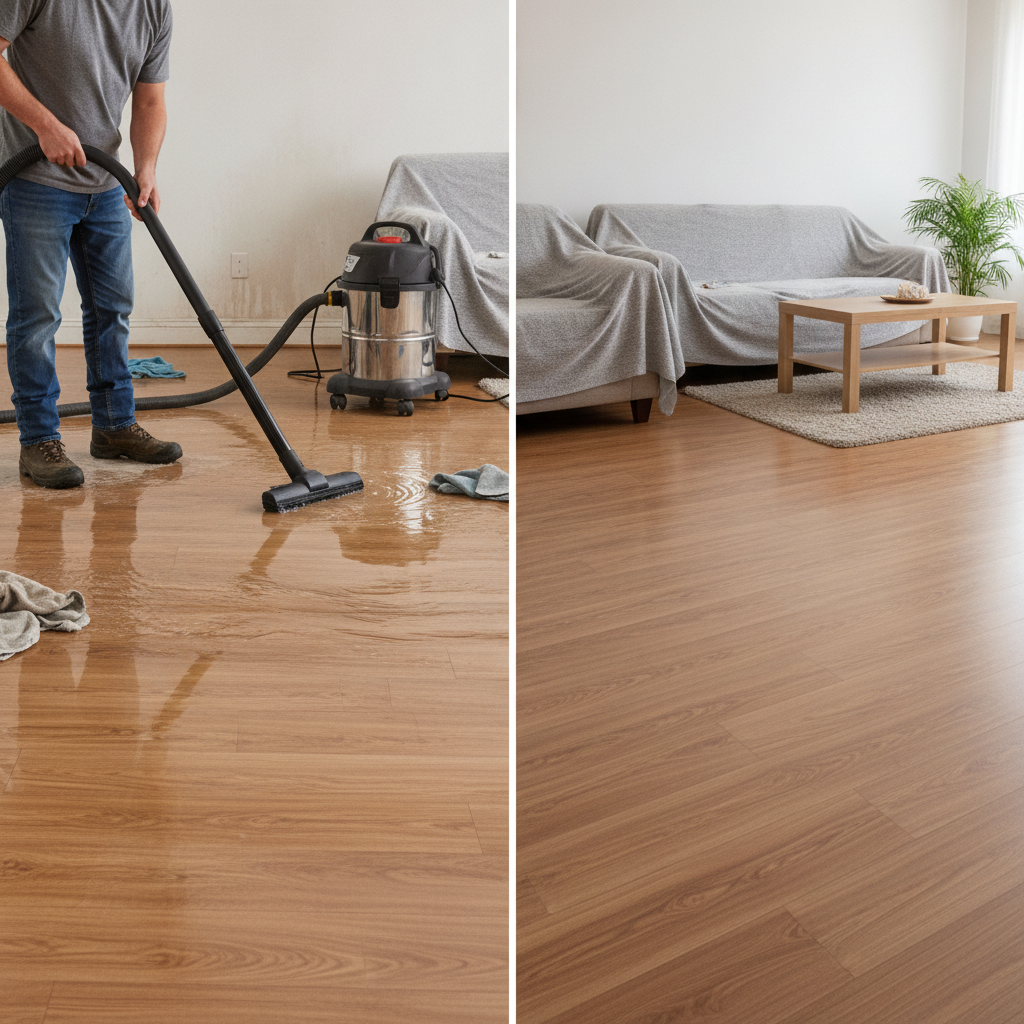
- Remove standing water. Use towels, a wet/dry vacuum, or a mop to extract as much water as possible.
- Ventilate the room. Open windows and doors to increase airflow.
- Turn on fans and dehumidifiers. Point fans across the floor surface (not directly at a single spot) and run a dehumidifier to remove moisture from the air.
- Remove area rugs and furniture. Lift any carpets, pads, and furniture off the wet area to prevent trapping moisture.
- Document damage. Take photos for insurance if the spill is large or if structural damage is suspected.
24–72 hours: Monitoring and controlled drying
After the initial extraction, keep drying and monitoring. How well you dry the floor in this window often determines the extent of repair needed.
- Continue running dehumidifiers and fans nonstop until you see visible signs of drying and the moisture readings level off.
- Check for lifted boards. Small gaps may close as wood dries; severe buckling that curves upward often indicates irreversible deformation.
- Use moisture meters. A pin or non‑invasive moisture meter helps measure wood moisture content. Normal readings for interior wood are typically between 6–12% depending on local climate and season.
- Remove baseboards if needed. If moisture has traveled beneath the boards, gently remove baseboards to allow better airflow and drying to the edges.
- Keep room temperature stable. Rapid changes in temperature can cause further movement; maintain a steady, moderate heat to aid drying.
Identifying the severity: repair options by damage type
Once dry, examine the floor to choose an appropriate repair route.
Minor swelling or gaps
- If boards have slightly lifted or developed small gaps, the wood often settles back as moisture content returns to normal. A few days to a couple of weeks of drying may solve it.
- Light sanding and refinishing can address small surface cupping or discoloration.
Moderate lifting or cupping
- Boards that are cupped (center lower than edges) or have moderate lift may require partial board replacement. A professional can remove and replace individual planks.
- For engineered wood, replacing the top veneer planks may restore the look without full-floor replacement.
Severe buckling or delamination
- When boards have lifted several inches or laminate cores have swollen and separated, full board or even full-floor replacement is often necessary.
- Structural concerns (floor squeaks, weakened subfloor) require a contractor to inspect and repair the subfloor before installing new flooring.
Step-by-step DIY repair for minor lifting (hardwood)
If the lifting is slight and the boards are structurally sound, you can try a careful DIY approach:
- Ensure the floor is completely dry using fans and a dehumidifier for several days.
- Use a rubber mallet and a scrap wood block to gently tap boards back into place along their tongue-and-groove seams. Work slowly to avoid cracking the finish.
- If nails or staples have popped up, remove them and refasten with flooring cleats or screws angled into the tongue where possible. Countersink screws and fill holes with matching wood filler.
- Sand any high spots and refinish with a matching stain and finish coat to seal the wood.
- Monitor the repaired area for a week to ensure boards remain stable.
When to call a professional
Call a flooring or water‑damage restoration professional if any of the following apply:
- Large areas (more than a few square feet) are wet or buckled.
- Water came from contaminated sources (sewage, floodwater) — this is a health hazard and requires specialized cleanup.
- Subfloor appears soft, spongy, or mold is visible. Mold growth needs professional remediation.
- The moisture meter shows persistently high readings after 72 hours of drying, or boards are unstable when walked on.
Costs to expect
Repair costs vary widely depending on floor type and extent of damage:
- Minor sanding and refinishing: $3–$8 per square foot (depending on region and finish).
- Partial plank replacement: $30–$200 per plank installed, depending on material and complexity.
- Full floor replacement: $3–$12 per square foot for laminate; hardwood and engineered wood typically $8–$20+ per square foot installed.
- Professional water remediation (extraction, drying, monitoring): $500–$2,000 or more for large events.
Get multiple quotes and ask for itemized estimates before committing to a contractor.
Preventing future damage
Once repaired, take steps to minimize future water damage:
- Use waterproof mats under sinks, dishwashers, and refrigerators.
- Install water sensors with alarms near water sources to detect leaks early.
- Maintain humidity levels indoors between 30–50% to reduce wood movement.
- Wipe up spills immediately and avoid prolonged exposure to wet footwear or pet accidents.
- Regularly inspect plumbing and appliances for leaks and repair promptly.
Special tips by floor type
Hardwood
Hardwood recovers best when moisture is removed quickly. Avoid inexpensive fixes like forcing boards down with heavy weights — this can damage tongues and grooves. If cupping is present, allow prolonged drying before sanding; sanding too quickly can make the difference permanent.
Engineered wood
Engineered wood tolerates brief moisture better than solid hardwood, but the top veneer can still delaminate. Quick drying and professional advice are recommended for glued installations.
Laminate
Laminate often suffers irreparable damage because the fiberboard core swells. Replace affected planks promptly and consider switching to more water-resistant flooring in moisture-prone areas.
Dealing with mold and health concerns
If the spill involved contaminated water or if you see any mold growth (fuzzy patches, musty odors), take immediate precautions:
- Wear gloves and a mask when inspecting or cleaning.
- For any visible mold larger than a few square feet, consult a mold remediation specialist.
- Contaminated water (black water) cleanup should be handled by professionals trained in hazardous cleanup and sanitation.
Tools and materials you might need
- Wet/dry vacuum
- High-capacity fans and box fans
- Dehumidifier
- Moisture meter (pin or non-invasive)
- Rubber mallet and flooring tapping block
- Flooring cleats, nails, or screws for refastening
- Wood filler, sandpaper, and matching stain/finish
How long does it take for floorboards to return to normal?
The drying timeline depends on the volume of water, floor type, and environmental conditions. Small spills that are cleaned immediately may require a few days to a week of drying. More extensive events can take one to three weeks or longer, especially if subfloor or insulation is involved. Use a moisture meter to confirm safe levels rather than relying solely on visual cues.
Further reading and trusted resources
For additional guidance on caring for hardwood floors and water damage prevention, consult reliable home maintenance resources such as Better Homes & Gardens: tips for fixing water-damaged hardwood floors. They offer practical home-focused advice that complements the steps outlined here.
Frequently asked questions (FAQs)
Will floorboards flatten back down after drying?
Sometimes. If the wood only absorbed a small amount of moisture and the structural integrity is intact, boards may settle back into place as they dry. Severe buckling and warping often become permanent and require repair or replacement.
Can I use heat to dry out the floor faster?
Avoid using direct heat sources like blowtorches or space heaters near the floor. Controlled, consistent heat from HVAC systems plus fans and dehumidifiers is preferable. Too-rapid drying can cause cracking or further separation.
Is it safe to walk on lifted floorboards?
Lightly walking on slightly raised boards is usually safe, but avoid heavy traffic or putting furniture back until the floor is dry. Severely lifted boards can be unstable and may cause trips or further damage.
Will insurance cover water damage to floors?
It depends on your policy and the water source. Sudden, accidental damage (like an overflowing dishwasher) is often covered, while gradual damage from maintenance issues typically is not. Document the damage and contact your insurer promptly.
Final checklist: Quick steps when floorboards lift after a spill
- Stop the water source.
- Remove standing water immediately.
- Ventilate and run fans/dehumidifiers.
- Move rugs and furniture; document damage.
- Monitor moisture with a meter and assess lifting severity.
- Use DIY fixes for minor issues; call pros for major or contaminated damage.
If you’re unsure about the extent of damage or the right repair approach, consider getting an expert assessment to protect your floor and home environment. For inspiration on redesigning or upgrading a damaged space once repairs are done, explore How to Design A Comfortable Modern Living Space at https://mdasid.org/ How to Design A Comfortable Modern Living Space.
More help
If you’d like, you can follow the link above to read about designing comfortable interiors after renovation — it’s a helpful next step when you’re planning repairs or an update to your flooring.


