If you’ve discovered floorboards lifting after water spill, it’s easy to panic — but quick, methodical action can often limit damage and save you money. Whether you have hardwood, engineered wood, laminate, or vinyl, water behaves differently with each material. This guide walks you through immediate steps, how to assess damage, repair options, costs, and durable prevention strategies so you can restore your floor and protect your home.
Why floorboards lift after a water spill
Floorboards lift after a water spill because wood and many flooring materials absorb moisture, swell, and change shape. When the moisture content changes unevenly across a board or between boards, forces build up and cause cupping (edges higher than center), crowning (center higher than edges), or buckling (boards lifting off the subfloor). Key contributing factors include:

- Type of flooring: Solid hardwood is most vulnerable to swelling; engineered wood resists moisture better but can still be affected; laminate and vinyl can delaminate or warp when water reaches seams.
- Amount and duration of exposure: A quick mop is less risky than a prolonged spill that soaks into seams or the subfloor.
- Subfloor condition: If the subfloor or underlayment absorbs water, it can lead to persistent moisture under the floorboards, prolonging damage.
- Indoor humidity and ventilation: High humidity or poor airflow slows drying and increases the risk of persistent warping.
Immediate actions to limit further damage
Acting fast can make the difference between a small repair and a full replacement. If you find floorboards lifting after water spill, follow these steps immediately:
- Eliminate the source: Turn off the water or fix the leak if it’s ongoing (appliances, pipes, or leaks from windows/doors).
- Remove standing water: Use absorbent towels, a mop, or a wet-dry vacuum to extract as much moisture as possible.
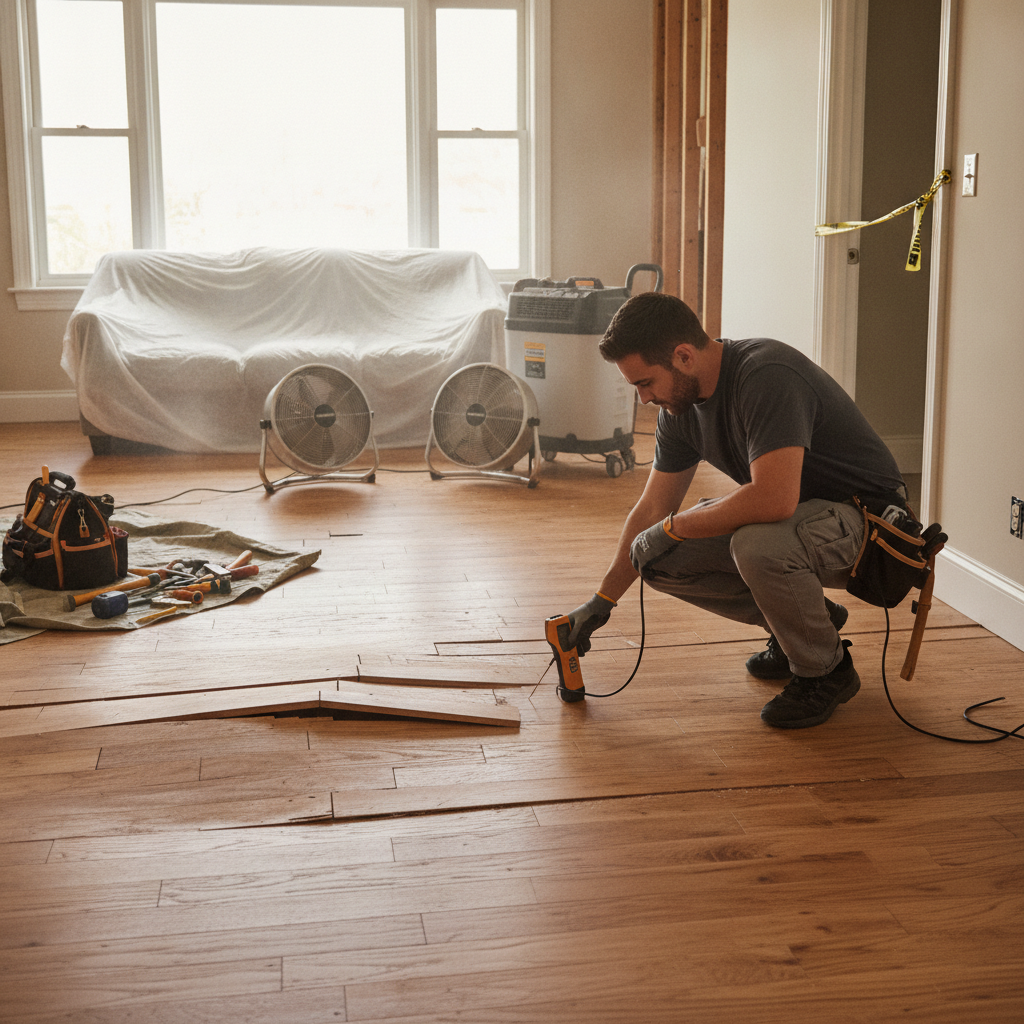
- Improve airflow and drying: Open windows, run fans, and use dehumidifiers. Position fans to blow across the floor and dehumidifiers to pull moisture from the air.
- Lift area rugs and move furniture: Protect furnishings and expose the floor to air. Place aluminum foil or plastic sheeting under furniture legs if items must stay in place.
- Keep heat moderate: Avoid high heat that can cause rapid drying and cracking; maintain steady moderate warmth to promote consistent drying.
How to assess the severity of the damage
Once the immediate situation is under control, evaluate the extent of damage. Look for these signs and use simple tests:
- Cupping: Boards are higher at the edges than the center. This often indicates moisture on the underside.
- Crowning: Boards are higher at the center — usually a result of sanding a cupped floor while it’s still wet.
- Buckling: Boards lifting off the subfloor — a severe sign where replacement is likely required.
- Soft or spongy spots: May indicate subfloor rot or detached boards.
- Discoloration or mold smell: Indicates long-term moisture and possible microbial growth.
Consider using a moisture meter to get objective readings. For hardwood, moisture content above 12% is often problematic. If you don’t have a meter, many flooring professionals offer moisture testing as part of an inspection.
DIY fixes for minor lifting and warping
Not all lifting requires professional replacement. For small sections or early-stage warping, you can try these controlled DIY methods:
- Dry it thoroughly: The first and most effective repair is consistent drying with dehumidifiers and fans for several days to weeks. Many minor cupping or crowning issues will reduce as the boards return to normal moisture content.
- Weight and clamps: For localized buckling, gently remove trim and apply weights or floor clamps to flatten boards while they dry. Do not force wet wood flat with excessive pressure.
- Remove and replace affected boards: For individual damaged boards (especially in floating floors or some engineered floors), you can replace single planks if you have spare material and basic carpentry skills.
- Sanding and refinishing: Only attempt sanding once the boards are completely dry. Sanding wet or damp wood can make crowning worse. If cupping has reversed, light sanding and refinishing may restore the floor’s appearance.
Important safety note: If you see mold, extensive discoloration, or suspect structural subfloor damage, stop DIY repairs and consult a professional. Disturbing mold can spread spores; some remediation requires specialized equipment and protective gear.
When to call a professional
Hire a flooring contractor or water-damage specialist if you notice any of these conditions:
- Widespread cupping, crowning, or buckling across multiple rooms.
- Soft subfloor or board separation from the subfloor.
- Lingering musty odors or visible mold growth.
- Moisture readings that remain high after drying attempts.
- Complex flooring types (nail-down hardwood over plywood, glued engineered floors) or expensive materials where improper repair could reduce value.
Professionals will perform moisture mapping, may remove baseboards to speed drying, use commercial-grade dehumidifiers and fans, and advise whether repairs, partial replacement, or full replacement is necessary.
Repair and replacement options
Repair approach depends on flooring type and damage extent:
- Solid hardwood: Often requires replacement of affected planks and possibly subfloor repair if the tongue-and-groove joints are compromised. Refinishing may be needed to blend replaced boards.
- Engineered wood: Can tolerate some moisture but may delaminate if water reaches the inner layers. Damaged boards can sometimes be replaced more easily than solid hardwood.
- Laminate: If moisture has seeped under planks, swelling and separation often mean replacement of the affected area or the entire floor, since laminate cannot be sanded out.
- Vinyl plank: Luxury vinyl can sometimes be dried and re-seated if seams were sealed; otherwise, replacement of damaged planks is common.
- Subfloor: If the underlayment or subfloor has water damage or rot, it must be repaired or replaced before laying new flooring.
Cost expectations and timelines
Costs vary widely depending on material, square footage, and labor rates. Typical ranges:
- Minor repairs and drying: $100–$500 (dehumidifier rental, moisture meters, small plank replacement)
- Partial floor replacement: $500–$3,000 depending on material and area
- Full replacement (materials + installation): $2,000–$10,000+ depending on flooring type (engineered vs hardwood), finishes, and room size
Drying typically takes several days to a few weeks depending on the severity, airflow, and use of dehumidification. Full restoration including repairs and refinishing can take from a few days to several weeks.
Insurance and warranty considerations
Water damage from sudden, accidental incidents (e.g., a burst pipe) is often covered by homeowners insurance, while gradual damage from lack of maintenance or flooding from outside may not be. Document the damage with photos, keep receipts for cleanup and repairs, and contact your insurer promptly. Also review your flooring warranty—many manufacturer warranties do not cover water damage, but some engineered products have limited coverage.
Prevention: how to stop floorboards lifting after future spills
Prevention is the best protection. Implement these practical strategies:
- Wipe spills immediately and avoid leaving water near seams, baseboards, or furniture.
- Use area rugs or waterproof mats under sinks, dishwashers, washing machines, and entryways.
- Install water sensors near appliances and under sinks to detect leaks early.
- Maintain indoor humidity between 35–55% to minimize expansion and contraction of wood floors.
- Seal gaps and finish edges: Ensure consistent finishes and proper sealants at thresholds and exterior doors.
- Hire licensed installers and subcontractors for appliances and plumbing to reduce leak risks.
For lab-tested prevention tips and repair guidance from home experts, refer to Better Homes & Gardens’ flooring repair resources for practical how-tos and preventative advice: https://www.bhg.com/home-improvement/flooring/repair/
Real-world examples: typical scenarios and solutions
Scenario 1: A spilled pot of water near a kitchen island. Quick cleanup with towels and a wet-dry vacuum followed by two days of fans and a dehumidifier often prevents permanent damage for engineered or vinyl floors.
Scenario 2: A slow dishwasher leak under cabinets found weeks later. This often affects the subfloor; the dishwasher area may need partial removal of countertops and cabinetry, subfloor replacement, and reinstallation of flooring.
Scenario 3: Flooding from heavy rain or an exterior door. Flooding can saturate subfloor and joists. Professional drying, mold remediation, and significant subfloor and floor replacement are commonly required.
Step-by-step recovery checklist
- Stop the water source immediately.
- Extract standing water using towels, mop, or wet-dry vacuum.
- Increase airflow with fans and open windows if weather permits.
- Use a dehumidifier and monitor progress with a moisture meter or professional testing.
- Document the damage with photos and notes for insurance.
- If needed, contact a flooring professional for evaluation.
- Follow professional advice for repairs, replacement, or refinishing.
FAQs
Can floorboards go back to normal after drying?
Sometimes. Minor cupping or warping caused by short-term exposure often improves as boards dry and moisture balances. Severe buckling or delamination is unlikely to reverse and usually requires replacement.
How long should I run a dehumidifier?
Keep it running until moisture readings show the floor and subfloor are within normal ranges (often less than 12% for hardwood, but this varies). This may take several days to a few weeks depending on conditions.
Is it safe to sand a warped floor?
Only if the floor is fully dry and stable. Sanding while the boards are still wet can permanently damage the profile and make crowning worse. Test moisture before sanding.
Will mold always develop after a spill?
Mold growth depends on moisture, temperature, and time. Prompt cleanup and thorough drying greatly reduce the risk. Visible mold or persistent musty odors warrant professional remediation.
Should I file an insurance claim?
If the damage is significant or costly to repair, file a claim promptly. For minor spills that you can repair cheaply, weigh deductibles and potential premium impacts before filing.
Final thoughts
Finding floorboards lifting after water spill is unsettling, but most situations are manageable with quick action and the right repairs. Prioritize stopping the source, drying thoroughly, and assessing whether DIY repairs are safe. For extensive damage, professional evaluation ensures safe, lasting restoration. With preventative measures and early intervention, you can minimize the chance of recurrence and protect your home’s value and comfort.
If you’d like guidance on redesigning the affected space once repairs are complete, explore ideas on How to Design A Comfortable Modern Living Space: How to Design A Comfortable Modern Living Space.


