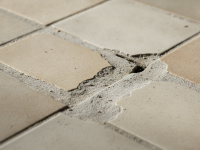
Finding your floorboards lifting after water spill is stressful—and timing matters. Whether a tipped drink, an overflowing washing machine, or a burst pipe, water can warp and lift wooden floors quickly. This guide explains why floorboards lift, what to do immediately to limit damage, how to assess the extent of the problem, and repair options both short- and long-term so you can restore a safe, attractive floor.
Why floorboards lift after a water spill
Wood is hygroscopic, meaning it absorbs and releases moisture with the surrounding air. When floorboards soak up water, the wood fibers swell. That swelling can manifest as:
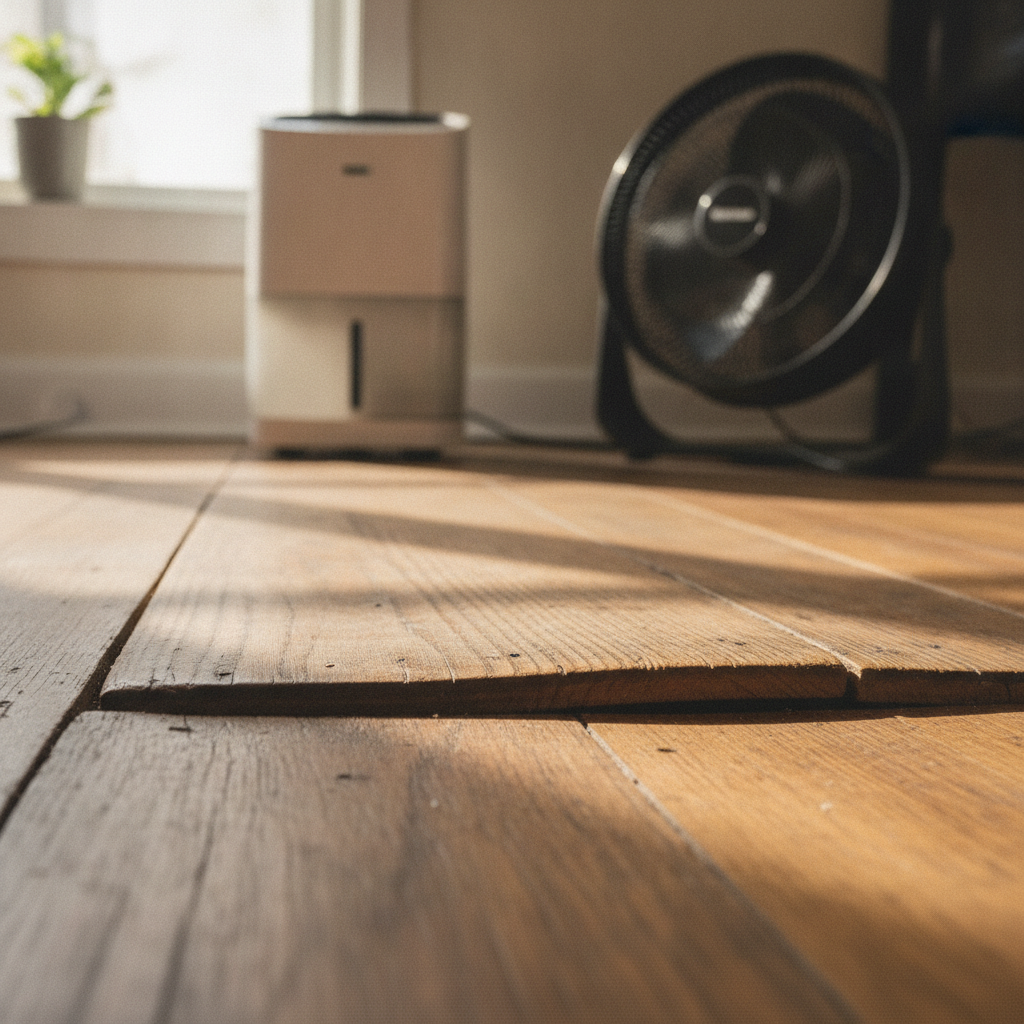
- Buckling or lifting: boards separate and rise above the floor plane.
- Cupping: edges rise while the center stays lower (typically from moisture below the board).
- Crowning: the center rises above the edges after the top dries faster than the bottom.
How quickly boards lift depends on the wood type (solid vs. engineered), finish, how much water, and whether there’s moisture trapped beneath the boards (from a wet subfloor or underlayment).
First 0–24 hours: immediate actions to limit lifting and damage
Act fast. The faster you remove moisture, the better the chance your floor will return to normal without major repairs.
- Stop the water source and remove standing water using towels, a wet/dry vacuum, or mops.
- Protect surrounding areas: move rugs, furniture, and electronics away from the wet zone.
- Increase airflow—open windows and doors if weather permits; position fans to blow across the floor surface, not directly into seams.
- Use a dehumidifier in the room to pull moisture out of the air and floor. Aim to keep indoor relative humidity between 30–50% as the floor dries.
- Avoid heat guns or high heat sources in attempts to dry wood quickly—these can cause more damage like cracking or excessive cupping/crowning.
How to assess the damage
After the initial water is removed and drying begins, evaluate what happened:
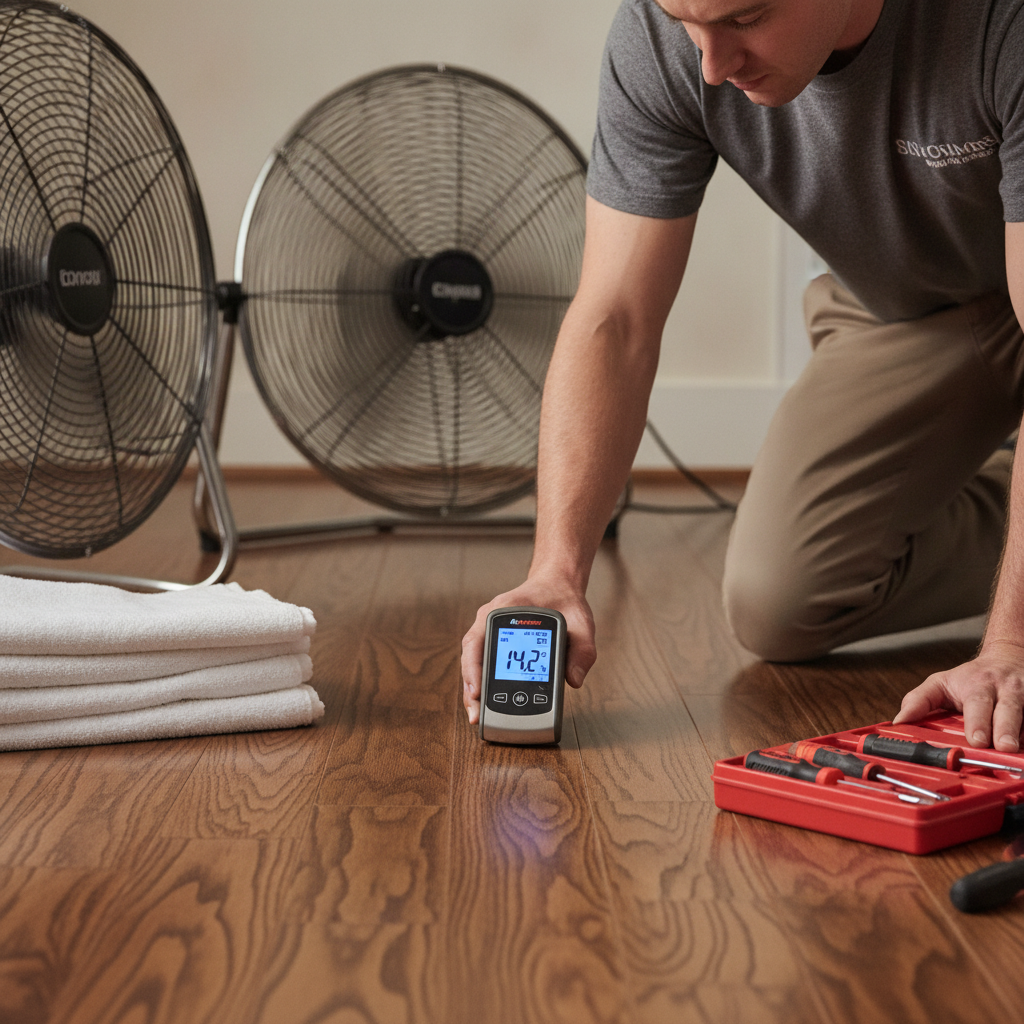
- Scope: Is it localized to a few boards or widespread across the room?
- Severity: Are boards slightly lifted (small gaps) or severely buckled and detached?
- Subfloor condition: Any soft spots when you step on the floor or visible discoloration underneath baseboards?
- Mold/mildew signs: Musty smell, visible mold growth beneath boards, or dark stains.
- Time elapsed: What is the timeline from spill to drying? Floors left wet for 24–72+ hours are at higher risk for permanent damage.
Quick fixes for minor lifting (DIY-friendly)
If the spill was small and you caught it quickly, you may be able to save the floor with a careful DIY approach.
- Continue drying: Fans + dehumidifier for several days. Keep doors closed to concentrate airflow.
- Weight the boards: For slight cupping, place flat weights (plywood topped with heavy boxes) across the affected area once surface moisture is gone to help boards settle back over several days.
- Tack down loose boards: Use finishing nails angled into the tongue (not through the face) and countersink heads, then fill nail holes. This can work for minor lifting where the tongue-and-groove connection is intact.
- Sanding and refinishing: If lifting resolves but the finish is damaged, light sanding and refinishing can restore appearance for small patches.
When damage is beyond a quick fix: repair and replacement options
For larger problems—widespread buckling, soft subfloor, or mold—more extensive work will be required.
1. Partial board replacement
If a few boards are warped, a carpenter can remove and replace only those boards. Engineered wood is sometimes easier to replace than solid hardwood due to glued layers and stabilized construction.
2. Full sanding and refinishing
When the boards are structurally sound but the surface finish has been compromised, sanding the entire floor and applying a new finish can revive the floor and correct minor irregularities. This is a common solution when moisture caused discoloration or minor crowning that returned to flat after drying.
3. Subfloor repairs
Water that reached the subfloor can rot plywood or OSB, and hardwood laid over a damaged subfloor may keep warping. If the subfloor is damp or soft, it must be replaced before laying new flooring.
4. Full replacement
When moisture has caused widespread buckling, significant mold, or the floorboards are split and beyond repair, full removal and replacement is often the only long-term solution.
Engineered vs. solid hardwood: does it change the outcome?
Yes. Engineered hardwood has a plywood or HDF core with a hardwood veneer and is generally more stable with moisture changes. Solid hardwood (thicker single-piece plank) is more prone to swelling and long-term movement. That said, any wood can be damaged by prolonged exposure to water.
How professionals diagnose water-damaged floors
- Moisture meters: These measure moisture content in wood. Typical safe moisture content for installed hardwood is around 6–12%, depending on species and region.
- Hygrometers: Measure room relative humidity to ensure proper drying conditions.
- Infrared cameras: Detect cold, wet areas under floors where water may be trapped.
- Removing a board for inspection: Pros may take up a few boards to inspect subfloor and joists for hidden damage or mold.
Common mistakes to avoid
- Leaving the room closed without airflow—traps moisture and encourages mold.
- Using excessive heat to dry quickly—can crack or delaminate boards.
- Waiting too long to act—longer exposure substantially increases repair scope and cost.
- Covering wet floors with plastic—this can trap moisture unless vented and controlled.
Tools and materials you may need
- Wet/dry vacuum
- Absorbent towels and mop
- High-capacity fans and air movers
- Dehumidifier
- Moisture meter and hygrometer
- Finishing nails, pry bars, replacement boards
- Sanders and finishing supplies (if refinishing)
Cost and timeline expectations
Costs vary widely depending on location, materials, and damage extent:
- Minor drying and local repairs: $100–$1,000 (materials + small labor tasks).
- Partial board replacement and refinishing in a single room: $500–$3,000.
- Full replacement of hardwood flooring: often $3,000–$10,000+ for mid-sized rooms depending on board quality and labor rates.
Drying time alone can take 48 hours to several weeks depending on how saturated the subfloor became and the drying methods used. Always allow moisture levels to normalize before reinstalling or refinishing; finishing too soon can trap moisture and create more problems.
Health and safety concerns: mold and indoor air quality
Prolonged moisture creates ideal conditions for mold. If you detect a musty odor, visible mold colonies, or health symptoms (allergic reactions, respiratory irritation), stop DIY work and get a professional inspection. Hidden mold in subfloors or between layers often requires specialized remediation.
Prevention: how to stop lifting before it happens
- Clean up spills immediately and dry the area thoroughly.
- Use mats at entrances to catch moisture and grit.
- Control indoor humidity with dehumidifiers, especially in humid climates.
- Ensure appliances like dishwashers, dishwashers, washing machines, and refrigerators are maintained and leak-free.
- Allow engineered and solid hardwood to acclimate to indoor conditions before installation and leave appropriate expansion gaps at walls.
When to call a professional
Consider a professional if:
- Large areas are affected or subfloor appears damaged.
- There is visible mold or persistent odors.
- Moisture readings stay high after several days of drying.
- Your flooring is expensive or you want to preserve the original material and finish.
Trusted resources
For more on repairing water-damaged hardwood floors and step-by-step tips from home experts, Better Homes & Gardens provides a thorough approach to evaluating and fixing water damage: Better Homes & Gardens: Repair Water-Damaged Hardwood Floors.
Frequently asked questions (FAQs)
Can I fix lifting floorboards myself?
It depends on the scale. Small, localized lifting caused by a brief spill can often be managed with drying, weight-pressure, and some light repairs. Widespread buckling, subfloor damage, or mold usually requires a professional.
How long does it take for floorboards to return to normal after a spill?
Minor cases may resolve in a few days with proper drying. Significant moisture that soaked into the subfloor can take several weeks, and some boards may never fully return to their original shape without replacement.
Will nails or screws keep boards from lifting?
Securing a board with nails can help if the lifting is minimal and the board is structurally sound, but forcing a swollen board flat can cause further splitting or finish damage. Use care, and consider a pro if unsure.
Is it okay to refinish immediately after drying?
No. Ensure moisture content is within safe limits for your wood species before sanding and refinishing. Finishing over moisture trapped in the wood can create long-term problems like cupping or delamination.
Can insurance cover damage from a water spill?
Homeowners insurance often covers sudden accidental water events (like a burst pipe) but generally not long-term leaks or negligence. Check your policy and document damage with photos for any claim.
Final checklist after a water spill
- Stop the source and remove standing water.
- Dry the room with fans and a dehumidifier; monitor humidity.
- Inspect for structural damage and mold.
- Decide DIY repair vs. professional assessment.
- Allow moisture readings to normalize before refinishing or replacing.
Dealing with floorboards lifting after water spill is stressful, but prompt action—combined with informed repairs—can often save your flooring and prevent expensive replacements. If you’re unsure about next steps, scheduling a professional inspection is a smart move to protect both your floors and your indoor air quality.
Want design tips while you plan repairs? Explore ideas at How to Design A Comfortable Modern Living Space.