Creating a superhero themed kids play wall is one of the most rewarding and visible ways to turn a bedroom or playroom into a space that sparks imagination, active play, and long-lasting memories. Whether you’re starting from a blank wall or refreshing an existing play area, this guide walks you through planning, materials, creative techniques, safety considerations, and styling tips so the final result is both heroic and family-friendly.
Why a Superhero Themed Kids Play Wall Works
Kids naturally love narratives, characters, and worlds they can step into. A superhero themed kids play wall does more than look impressive: it encourages imaginative role-play, provides a dedicated area for games and learning, and becomes a focal point that organizes the room’s layout. With thoughtful design, it can grow with your child—swap small details over time and keep the wall fresh without a full redo.
Initial Planning: Size, Location, and Purpose
Before picking paint colors or decals, answer three practical questions:
- Which wall? Choose a wall that’s visible when entering the room and has enough clear space for play—avoid walls with many outlets, radiators, or heavy furniture that blocks movement.
- How will the wall be used? Is it purely decorative, or will it support climbing holds, magnetic play, art zones, or storage? Define the main functions to guide material choices.
- Who will use it and how long? Consider the child’s age and whether the design should adapt to changing interests—choose elements that can be replaced easily as tastes evolve.
Design Concepts and Layout Ideas
Superhero walls can range from bold murals to subtle nods for a more mature or shared bedroom. Here are several design directions:
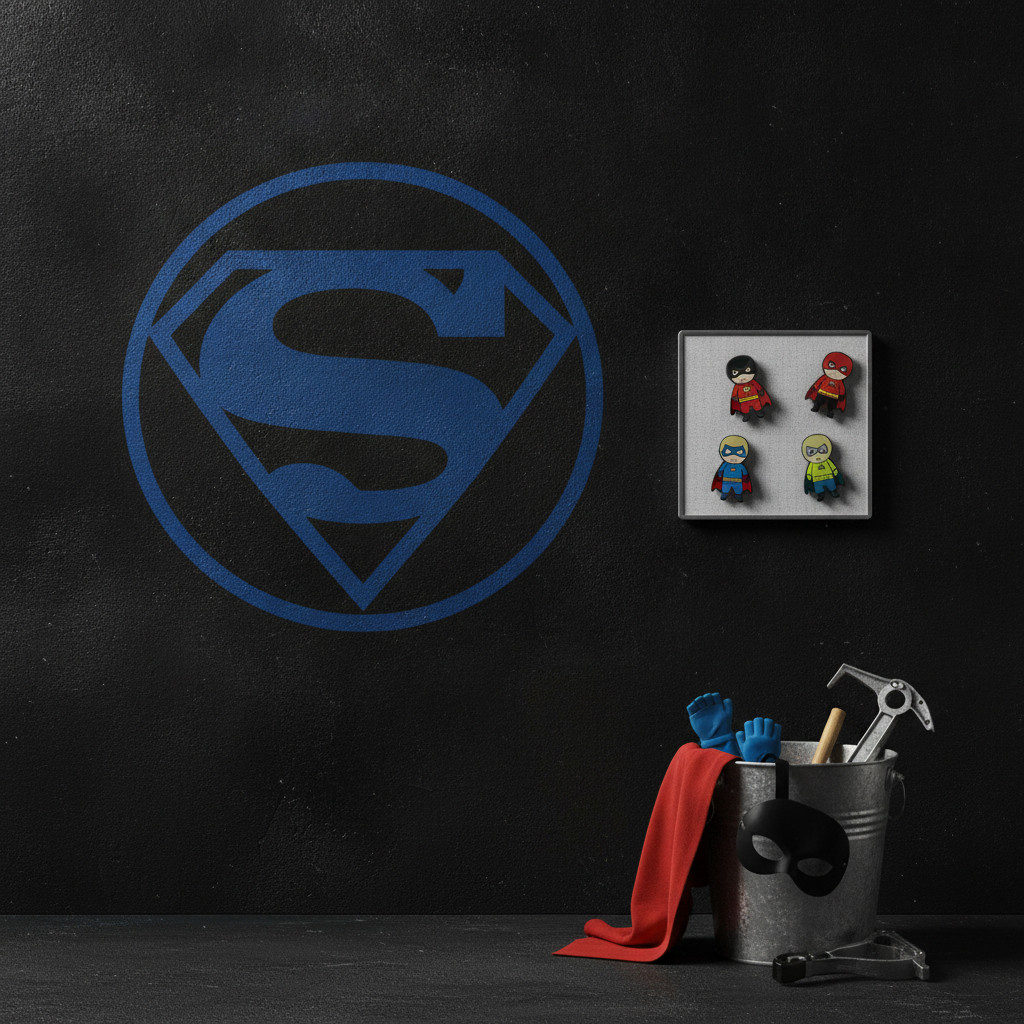
- Minimal Icon Wall: Large, single-color background with a few oversized emblems or silhouettes (masks, lightning bolts, capes).
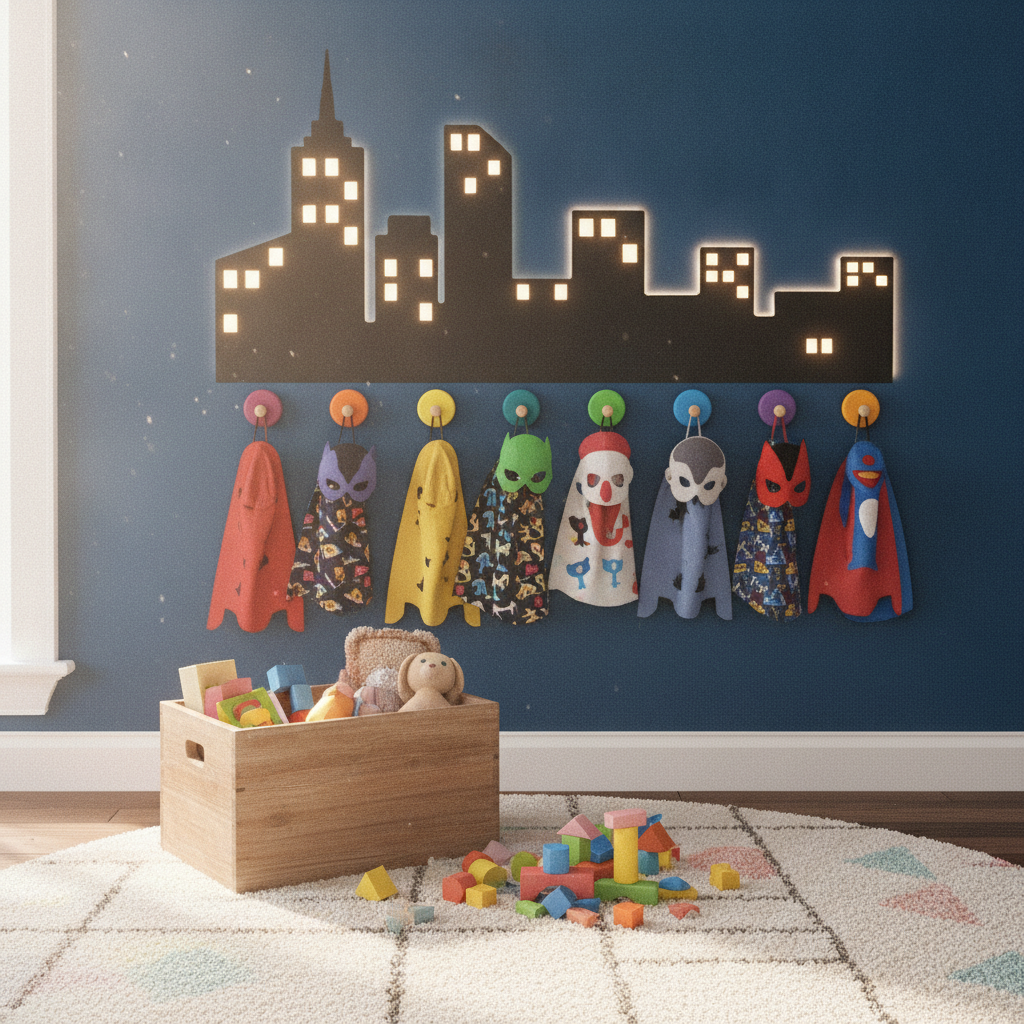
- Cityscape Mural: A skyline silhouette with windows that light up (LED strips) to create nighttime scenes for imaginative play.
- Interactive Command Center: Chalkboard or whiteboard panels, magnetic sections, and hooks for capes and masks—perfect for play and organization.
- Custom Mural: Commission or DIY a painted mural featuring original superhero characters or generic heroes for a unique look.
- Decal Collage: An arrangement of vinyl decals for a renter-friendly option that’s easy to update.
Materials and Supplies: What You’ll Need
Choose materials based on permanence, safety, and maintenance:
- Paint: Use low-VOC or zero-VOC interior paint to reduce fumes. Semi-gloss is durable and easy to clean for high-traffic play walls.
- Primer: A good primer ensures colors pop and helps block previous colors or stains.
- Stencils & Tape: For crisp shapes and emblems, invest in reusable stencils and painter’s tape.
- Vinyl Decals: Removable decals are great for renters and offer easy updates as kids grow.
- Magnetic Paint or Boards: Adds an interactive layer for magnets, letters, and play props.
- Lighting: LED strips, puck lights, or wall sconces to highlight details and create mood.
- Storage & Hooks: Wall-mounted bins, floating shelves, and hooks for costumes and action figures keep the play area tidy.
Step-by-Step Build: From Concept to Completion
Follow these steps to create a functional, safe, and stylish superhero themed kids play wall.
1. Measure and Sketch
Measure the wall and sketch the layout to scale. Note outlets, vents, windows, and furniture. Decide zones—e.g., play zone, costume storage, and display areas—so each function has space.
2. Prepare the Surface
Patch any holes, sand rough spots, and clean the wall. Apply primer if changing from a dark to a light color or if the wall is new drywall.
3. Paint Background
Paint the entire wall with your base color. Deep blues, slate gray, or muted reds work well for superhero themes. Use two coats for even coverage and longer durability.
4. Add Graphic Elements
Use stencils, painter’s tape, or project an image (projector method) to trace complex shapes. For cityscapes, start with a silhouette in dark paint; for emblems, center them at eye level for kids.
5. Install Interactive Features
Paint a chalkboard or install a whiteboard panel for commands and missions. Add magnetic strips or a magnetic board for changeable elements like villains and heroes.
6. Lighting and Safety Add-Ons
Install LED strip lighting behind skyline edges or inside shelves for a cinematic look. Secure all shelving to studs and choose shatterproof light fixtures. Cover outlets and secure cords neatly.
7. Final Styling and Storage
Arrange costume hooks, labeled bins for props, and a soft rug for play. Keep frequently used items within reach for your child and store seasonal or fragile items higher up.
DIY vs Professional Mural: Pros and Cons
Decide whether to DIY or hire a pro based on complexity, budget, and time:
- DIY: Cheaper and highly customizable. Great for decal-based designs, stencils, and simple silhouettes. Requires time and basic tools.
- Professional: Best for large, detailed murals or when a polished artistic finish is desired. Professionals provide design help and ensure durability, but cost is higher.
Safety First: Materials and Installations
Safety is critical for any kids’ space. Use non-toxic, low-VOC paints, and choose furniture with rounded edges. Anchor shelves and storage units to studs. Avoid heavy décor above sleeping areas. For more general safety guidelines on kids’ rooms and paint, consult trusted home authorities like Better Homes & Gardens for tips on kid-friendly materials and childproofing strategies: Better Homes & Gardens.
Budgeting Tips: Create Big Impact on a Small Budget
- Start with paint and decals for a low-cost transformation.
- Shop seasonal sales for LED lighting and hooks.
- Use thrifted frames to create superhero “wanted” posters or framed art.
- DIY shelving from inexpensive plywood and paint to match the wall theme.
Maintenance and Updating the Wall Over Time
To keep the play wall looking great through wear and changing tastes:
- Wipe painted areas with a damp cloth and mild soap; avoid harsh chemicals.
- Replace decals periodically to refresh the look—peel-and-stick options make this easy.
- Rotate interactive elements seasonally to keep engagement high and clutter low.
Styling Tips: Furniture, Rugs, and Accessories
Create zones around the wall to support play and rest:
- Reading Nook: Add a bean bag or low armchair and floating shelves for books near the wall’s quieter side.
- Play Zone: A washable rug anchors the space and defines where active play happens.
- Storage: Use labeled bins and open cubbies so kids can access and tidy up costumes and props themselves.
- Multi-use Furniture: Benches with internal storage double as seating and toy organization.
Designing for Shared Spaces and Multiple Ages
If the room is shared between siblings or used for guests, keep the main hero theme adaptable: choose neutral base colors, use interchangeable decals, and create multiple small hero stations—each child gets a space for their items and art. For a room transitioning from toddler to tween, favor modular elements that are easy to swap (decals, framed art, smaller shelving) rather than permanent murals.
Eco-Friendly and Inclusive Design Choices
Consider sustainable materials—water-based paints, recycled or FSC-certified wood for shelving, and energy-efficient LED lighting. Keep inclusivity in mind: include diverse hero characters, accessible storage heights, and tactile elements (textured panels, raised decals) so different abilities can enjoy the wall.
Examples and Theme Variations
Some specific themes and variations that parents love:
- Classic Comic Book: Bold primary colors with comic-panel frames—great for framing your child’s drawings.
- Mystery Hero Lab: Muted greys and neon accents for a “secret headquarters” look with labeled drawers and mission charts.
- Space Hero: Dark starry background with planets and rockets—perfect for combining superhero and space interests.
- Local Heroes: Create custom, original heroes inspired by your child—unique characters that can evolve with them.
Common Mistakes to Avoid
- Skimping on surface preparation—uneven paint shows fast in bold designs.
- Overcrowding the wall—leave negative space so focal elements stand out.
- Ignoring safety—unsecured shelving, poor lighting, and toxic finishes cause hazards.
- Too much permanence—if you rent or want flexibility, avoid permanent murals and choose decals or removable panels.
Frequently Asked Questions (FAQs)
How do I choose the right wall for a superhero play area?
Pick a wall that’s visible, has ample floor space in front of it, and isn’t heavily interrupted by doors or heating elements. Ensure you can anchor shelves and hooks into studs for stability.
Are vinyl decals safe for children’s rooms?
Most commercial vinyl decals are safe when applied and removed properly. Choose non-toxic, phthalate-free options and avoid small pieces that could be a choking hazard for very young children.
Can I paint a mural myself if I’m not artistic?
Yes. Use stencils, projector tracing, or simple silhouettes for a clean, professional look without needing advanced painting skills. Vinyl decals or wallpaper murals are also renter-friendly alternatives.
What type of paint finish is best for a play wall?
A semi-gloss or satin finish is easiest to clean and stands up to scuffs and frequent wiping. Use low-VOC or zero-VOC paint to reduce fumes and protect indoor air quality.
How do I update the wall as my child grows?
Use removable elements (decals, framed art, magnetic panels) that can be swapped with minimal effort. Keep the base paint neutral so small refreshes keep the overall look current.
Final Notes: Make It Personal and Practical
A superhero themed kids play wall should balance whimsy with functionality. Thoughtful planning, smart materials, and a focus on safety make it a space that will be enjoyed daily and remembered for years. Start small—paint a focal section or add decals—and build from there as you see how your child uses the space.
If you’d like to explore broader room design ideas that blend comfort with playful elements, consider learning more about room planning with this helpful resource: How to Design A Comfortable Modern Living Space.