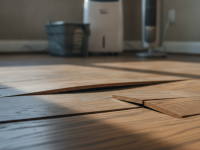
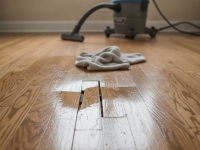
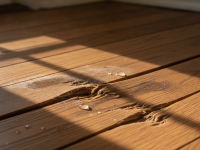
If your chimney leaking during storms has become a recurring headache, you need a clear plan to protect your home and stop water damage before it gets worse. Water entering a chimney can cause stains, rot, mold, and structural damage—especially during heavy rain, wind-driven storms, or melting snow. This guide walks through the common causes, immediate steps to reduce damage during a storm, durable repairs, preventative maintenance, cost expectations, and when to call a professional.
Why chimneys leak during storms: common causes
Understanding why a chimney leaks during storms helps you choose the right fix. A chimney is exposed to the elements on all sides, and water can find its way in through many weak points.
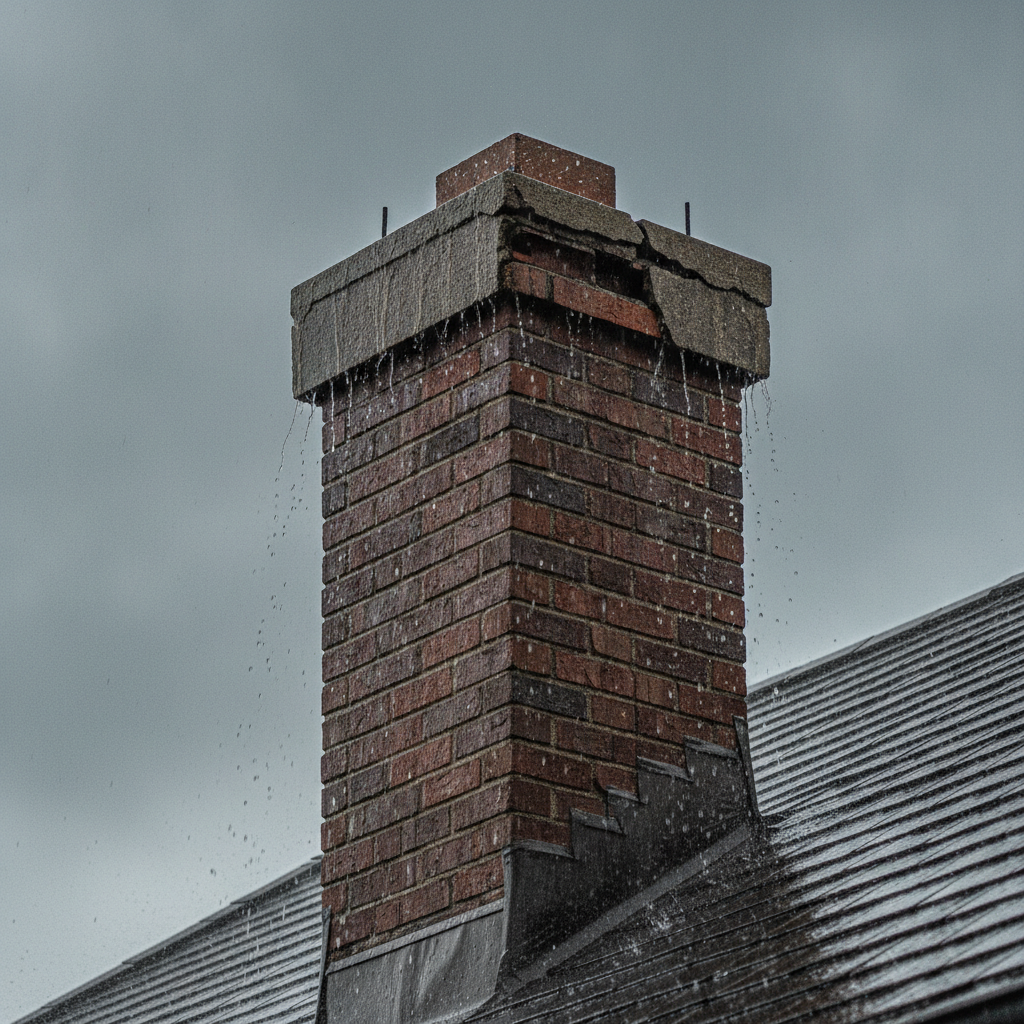
- Damaged or missing chimney cap: The cap prevents rain, snow, and animals from entering the flue. If it’s cracked, rusted, or absent, water can pour in during a storm.
- Cracked chimney crown: The crown (or chimney top) seals the area where the chimney meets the masonry. Cracks allow wind-driven rain to seep into the chimney structure.
- Failing flashing: Flashing is the metal barrier between the chimney and roof. If flashing is loose, corroded, or incorrectly installed, water will follow the path of least resistance into the attic.
- Deteriorated mortar joints (tuckpointing failure): Over time, mortar between bricks can erode, creating gaps where water penetrates the masonry.
- Porous brick or masonry: Bricks can absorb water; without a waterproofing treatment, repeated wetting and freezing can worsen the problem.
- Backpans or chase covers (on prefabricated chimneys): If these components fail, they can allow moisture to enter the chase and leak into the house.
- Poor roof slope or drainage: Water pooling near the chimney base or shingles lifting around it can cause leaks triggered by storms.
Signs your chimney is leaking (inspect before and after storms)
Early detection reduces repair costs. Watch for these warning signs:
- Water stains or discoloration on interior walls or ceilings near the chimney.
- Peeling paint or bubbling plaster on walls adjacent to the chimney.
- Efflorescence (white chalky deposits) on masonry.
- Mold, mildew, or musty odors in rooms near the chimney or in the attic.
- Rust on damper or firebox components.
- Loose bricks, crumbling mortar, or visible cracks on the chimney exterior.
- Leaks that only occur during heavy rain or strong wind.
Emergency fixes during a storm (temporary measures to reduce damage)
If a storm is in progress and you discover a leak, quick temporary steps can limit interior damage until a permanent repair is possible.
Inside the house
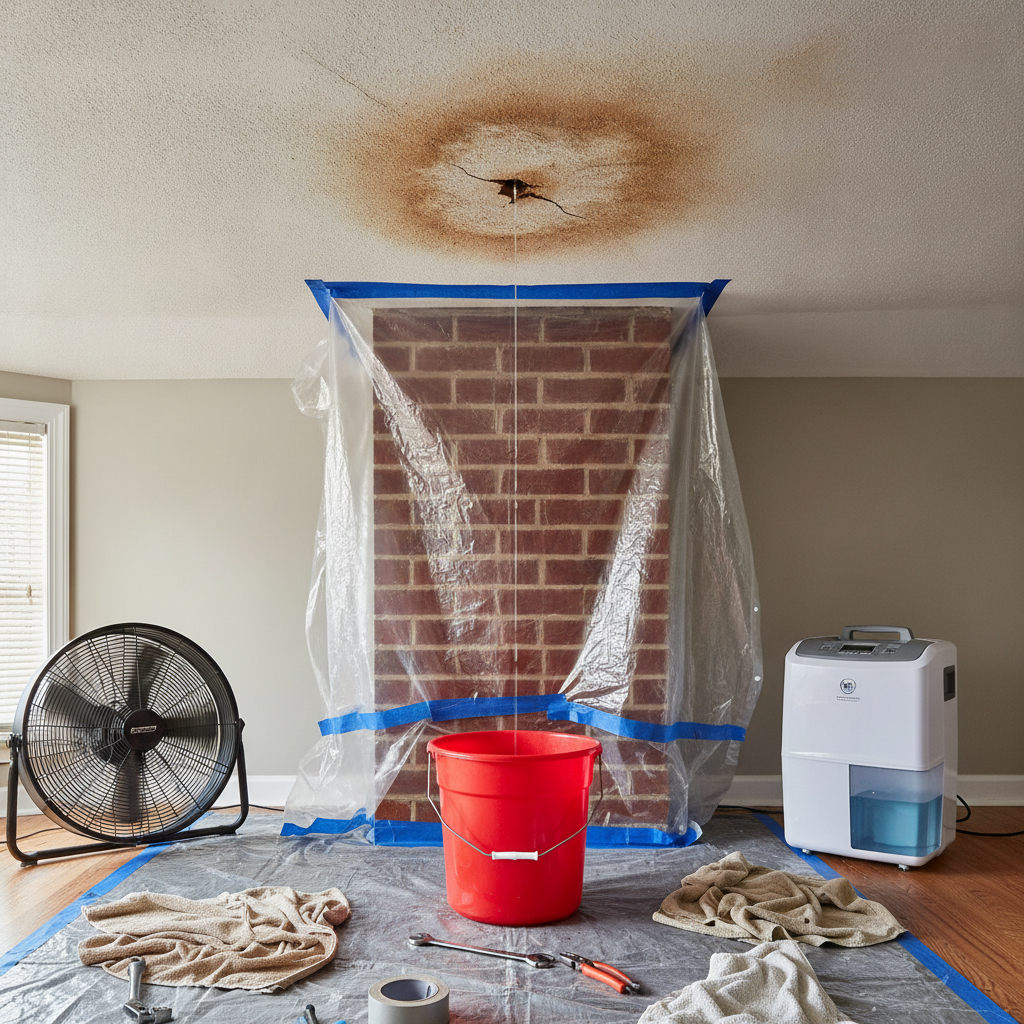
- Place buckets or pans to catch drips and protect flooring with towels or plastic sheeting.
- Move furniture, electronics, and valuables away from the leak area.
- Use a fan and dehumidifier to dry the area as soon as the leak stops; this minimizes mold risks.
- Close the damper if it’s safe to do so—this can reduce drafts and limit water entry through the flue.
- Lay down plastic sheeting and tape it to the ceiling around the leak in a funnel shape to channel water into a bucket (only if reachable and safe).
On the roof (only if safe and dry)
- Temporary roofing tarp: Secure a tarp over the chimney area to divert water. Nail or weight the tarp so it won’t blow off in high winds—safety first.
- Replace or secure loose flashing temporarily with roofing cement to stop active seepage. This is a short-term measure until a professional can do a proper repair.
- Cover a missing chimney cap with a tightly secured, breathable cover to prevent more water, but avoid sealing the flue completely if the fireplace is in use.
Permanent repairs: what actually stops a chimney leak
Finding the root cause is key—permanent repairs vary depending on the problem.
- Install or replace a chimney cap: A properly sized, screened cap keeps out rain, debris, and animals.
- Rebuild or resurface the chimney crown: A deteriorated crown should be replaced with properly poured concrete or a crown made for chimneys; this prevents water from running into cracks.
- Repair or replace flashing: Skilled roofers will install step flashing and counterflashing or reflash the chimney with durable materials (stainless steel, lead) to form a watertight seal.
- Tuckpointing (replacing mortar joints): Replacing decayed mortar stops water from wicking into the masonry.
- Masonry waterproofing: Apply a vapor-permeable water repellent to the outside of the chimney to prevent absorption while allowing trapped moisture to escape.
- Replace chase cover or backpan: For factory-built chimneys and chase enclosures, damaged covers should be replaced with new metal covers sized to the chase.
DIY vs professional repairs: when to call a pro
Some fixes are reasonable DIY projects; others require a certified chimney professional or roofer.
- Do-it-yourself tasks: installing a chimney cap, applying a water-repellent masonry sealer, replacing small sections of mortar, and temporary flashing patching with roofing cement.
- Hire a professional when: structural cracks exist, the chimney crown needs rebuilding, flashing needs full replacement, or there’s evidence of significant water damage (rot, mold, interior structural issues).
- Get a professional chimney sweep/inspector for an annual inspection—especially after storms. Look for technicians certified by organizations such as the Chimney Safety Institute of America (CSIA).
Cost expectations for chimney leak repairs
Repair costs vary by problem severity, chimney height, accessibility, and local labor rates. Rough estimates:
- Chimney cap replacement: $150–$600 depending on material and size.
- Minor flashing repairs: $200–$600.
- Full flashing replacement: $500–$1,500.
- Tuckpointing (repointing mortar joints): $500–$2,500 depending on chimney size and extent.
- Chimney crown repair or replacement: $300–$1,200 or more for a full rebuild.
- Masonry rebuild: $2,000–$10,000 for significant structural work.
These are ballpark figures—always get multiple written estimates. Small temporary fixes can delay costs but won’t replace proper repairs.
Preventative maintenance and seasonal checklist
Regular maintenance reduces the chance of leaks during storms. Follow this schedule:
- Annual chimney inspection and sweep—especially before the heating season.
- Inspect the chimney crown, cap, and flashing each spring and after major storms.
- Apply a breathable masonry water repellent every 3–5 years if your chimney is exposed to frequent wetting and freezing cycles.
- Trim overhanging tree limbs to reduce debris and water accumulation around the chimney area.
- Check attic and roof for signs of leaks after big storms so small issues can be addressed immediately.
Insurance and warranty considerations
Some homeowners insurance policies cover sudden, accidental water damage, but not damage caused by neglect or deferred maintenance. Document storm damage with photos and keep receipts for emergency repairs. If your chimney was recently repaired, check any workmanship warranties that might cover defects.
Common myths about chimney leaks
- Myth: Water only enters through the top of the chimney. Fact: Water can enter through flashing, mortar joints, cracked crowns, or even the roof near the chimney.
- Myth: Painting masonry stops leaks. Fact: Painting traps moisture and can worsen damage; use a breathable masonry water repellent instead.
- Myth: A new cap eliminates all leaks. Fact: A cap helps, but leaking can still come from crown, flashing, or mortar issues.
How professionals diagnose chimney leaks
Chimney pros use visual inspection, water tests, and sometimes infrared cameras to locate hidden moisture. A controlled water test—running water over the chimney while an inspector checks for interior leaks—helps pinpoint the entry point. Infrared thermography can reveal wet insulation or hidden pathways of water intrusion.
When a leaking chimney becomes an emergency
Call a professional immediately if you notice:
- Large volumes of water entering and pooling inside ceilings or walls.
- Rapidly spreading mold or active structural sagging near the chimney area.
- Electrical outlets or wiring are getting wet.
- Visible collapse of chimney bricks or mortar.
Resources and further reading
For additional guidance on maintaining your chimney and preventing water damage, trusted home-living sources such as Better Homes & Gardens provide practical articles and diagrams on chimney and roof care: How to Repair a Leaky Chimney (Better Homes & Gardens).
Frequently Asked Questions (FAQs)
Q: Why does my chimney only leak during heavy rain or wind?
A: Wind-driven rain can force water through small cracks and gaps that normal rain doesn’t penetrate. Heavy storms also produce more water volume and pressure, exposing weak spots like damaged flashing, cracks in the crown, or missing caps.
Q: Can I use silicone or caulk to permanently fix a chimney leak?
A: Silicone or roofing cement can be useful for temporary patches, but they’re not long-term solutions for masonry or flashing failures. Permanent repairs typically require correct flashing installation, crown repair, or professional tuckpointing.
Q: How long does a chimney crown last?
A: A properly built concrete chimney crown can last decades, but thin or improperly mixed crowns can crack within a few years. Regular inspections identify small cracks before they cause major leaks.
Q: Does a chimney leak mean the entire chimney needs rebuilt?
A: Not always. Some leaks have localized causes (like flashing or a cracked crown) that can be repaired. However, if masonry is severely deteriorated or the chimney is structurally compromised, a partial or full rebuild might be necessary.
Q: How often should a chimney be inspected?
A: A yearly inspection is recommended, especially if you use your fireplace often. Inspections should also follow major storms or if you notice any signs of leaking.
Q: Can freezing and thawing cycles worsen chimney leaks?
A: Yes. Water absorbed by masonry can freeze, expand, and create or widen cracks. Over time, freeze-thaw cycles accelerate deterioration, making the chimney more leak-prone.
Final checklist before the next storm
- Confirm the chimney cap is secure and in good condition.
- Inspect the chimney crown for cracks and repair if needed.
- Have flashing examined and replaced if rusted or loose.
- Keep a small emergency kit: tarp, roofing cement, buckets, plastic sheeting, and heavy-duty tape.
- Schedule a professional inspection if you’ve had a leak in the last year.
If your chimney leaking during storms is persistent, tackling the root cause—rather than temporary patches—will save time and money in the long run. For guidance on creating a dry, secure, and comfortable home environment, consider reviewing our resources on how to improve living spaces and protect your home.
Explore more on home design and comfort by visiting How to Design A Comfortable Modern Living Space at How to Design A Comfortable Modern Living Space.