How to Remove and Prevent Rust on Outdoor AC Unit
Rust on outdoor AC unit components is a common sight for many homeowners, especially in humid climates, coastal areas, or older installations. Left unchecked, surface rust can progress to structural corrosion, reduce efficiency, and shorten the life of your air conditioner. This guide walks you through why rust forms, how to assess its severity, safe step-by-step cleaning and repair methods, and long-term prevention to keep your outdoor AC looking and performing its best.
Why rust appears on outdoor AC units
Outdoor air conditioning units are exposed to the elements 24/7. Several factors encourage oxidation and corrosion:
- Moisture and humidity — repeated wet/dry cycles accelerate rust formation.
- Salt air — coastal or marine environments dramatically increase corrosion rates.
- Age and worn coatings — factory paint and protective finishes wear off over time.
- Poor drainage and standing water — pooling around or inside the cabinet invites rust.
- Galvanic corrosion — contact between dissimilar metals without proper isolation.
- Physical damage — dings, chips, or scratched paint expose bare metal to the elements.
How to assess the severity of rust
Not all rust is equally urgent. A quick inspection will help you decide whether a DIY fix is enough or if you need professional help.
- Surface rust: flaky or speckled rust on panels and screws — typically cosmetic and repairable.
- Localized deep corrosion: pits, holes, or thin metal on casing or brackets — may require part replacement.
- Functional corrosion: rust on fasteners, fan mountings, or coil supports that affect operation — address promptly.
- Coil corrosion: rust on fins or tubing can reduce heat transfer and indicate refrigerant leaks — have a technician evaluate.
Safety first: preparing to work on your AC
Working on an outdoor AC unit requires basic safety precautions to protect you and the equipment:
- Disconnect power: turn off the unit at the thermostat and switch off the breaker or disconnect at the service switch.
- Protective gear: safety glasses, gloves, and a dust mask when sanding or using chemicals.
- Avoid the fins: the condenser fins are fragile; avoid heavy scraping that can bend them and reduce efficiency.
- Refrigerant caution: if you suspect refrigerant leaks or damaged coils, stop and call a licensed HVAC technician — handling refrigerant without certification is illegal in many areas.
Materials and tools you’ll need
Here’s a practical list for a typical DIY rust repair on an outdoor AC unit:
- Wire brush and/or medium-grit sandpaper (120–220 grit)
- Rust converter (phosphoric-acid-based products)
- Metal primer (rust-inhibiting, exterior grade)
- Outdoor appliance paint or rust-resistant spray paint
- Rags, mild detergent, and water
- Masking tape and plastic sheeting (to protect labels, coils, and wiring)
- Rust-resistant replacement screws or fasteners
- Silicone sealant (for small gaps)
- Basic hand tools: screwdriver, socket set
Step-by-step: how to remove rust on outdoor AC unit
Follow these steps carefully for a durable, attractive repair.
1. Turn off power and prepare the area
- Shut off power to the AC at the breaker and at any local disconnects. Confirm it’s off by trying to run the unit or using a non-contact voltage tester.
- Place a tarp or cardboard beneath the unit to catch debris, but avoid blocking airflow vents or drainage pathways.
2. Remove panels and loose parts
- Remove the outer cabinet panels or lift-off top according to the manufacturer’s design. Keep screws together and note where each piece belongs.
- Mask off sensitive components (manufacturer labels, wiring terminals, fan blades, and coils) with plastic sheeting and tape.
3. Clean the surface
- Use a mild detergent and water to remove dirt, grease, and biological growth. Rinse and allow to dry completely.
- For coils, use a fin-safe coil cleaner instead of detergent; avoid high-pressure washing on the fins.
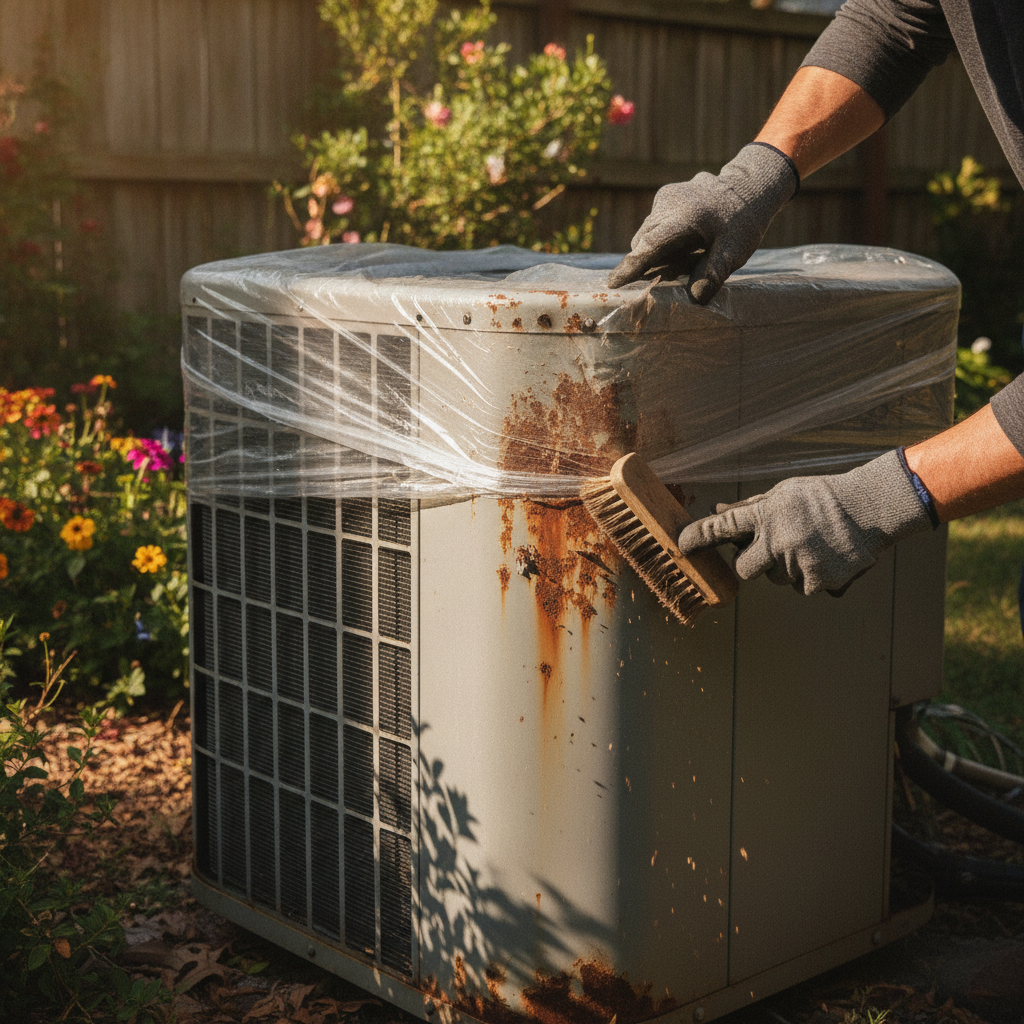
4. Remove loose rust
- Use a wire brush or coarse sandpaper to remove flaky rust and loose paint until you reach sound metal. For small crevices use a small wire brush or sand-paper-wrapped tool.
- Be gentle near the condenser fins; do not use aggressive scraping that will damage the fins.
5. Apply rust converter where necessary
- Apply a rust converter to remaining rusted spots following the product instructions. These products chemically stabilize rust and create a paintable surface.
- Allow recommended cure time before priming.
6. Prime and paint
- Apply a rust-inhibiting metal primer to bare metal and treated areas. Use thin, even coats and allow full drying between coats.
- Finish with 1–2 coats of outdoor appliance paint or rust-resistant spray paint. Choose a paint suitable for metal and outdoor exposure.
- Avoid painting moving parts, labels that must remain visible, or the condenser fins.
7. Reassemble and test
- Reinstall panels and fasteners with rust-resistant replacements where possible.
- Restore power and run the unit to confirm normal operation. Listen for unusual noise and check airflow.
Treating specific components
Different parts of the outdoor unit require different approaches:
- Cabinet panels and top — straightforward to sand, prime, and paint.
- Fasteners and hinges — replace severely corroded screws with stainless or coated ones.
- Coils and fins — do not paint. Clean with a coil cleaner and straighten bent fins with a fin comb. Corroded tubing needs a technician.
- Base pan and drain holes — ensure clear drainage and patch small holes with epoxy or replace the pan if severely corroded.
When rust means you should call a pro or replace the unit
Some signs mean DIY is no longer appropriate:
- Rust has caused holes in the cabinet or structural components.
- Corrosion on refrigerant lines, coils, or compressor mounts.
- Evidence of refrigerant leaks (oily residue, poor cooling, icing).
- Electrical connections or motor mounts are heavily corroded.
In these cases a licensed HVAC technician can assess whether parts can be replaced or if the unit should be replaced altogether. Major repairs on older, inefficient units are sometimes more expensive than replacement.
Preventing rust in the future
Long-term prevention combines regular care and smart installation choices:
- Routine cleaning: clear debris, trim vegetation, and wash the unit annually.
- Improve drainage: slope the pad slightly and ensure drain holes are clear.
- Protective coatings: reapply rust-inhibiting paint every 2–5 years where needed.
- Site selection: locate the unit away from sprinklers and salt spray when possible; if in coastal areas, choose units with enhanced corrosion protection.
- Use a cover only when the system is shut down for long periods (winter storage); do not cover a running unit as it can trap moisture.
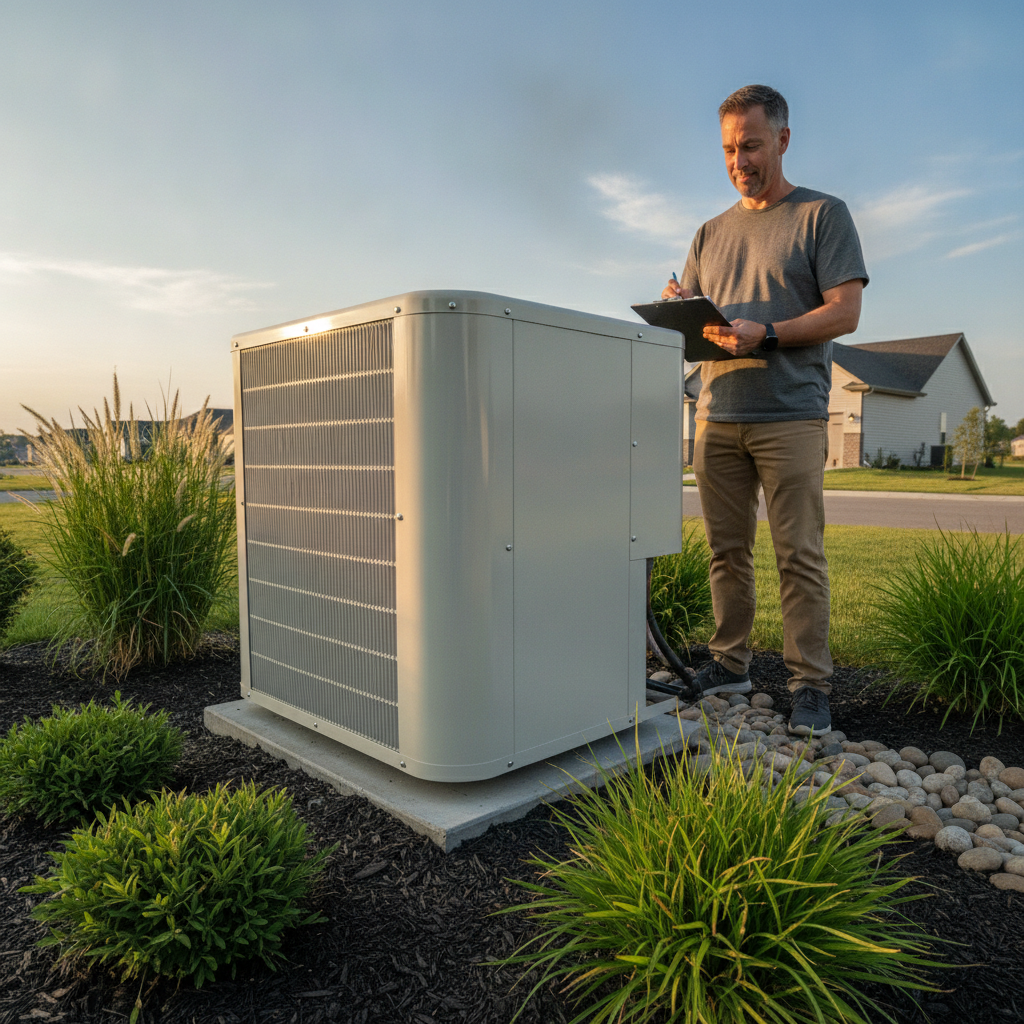
- Annual professional tune-ups: a technician can spot early corrosion, check seals, and advise on repairs.
Cost estimates: DIY vs professional
Costs vary widely by region and extent of rust damage, but general ballpark figures:
- DIY materials (brushes, sandpaper, rust converter, primer, paint): $25–$100.
- Replacement fasteners and small parts: $10–$50.
- Professional minor cosmetic repair and painting: $150–$400.
- Major repairs (coils, compressor, refrigerant work): $500–$2,500+
- Complete unit replacement: $2,500–$8,000+ depending on capacity and efficiency.
Warranty and environmental considerations
Before performing any repairs, check the unit’s warranty. Painting, cutting, or otherwise altering components may void parts of the manufacturer warranty. Additionally, choose environmentally friendly cleaners and dispose of paint, solvents, and corroded metal responsibly per local regulations.
Further reading and trusted guidance
For general seasonal maintenance tips and safety considerations related to home heating and cooling, reputable home and lifestyle authorities offer useful guidance. For example, Better Homes & Gardens provides practical AC maintenance advice that homeowners can follow safely and effectively: Better Homes & Gardens – AC maintenance tips.
Frequently asked questions (FAQs)
Is rust on my outdoor AC unit dangerous?
Surface rust itself is not dangerous, but it can be a sign of moisture issues and, if left untreated, can lead to structural damage or component failure. Address rust early to avoid more costly repairs.
Can I paint over rust?
Painting over untreated rust is not effective. First remove flaky rust, treat remaining areas with a rust converter, prime, then paint with a rust-inhibiting exterior paint for a lasting finish.
How often should I inspect my outdoor unit for rust?
Inspect your unit at least twice a year — ideally in spring and fall — and after major storms. Coastal homes should inspect more frequently, perhaps quarterly.
Can rust cause my AC to stop working?
Yes, if rust affects structural mounts, fasteners, coils, or refrigerant lines, it can impair performance or cause failures. Early intervention reduces the risk.
Are there products that prevent rust permanently?
No product offers permanent prevention. Regular maintenance, protective coatings, and proper siting reduce corrosion risk, but periodic reapplication or touch-ups will be necessary.
Final checklist before you start
- Confirm power is off and unit is safe to work on.
- Identify whether rust is cosmetic or functional.
- Gather the right tools and protective gear.
- Mask off sensitive parts and avoid damaging the condenser fins.
- Check warranty and consider a professional for anything beyond surface rust.
Rust on your outdoor AC unit doesn’t have to be a headache. With timely inspections, careful cleaning, and strategic prevention, you can extend the life of the unit and keep it running efficiently. If you’re ever unsure about handling corrosion near refrigerant lines or electrical components, reach out to a licensed HVAC technician for expert help.
Interested in broader ideas for improving your home’s comfort and appearance? Consider exploring guidance on interior and living-space design and how systems like heating and cooling integrate with overall comfort in a modern home. For more design inspiration and practical advice, visit How to Design A Comfortable Modern Living Space.


