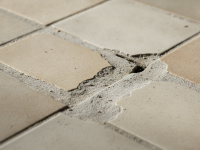
Seeing floorboards lifting after water spill can be alarming — the raised planks, gaps, or buckling not only look bad but may indicate structural and moisture problems that worsen with time. This guide walks you through immediate actions, practical drying and repair strategies for different floor types, when to call professionals, cost expectations, and prevention tips so you can restore your floor and prevent repeat damage.
Why floorboards lift after a water spill
Floorboards lift because wood and some composite flooring materials absorb moisture and expand. When that swelling is constrained by adjacent boards, glue, or fasteners, the boards buckle, cup, or rise. Common reasons include:
- Absorption of liquid from a spill, leak, or flooding
- Prolonged exposure to high humidity or trapped moisture beneath the floor
- Inadequate expansion gaps at installation, which do not allow natural wood movement
- Compromised subfloor or underlayment that retains water
- Glue or fastener failure after water exposure
Types of damage you might see
Identify the damage to choose the right response. Common patterns:
- Buckling: boards lift and form waves across the floor — often from large amounts of moisture.
- Cupping: edges of the board are higher than the center — usually from moisture imbalance between top and bottom faces.
- Crowning: center of the board is higher than edges — typically after boards swell and then dry unevenly or are sanded while cupped.
- Gapping: as boards dry, they may shrink and leave gaps between planks.
- Delamination: engineered boards may separate into layers when glue fails.
Immediate steps to take after you notice lifting
Quick and careful action reduces the chance of permanent damage.
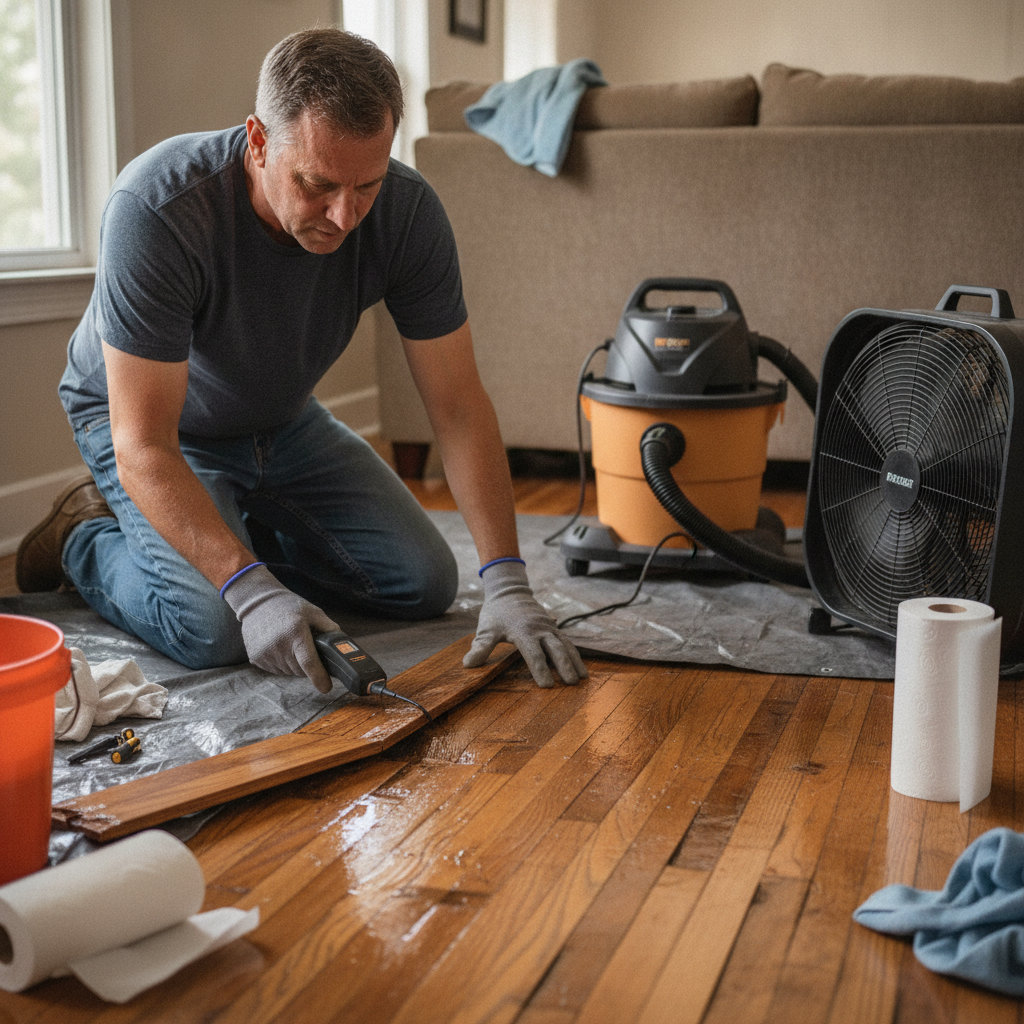
- Stop the water source. Turn off plumbing or stop the spill right away.
- Remove standing water. Use towels, a wet/dry vac, or mop to take up visible water.
- Protect electronics and remove furniture. Move rugs, furniture, and valuables to a dry area. Elevate items if possible.
- Ventilate the space. Open windows and doors to encourage airflow if weather allows.
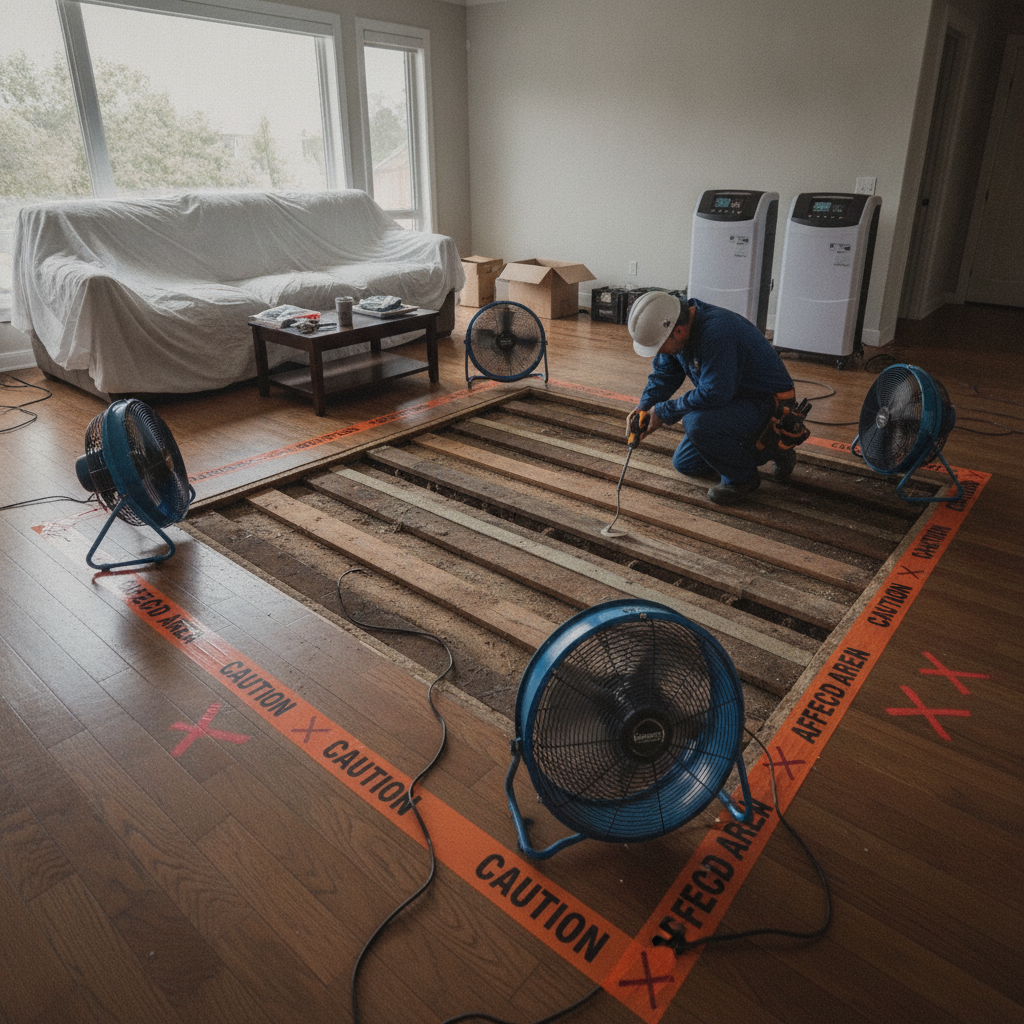
- Start drying with fans and dehumidifiers. Place high-capacity fans and a dehumidifier in the room. If you have access to professional-grade drying equipment, consider renting it.
- Turn off electricity in affected area if water reached outlets or appliances. If unsure, contact an electrician.
- Document the damage. Take photos and notes for insurance claims.
How long to dry before repairs
Drying time depends on the material, the amount of water, and ventilation. Light spills in a well-ventilated room may dry in 24–72 hours with fans and dehumidifier. Significant saturation, flooding, or moisture trapped underboards can take several days to weeks. Use a moisture meter to confirm floor and subfloor moisture content has returned to normal levels for your region before repairing or refinishing.
Tools and materials you might need
- Wet/dry vacuum
- High-capacity fans and dehumidifier
- Moisture meter (wood and ambient humidity)
- Pry bar and hammer (for board removal when necessary)
- Replacement boards or matching flooring material
- Construction adhesive or appropriate flooring glue
- Nails or flooring staples (if nail-down installation)
- Sandpaper and finish for refinishing hardwood
- Antimicrobial cleaner if mold is suspected
Repair options by flooring type
Solid hardwood
Solid hardwood is susceptible to swelling and tends to show severe buckling after water exposure.
- Light swelling: allow thorough drying with fans and dehumidifier; monitor with a moisture meter. Small cupping may flatten as moisture equalizes.
- Moderate damage: remove affected boards, dry the subfloor, then install replacement planks after the subfloor and new boards are fully dry and acclimated.
- Severe buckling: boards that have split or risen significantly will likely require removal and replacement. Inspect nail/screw fasteners and joists for damage.
- Refinishing: only after boards are dry and moisture content is stable. Avoid sanding while boards are cupped.
Engineered wood
Engineered wood has better moisture resistance than solid hardwood but can delaminate or warp under sustained exposure.
- Small spills: wipe up quickly and dry. Engineered boards often recover without replacement.
- Delamination or persistent warping: remove and replace affected planks. Check manufacturer guidelines for replacement procedures and warranties.
Laminate flooring
Laminate floors swell, warp, and lose their locking profile when exposed to water. Because many laminate floors have a fiberboard core, they are less likely to be repairable after saturation.
- Immediate action: remove moisture and start drying. Check seams and edges for swelling.
- Replacement: often required for visibly swollen or buckled planks. Replace planks and ensure the subfloor is dry before reinstalling.
Vinyl and luxury vinyl plank (LVP)
Vinyl is more water-resistant; many LVP products tolerate spills well. However, water under glued or click-lock installations can damage subfloors or cause adhesive failure.
- Surface spills: wipe and dry quickly; often no lasting damage.
- Subfloor moisture: if water is trapped beneath planks, lift a corner to dry and check subfloor. Replace any damaged underlayment.
DIY repair step-by-step for small areas
For minor lifts and small damage areas, a careful DIY approach can save time and money.
- Ensure the area is completely dry. Use fans and a dehumidifier for at least 48–72 hours and check moisture with a meter.
- If boards are slightly raised but still secure, you may be able to depress and re-secure them by removing trim and using weights while adhesive re-cures (only if manufacturer permits).
- For loose boards, remove affected boards using a pry bar. Dry the subfloor and the underside of the removed boards.
- Inspect for mold or rot. Clean with an antimicrobial solution if needed and let it dry.
- Install replacement boards or re-glue nails/staples if possible. Ensure a correct expansion gap and fasten per the original installation method.
- Refinish or blend-repair surfaces as needed once moisture levels are back to normal.
When to call a professional
Hire professionals if any of the following apply:
- The spill was large or the water came from sewage/backflow.
- Multiple rooms or subflooring are saturated.
- There are signs of mold, persistent odors, or health concerns.
- Electrical outlets, heating systems, or major appliances were affected.
- Structural elements (joists, supports) might be compromised.
Water damage restoration specialists use industrial drying equipment, moisture mapping, and can coordinate with flooring pros and insurers for a comprehensive recovery.
Health & safety: mold and electricity
Mold can begin to grow within 24–48 hours in damp, warm conditions. If you notice a musty smell or visible mold, wear protective gear and consider professional remediation. Avoid using electrical devices in wet areas and cut power to the room if water has reached outlets or wiring. When in doubt, contact a licensed electrician.
Costs: what to expect
Repair costs vary widely depending on flooring type, extent of damage, and regional labor rates. Rough estimates:
- Minor DIY repairs (small area): $50–$300 for materials and tools.
- Professional plank replacement (local job): $200–$600 for a small room, depending on materials and labor.
- Full floor replacement (hardwood/engineered): $2–$10 per square foot for materials plus $3–$8 per square foot for installation, depending on species and finish.
- Water damage restoration and drying (professional): $500–$5,000 depending on scope and equipment needed.
Always get at least two estimates and document everything for insurance. Costs can be higher if structural repairs or mold remediation are needed.
Insurance and documentation
Homeowner insurance often covers sudden, accidental water damage (like a burst pipe) but not damage from long-term leaks or poor maintenance. To improve your chance of a successful claim:
- Take time-stamped photos and videos of the damage.
- Keep receipts for emergency services, drying equipment rentals, and repairs.
- Contact your insurer promptly to report the damage and ask about covered steps.
Preventing future lifting and water damage
Prevention reduces repair costs and preserves the life of your floors:
- Fix leaks immediately and check plumbing under sinks and near appliances regularly.
- Maintain appropriate expansion gaps per manufacturer instructions to allow natural wood movement.
- Use area rugs and mats in moisture-prone areas but remove periodically to let the floor breathe.
- Install water sensors near appliances, water heaters, and sinks to catch leaks early.
- Control home humidity with ventilation and dehumidifiers in damp climates.
- For basements and lower levels, consider water-resistant subfloor systems and quality moisture barriers.
How to avoid common mistakes
- Don’t rush into sanding or refinishing while the floor is still wet or cupped — it can worsen the problem.
- Don’t patch over damp areas; allow full drying first and test with a moisture meter.
- Avoid DIY fixes that trap moisture under new material — always dry subfloor and underlayment thoroughly.
- Get manufacturer guidance for product-specific behavior; warranties may dictate acceptable remedies.
Real-life examples: quick scenarios
Scenario 1: A spilled bucket of water in the kitchen
Action: Remove standing water, dry immediately with fans, and check boards after 24–48 hours. If no cupping/buckling appears, continue monitoring; if boards cup, plan for replacement of affected planks.
Scenario 2: Slow leak under the dishwasher
Action: Stop the leak, remove kickplate and dry beneath the dishwasher and surrounding flooring. If subfloor shows rot or boards have loosened, call a pro to inspect and replace affected areas.
Scenario 3: Flood from a heavy storm
Action: Prioritize safety (electricity off), document damage, remove standing water, and call a restoration company. Expect significant drying time and possible full replacement depending on the severity.
Helpful tools and products
- Moisture meter for wood and subfloor readings (essential for determining when to repair)
- High-capacity axial fans and commercial dehumidifiers for efficient drying
- Wet/dry vacs for quick water removal
- Flooring adhesive and replacement planks that match existing flooring
- Antimicrobial cleaners for mold-prone surfaces
Further reading
For additional tips on protecting and maintaining home surfaces and recovering after water exposure, reputable home-lifestyle resources offer practical guidance and safety advice. For general home improvement inspiration and care tips, see Better Homes & Gardens.
Frequently Asked Questions (FAQs)
How long does it take for wood floors to dry after a spill?
Light spills can dry in 24–72 hours with good ventilation and fans. Saturation, trapped moisture, or high humidity can extend drying to several days or weeks. Use a moisture meter for accurate assessment.
Will raised floorboards flatten out as they dry?
Minor cupping or slight swelling may decrease as wood dries and moisture equalizes. Severe buckling usually requires removal and replacement of affected boards.
Can I sand and refinish a water-damaged hardwood floor?
Not until the boards are fully dry and moisture content is within acceptable levels. Sanding too early can worsen crowns or reveal an uneven surface. If boards are warped or delaminated, sanding won’t help and replacement is needed.
Is water-damaged flooring covered by homeowners insurance?
Coverage depends on your policy and the damage cause. Sudden, accidental water damage (like a burst pipe) is often covered, while gradual damage due to lack of maintenance may not be. Document damage and contact your insurer quickly.
How can I prevent my floors from lifting in the future?
Fix leaks promptly, maintain proper expansion gaps, control indoor humidity, install water sensors near appliances, and choose moisture-resistant flooring or underlayment in at-risk areas.
Summary: smart steps to protect and restore your floors
Floorboards lifting after water spill is a common but manageable problem when you act quickly and methodically. Stop the water, remove standing moisture, dry thoroughly with fans and a dehumidifier, document the damage, and evaluate whether a DIY fix suffices or a professional restoration is needed. Know your flooring type, use a moisture meter to confirm dryness before repair, and implement prevention measures to avoid future incidents.
For inspiration on creating a comfortable and resilient home environment, consider exploring more design and living tips at How to Design A Comfortable Modern Living Space.