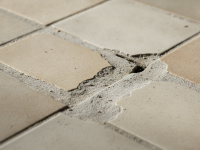
If your floorboards lifting after water spill has left your hardwood or laminate looking warped and uneven, you’re not alone. Water is one of the most common causes of floorboard damage, and knowing what to do in the first minutes, days, and weeks after a spill can make the difference between a minor repair and an expensive replacement. This guide explains why floorboards lift, step-by-step emergency actions, how professionals fix the problem, prevention tips, and answers to frequently asked questions.
Why floorboards lift after a water spill
Wood and many laminate products are hygroscopic materials — they absorb and release moisture. When water contacts a floorboard, the wood fibers swell. If swelling is uneven across the thickness or along the length of the board, stress builds up and the board can cup, crown, or buckle. Common causes of lifting include:
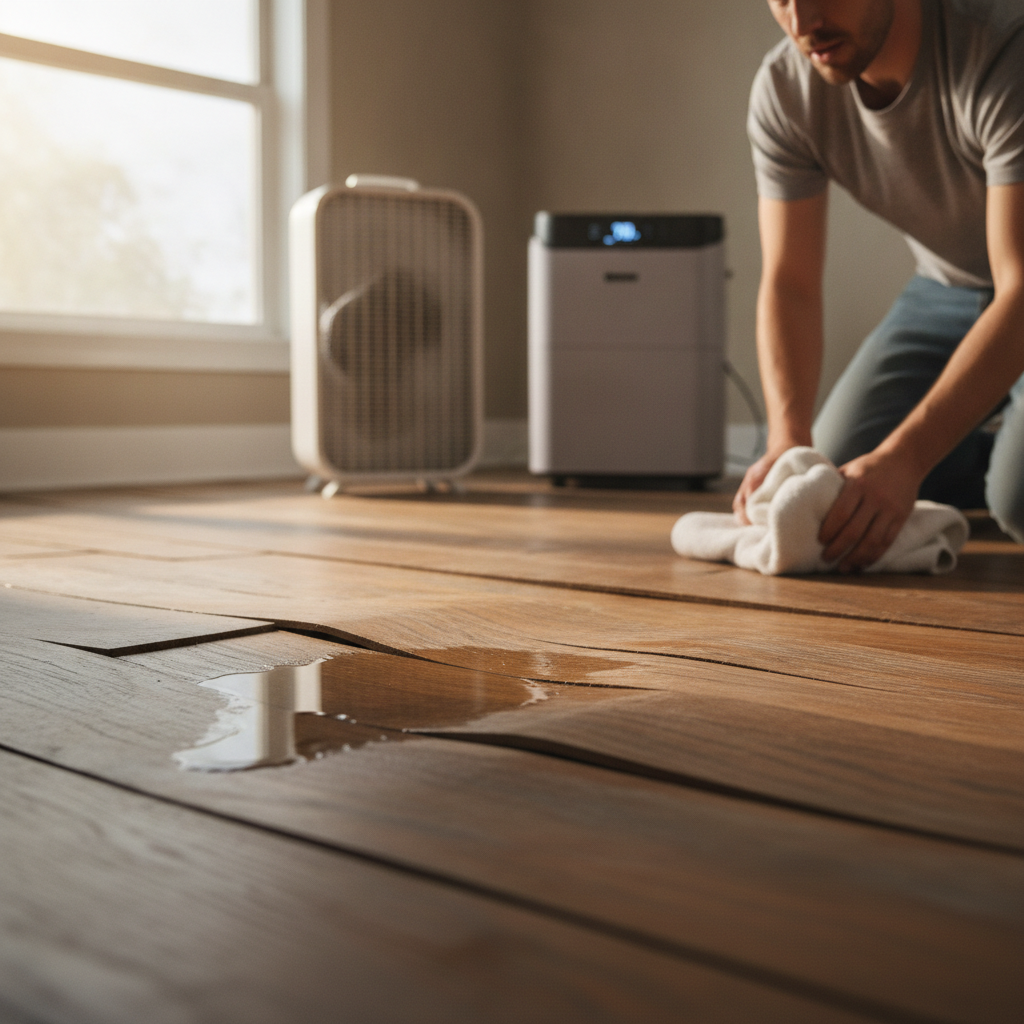
- Excess surface water from spills, leaks, or flooding that soaks into the board and subfloor.
- High indoor humidity or inadequate drying after a spill.
- Improperly installed flooring without recommended expansion gaps.
- A failing moisture barrier or damaged subfloor allowing moisture movement.
- Underlying leaks from pipes, appliances, or roof/drainage issues.
Assess the damage immediately (first 0–2 hours)
Quick, calm action reduces long-term damage. Follow these immediate steps when you notice floorboards lifting after water spill:
- Stop the water source. If the spill is from a broken pipe, shut off the main water valve. For appliance leaks, unplug and turn off the appliance and isolate its water supply.
- Remove standing water. Use towels, a wet/dry vacuum, or a mop to pull up excess liquid quickly.
- Move furniture and rugs away from the wet area. Set items on blocks or plastic to prevent further soaking and staining.
- Open windows and doors for ventilation if outdoor conditions help drying (not during high humidity or rain).
- Turn off radiant floor heating or thermostats to avoid trapping heat against wet materials.
Drying and monitoring (first 24–72 hours)
Proper drying lowers the risk of mold and reduces the chance boards remain deformed. Use these steps:
- Increase airflow. Use multiple fans to direct air across the wet flooring. A box fan plus oscillating fans are effective.
- Run dehumidifiers. Place a dehumidifier in the affected room to lower ambient moisture and speed drying.
- Lift wet trim and baseboards. Carefully remove or loosen baseboards so air can reach floor edges and allow expansion.
- Check moisture levels. A PIN-type or non-destructive moisture meter helps gauge how much moisture remains in the boards and subfloor.
- Document the damage. Take clear photos for insurance and to track progress.
Can you press warped boards back into place?
Sometimes small cupping or minor lifting can be mitigated by drying and using weights, but pressing boards back into place is often temporary unless moisture is fully removed. For hardwood that has simply cupped (edges higher than the center), controlled drying with fans and dehumidifiers may allow boards to return to shape. For severe buckling or boards that split or separate, replacement is usually required.
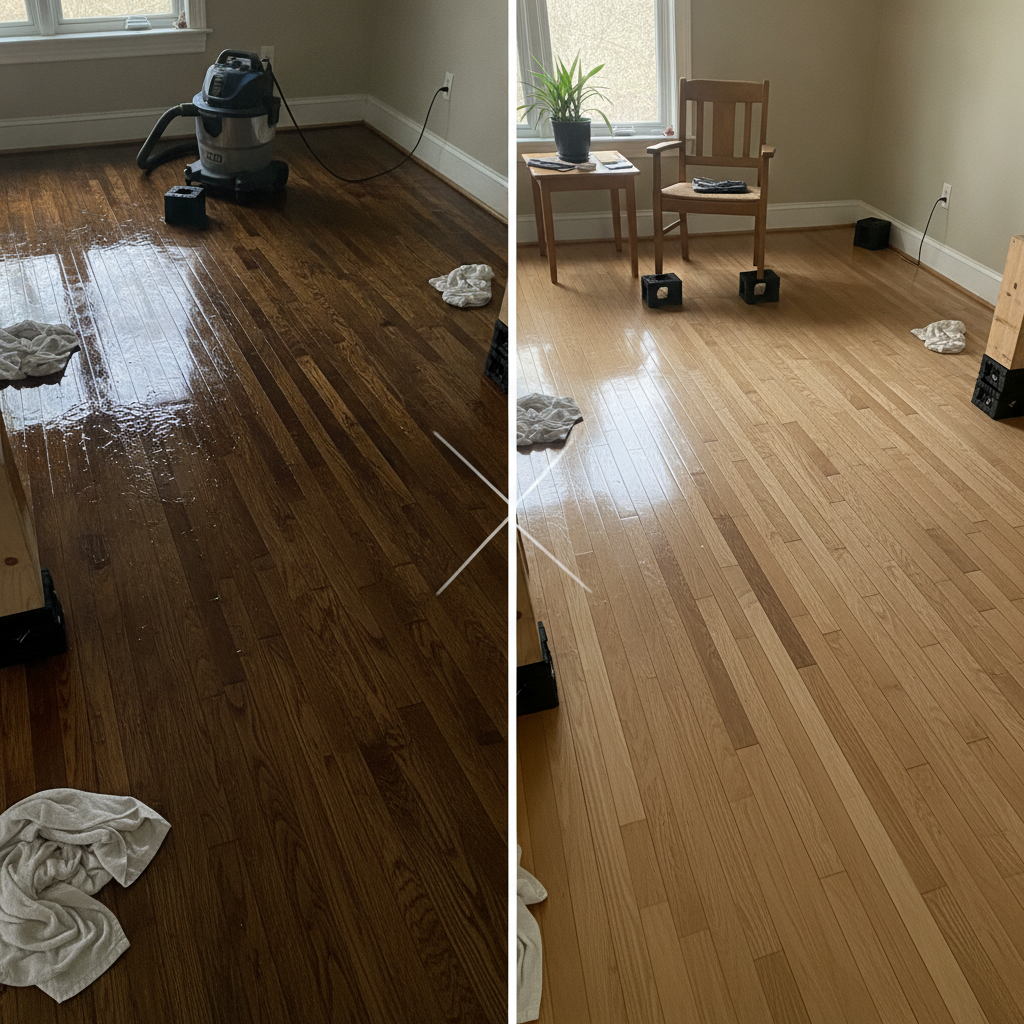
DIY repairs vs. professional restoration
Deciding whether to DIY or call a pro depends on the scale and cause of the damage:
- DIY reasonable when: the spill was small, drying is progressing, moisture readings are dropping, and lifting is minor. You can handle drying equipment, sanding, and refinishing.
- Call a professional when: visible buckling or gaps appear, structural subfloor issues are suspected, there’s persistent moisture after 72 hours, mold growth is present, or the spill involved contaminated water (e.g., sewage).
How professionals fix lifted floorboards
Restoration pros follow a multi-step process:
- Assessment: Inspect moisture levels, identify the water source, and evaluate subfloor and joists.
- Extraction and drying: Industrial-grade pumps, air movers, and dehumidifiers are used. Professionals may remove trim and some boards to dry subfloor cavities.
- Sanitization: If water was contaminated, antimicrobial treatments are applied to prevent mold.
- Repair or replacement: Depending on damage, installers will re-nail loose boards, plane and sand warped boards (if salvageable), or replace individual boards or sections. Subfloor repair may be necessary if rot or warping extends underneath.
- Refinish: Sanding, staining, and sealing restore the floor’s appearance and protect against future moisture entry.
Estimate of repair costs
Costs vary widely by material, extent of damage, and local labor rates. Typical ballparks:
- Minor drying and sanding: $150–$600.
- Partial board replacement (small area): $300–$1,200 depending on wood type and finish.
- Large-scale replacement (entire room or subfloor): $1,500–$6,000+ for hardwood; laminate replacement tends to be lower.
- Full restoration with structural repairs or mold remediation: $2,500–$15,000+ in severe cases.
Always obtain multiple estimates and ask contractors to document moisture readings before and after work.
When insurance will help
Homeowner policies typically cover sudden and accidental damage (e.g., a burst pipe). They often do not cover damage from gradual neglect, long-term leaks, or floodwaters (separate flood insurance required). Document the incident with photos, keep receipts for emergency mitigation, and call your insurer early to report the claim. For guidance on insurance and floor care, reliable resources such as home maintenance articles can help clarify coverage options; see this article for more context from a reputable home-living source: Better Homes & Gardens: What to do after water damages hardwood floors.
Permanent repair options
After moisture is eliminated and damaged materials assessed, consider these routes:
- Spot replacement: Replace only affected boards when matching wood and finish are available.
- Refinishing: If boards are intact but slightly cupped or discolored, sanding and refinishing can hide imperfections.
- Full replacement: For large areas, or when the subfloor is compromised, reinstallation yields the best long-term results.
- Switch to more water-resistant flooring: If spills are recurrent (e.g., near entryways, laundry rooms), consider engineered hardwood, luxury vinyl plank (LVP), or tile for those zones.
Preventing future floorboard lifting
Make prevention part of your home-care routine to protect floors:
- Wipe up spills immediately and dry the area thoroughly.
- Place waterproof mats under appliances with water lines (dishwashers, refrigerators, washing machines).
- Maintain indoor humidity between 30–50% to minimize wood movement.
- Check plumbing for slow leaks and repair promptly. Inspect under sinks regularly.
- Install or maintain a vapor barrier and ensure proper subfloor ventilation in crawls or basements.
- Leave recommended expansion gaps at walls and transitions when installing wood floors to permit natural movement.
Tools and materials that help
If you plan to handle some repairs yourself, these tools and items are useful:
- Wet/dry vacuum
- High-capacity fans and a dehumidifier
- Moisture meter (pin or non-destructive)
- Weights or sandbags for gentle flattening
- Replacement boards, matching nails, wood glue, and wood filler
- Sander and finishing supplies if refinishing
Signs you need professional help right away
Contact a restoration or flooring contractor promptly if you notice any of the following:
- Persistent high moisture readings after two to three days of drying.
- Severe buckling where boards stand up from the subfloor.
- Mold, mildew, or musty odors developing.
- Structural sagging or soft spots in the floor—possible subfloor or joist damage.
- Contaminated water (sewage or gray water) exposure.
How to choose a flooring pro
When hiring, look for:
- Licensed and insured contractors with references and portfolio photos of similar work.
- Restoration specialists certified in water damage mitigation (e.g., IICRC-certified technicians).
- Clear, itemized estimates that include moisture testing and post-repair readings.
- Guarantees or warranties for both materials and labor.
Common mistakes to avoid
These errors often worsen the problem:
- Waiting too long to dry the area. Time is critical for limiting swelling and mold.
- Using only a towel or paper products for large spills — mechanical drying equipment is often necessary.
- Sealing or refinishing a damp floor. Trapping moisture under finish can cause long-term damage.
- Ignoring the source of the leak. Fix the root cause before restoring the floor.
Frequently asked questions (FAQs)
Q: Can wet hardwood floors return to normal once dried?
A: Minor cupping can often return to near normal after controlled drying, but severe buckling or split planks usually require replacement. Moisture meters help determine if boards have reached safe moisture levels for restoration.
Q: How long does it take to dry floorboards after a spill?
A: Drying times vary by material, spill size, ventilation, and equipment. Small spills may dry in 24–48 hours. Larger incidents or soaked subfloors can take several days to a week or more with fans and dehumidifiers.
Q: Is mold likely after a spill?
A: If moisture persists more than 48–72 hours, mold growth becomes a real risk, especially in hidden spaces. Rapid extraction and drying minimize this risk. If mold appears, consult remediation professionals.
Q: Will homeowner’s insurance pay for replacement?
A: Many policies cover sudden, accidental water damage (like a burst pipe). They typically exclude slow leaks, maintenance-related issues, or flood damage unless you have additional coverage. Document everything and contact your insurer promptly.
Q: Can I replace just the affected boards myself?
A: If you’re handy and can match the wood, finish, and tongue-and-groove profile, spot replacement is feasible. However, proper subfloor inspection and moisture measurement are essential before reinstalling new boards.
Final checklist for homeowners with lifted floorboards
- Stop the water source and remove standing water immediately.
- Dry the area with fans and a dehumidifier; open windows if appropriate.
- Measure moisture and monitor readings daily.
- Document damage for insurance and hire pros when moisture persists or structure is affected.
- Prevent recurrence by addressing humidity, appliance safeguards, and proper installation details.
Floorboards lifting after water spill can feel alarming, but quick action, methodical drying, and informed decisions about repair will put you on the path to recovery. Minor incidents often end with a good drying session and a refinishing touch. For anything beyond simple cupping, consult a qualified restoration or flooring contractor to secure a lasting repair and protect your home’s value.
If you’d like practical design ideas to protect and refresh living areas after repairs, explore this guide on How to Design A Comfortable Modern Living Space to plan resilient, stylish floor and furniture layouts that reduce future risk.