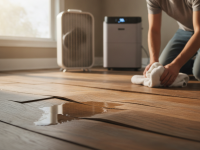
If you’ve noticed floorboards lifting after water spill, acting quickly can mean the difference between a minor fix and a full floor replacement. Whether the spill came from a burst pipe, an overflowing sink, or a dropped vase, water can cause wood and laminate floors to swell, cup, or buckle. This guide explains why floors lift, step-by-step emergency actions, drying and restoration methods, when to call a pro, cost expectations, and tips to prevent future problems.
Why floorboards lift after a water spill
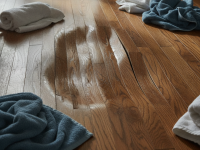
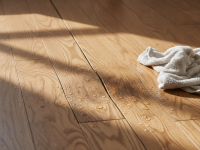
Wood and laminate flooring are hygroscopic, meaning they absorb and release moisture. When water gets beneath the surface or sits on the floor long enough, the material expands. That expansion can show up as:
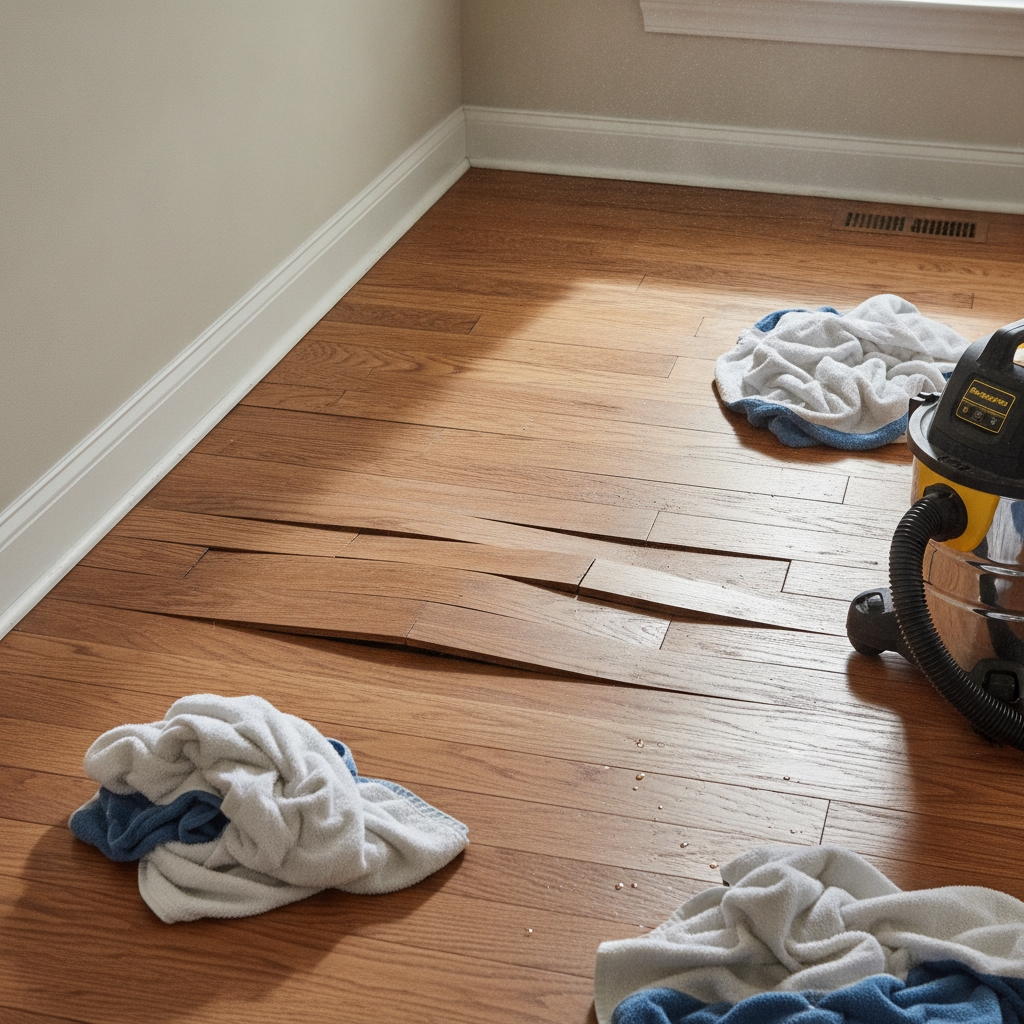
- Swelling: boards get thicker or wider and push against each other.
- Cupping: edges rise higher than the center when the underside is wetter than the top.
- Buckling: full-length boards lift and pull away from the subfloor when there’s no room left for expansion.
- Delamination (for engineered or laminate floors): layers separate and the surface peels away.
How serious is lifting floorboards?
Severity depends on how long the water sat, the flooring type, and how much water was involved. A small spill cleaned quickly may cause little or no lasting damage. Prolonged exposure or standing water—especially near seams, baseboards, or a gap in the finish—can cause irreversible warping, mold growth, or structural issues that require plank or subfloor replacement.
Immediate steps to take when you see floorboards lifting
Take these actions right away to limit damage and improve the chances of salvaging the floor:
- Stop the water source. Turn off plumbing or remove the source of the spill immediately.
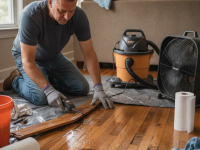
- Remove standing water. Use towels, a wet/dry vacuum, or mops to clear visible water.
- Move furniture and rugs. Lift anything sitting on the wet area so it doesn’t trap moisture beneath.
- Ventilate. Open windows and doors to increase airflow; this speeds drying.
- Start active drying. Place box fans and/or a dehumidifier in the room. Point fans along the floor surface and keep dehumidifiers running until readings return to normal.
- Measure moisture. If you can, use a moisture meter to monitor the floor and subfloor; this helps determine when it’s safe to attempt repairs.
- Document the damage. Take photos for insurance or contractor estimates.
Quick do’s and don’ts
Do
- Act fast to remove water and increase airflow.
- Use a dehumidifier and multiple fans to reduce moisture quickly.
- Contact your homeowner’s insurance if the spill is significant—certain policies cover sudden water damage.
Don’t
- Don’t immediately pull up many planks unless you know the subfloor is dry or you’re prepared to repair it—this can increase the likelihood of cupping at edges.
- Don’t use heat guns or high heat that can dry wood too quickly and cause cracking.
- Don’t place heavy objects over the affected area while it’s wet.
Drying and monitoring: step-by-step
Drying correctly is the most important phase. Rushing repairs before the floor and subfloor reach acceptable moisture levels can cause recurring problems.
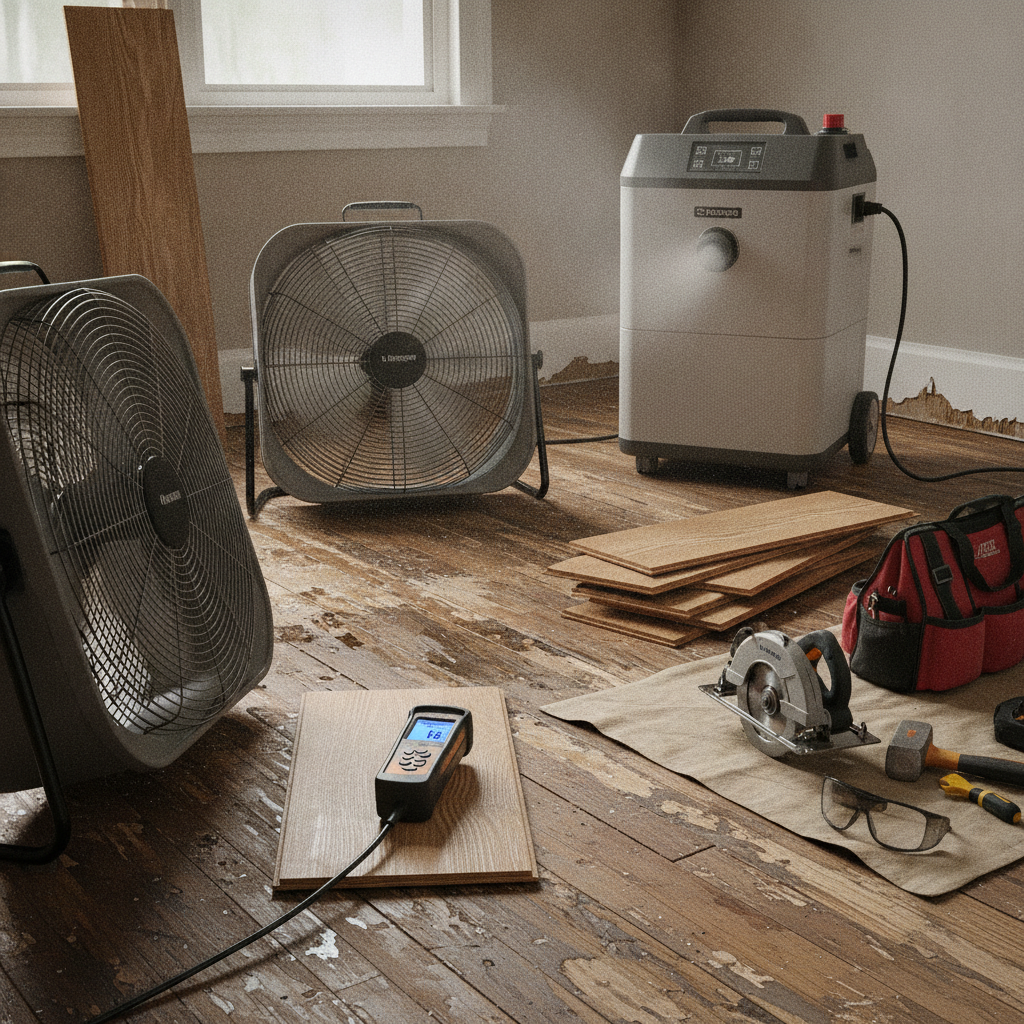
- Remove baseboards and quarter-round molding if water has reached them to expose edges and speed drying.
- Set up fans to move air along the floor surface; cross-ventilation helps if outdoor conditions are dry.
- Run a dehumidifier sized appropriately for the room. Keep doors closed to improve efficiency.
- Check moisture regularly with a wood moisture meter. For solid hardwood, aim for readings within 2–4% of the home’s normal equilibrium moisture content. For subfloor plywood, manufacturers often recommend 12% or less.
- Wait to attempt repairs until moisture readings are stable and within safe ranges—this can take several days to weeks depending on the volume of water.
Assessing damage by flooring type
Solid hardwood
Solid hardwood is most susceptible to cupping and buckling when exposed to water. If the boards have only cupped slightly and dry flat, sanding and refinishing may restore them. Severe buckling or gaps often mean some boards must be replaced. Engineered hardwood typically fares better because of its layered construction.
Engineered hardwood
Engineered wood has a plywood base and a hardwood veneer; it’s more dimensionally stable than solid hardwood and sometimes recovers with proper drying. However, excessive moisture can still delaminate the veneer or damage the adhesive, requiring partial replacement.
Laminate and vinyl plank
Laminate flooring has a fiberboard core that swells and permanently deforms when wet—damaged planks usually need replacement. Luxury vinyl plank (LVP) is more water-resistant; many LVPs can be dried and reused unless the subfloor is damaged or adhesive failed.
Softwood, plywood, and subfloor
If the subfloor has been soaked, it may rot or warp over time. Plywood with prolonged moisture exposure typically needs replacing before new flooring can be installed. A professional inspection is recommended when subfloor damage is suspected.
Repair options: DIY vs. professional
Which route you take depends on the extent of the damage, your skill level, and the flooring type.
DIY repairs (minor damage)
- Sanding and refinishing slightly cupped hardwood after it has fully dried.
- Replacing a few damaged laminate planks if you have spare pieces and the installation is click-lock or straightforward.
- Using wood filler and staining small gaps after moisture stabilizes.
When to hire a professional
- Large areas of buckling, delamination, or subfloor concerns.
- Health concerns such as visible mold or persistent musty odors.
- When repair requires removing large sections of flooring, replacing joists or subfloor, or refinishing an entire room to match.
Estimated costs
Costs vary widely by material, scope, and region. Ballpark figures:
- Minor sanding and refinishing of a small room: $500–$2,000.
- Replacing individual planks (materials + labor): $100–$400 per affected area, depending on flooring type.
- Full floor replacement (materials + labor): $3–$12 per sq ft for laminate, $6–$15 per sq ft for engineered hardwood, and $8–$25+ per sq ft for quality solid hardwood plus refinishing.
- Subfloor replacement: additional $500–$2,000 depending on extent.
Always get at least two quotes and ask contractors about warranties on repairs and moisture-control guarantees.
Mold risk and health considerations
When water soaks flooring and isn’t dried quickly, mold can develop within 24–48 hours. Mold in floors or subfloors poses health risks and requires safe remediation. If you smell persistent mildew, see visible mold, or have respiratory issues after the spill, get a professional inspection. For guidance on preventing mold and maintaining a healthy home after water damage, reputable home-improvement resources can be helpful; for more on restoration and when to call pros, read this HGTV guide.
Prevention and long-term care
Reduce future risk with these simple steps:
- Address plumbing leaks promptly and inspect under sinks periodically.
- Use water sensors in basements, laundry rooms, and under dishwashers to get alerts early.
- Keep humidity in check with a whole-home dehumidifier in humid climates.
- Use mats at sinks and entrances—but remove them quickly after spills to avoid trapping moisture.
- Maintain proper expansion gaps around hardwood and ensure installation followed manufacturer guidelines.
When to involve insurance
Homeowner’s insurance often covers sudden and accidental water damage (like a burst pipe), but not gradual damage from neglect or long-term leaks. Document the damage with photos and receipts, and contact your insurer early to report the claim. Keep in mind some policies have water damage or mold limits, and a deductible will apply.
Tools and supplies you may need
- Wet/dry vacuum
- Absorbent towels and mops
- Box fans and directional fans
- Dehumidifier (rental for large jobs)
- Moisture meter for wood and subfloor readings
- Utility knives, pry bars, and replacement planks (for DIY replacements)
- Protective gear (gloves, mask) if mold is suspected
Timeline: How long will drying and repair take?
A small, contained spill cleaned immediately could stabilize in 24–72 hours with good airflow and a dehumidifier. Larger events with soaked subfloors can take a week or several weeks to dry completely. Repairs—sanding, staining, or replacing boards—typically follow only after moisture is stable. Consider the drying process the most time-consuming phase; rushing repairs risks recurring damage.
Hiring the right professional
When needed, choose contractors experienced with water-damaged flooring. Ask for:
- References and photos of prior work repairing water-damaged floors.
- Clear moisture measurement procedures and criteria for when they’ll begin repairs.
- Written estimates that separate drying, removal, repair, and finishing costs.
- Proof of insurance and any trade certifications.
Frequently asked questions
Can lifted floorboards be saved?
Sometimes. If the boards have only cupped or slightly buckled and the moisture is removed quickly, sanding and refinishing can restore several kinds of hardwood. If boards have severely buckled, delaminated, or the subfloor is compromised, replacement will likely be necessary.
Is it safe to walk on lifting boards?
Light foot traffic is usually safe for minor cupping, but avoid heavy traffic on sections that are loose or significantly buckled—these can trip someone or worsen damage.
Will the boards return to normal after drying?
Some will, especially engineered and well-finished hardwoods. Solid hardwood that has expanded against an immovable surface may remain warped. The outcome depends on the water volume and how quickly it was addressed.
How do I know if the subfloor needs replacing?
If plywood is soft, shows dark staining, produces a musty odor, or moisture readings remain high after drying attempts, the subfloor likely needs replacement. A professional inspection can confirm structural and mold concerns.
Can area rugs protect floors from spills?
They can protect against minor spills and wear, but rugs can also trap moisture and delay drying if a spill soaks underneath. Use rugs with breathable padding and check beneath them after any spill.
Managing floorboards lifting after water spill is time-sensitive: quick removal of water and proper drying greatly improves the chances of repair rather than replacement. If you’re unsure about the severity, consult a professional to assess subfloor condition and mold risk.
For more interior and floor-care guidance, explore trusted home-design and renovation resources like HGTV’s articles on repairing water-damaged floors.
If you’d like ideas for refreshing the rest of your living space after a flooring project, consider reading this guide on How to Design A Comfortable Modern Living Space: How to Design A Comfortable Modern Living Space