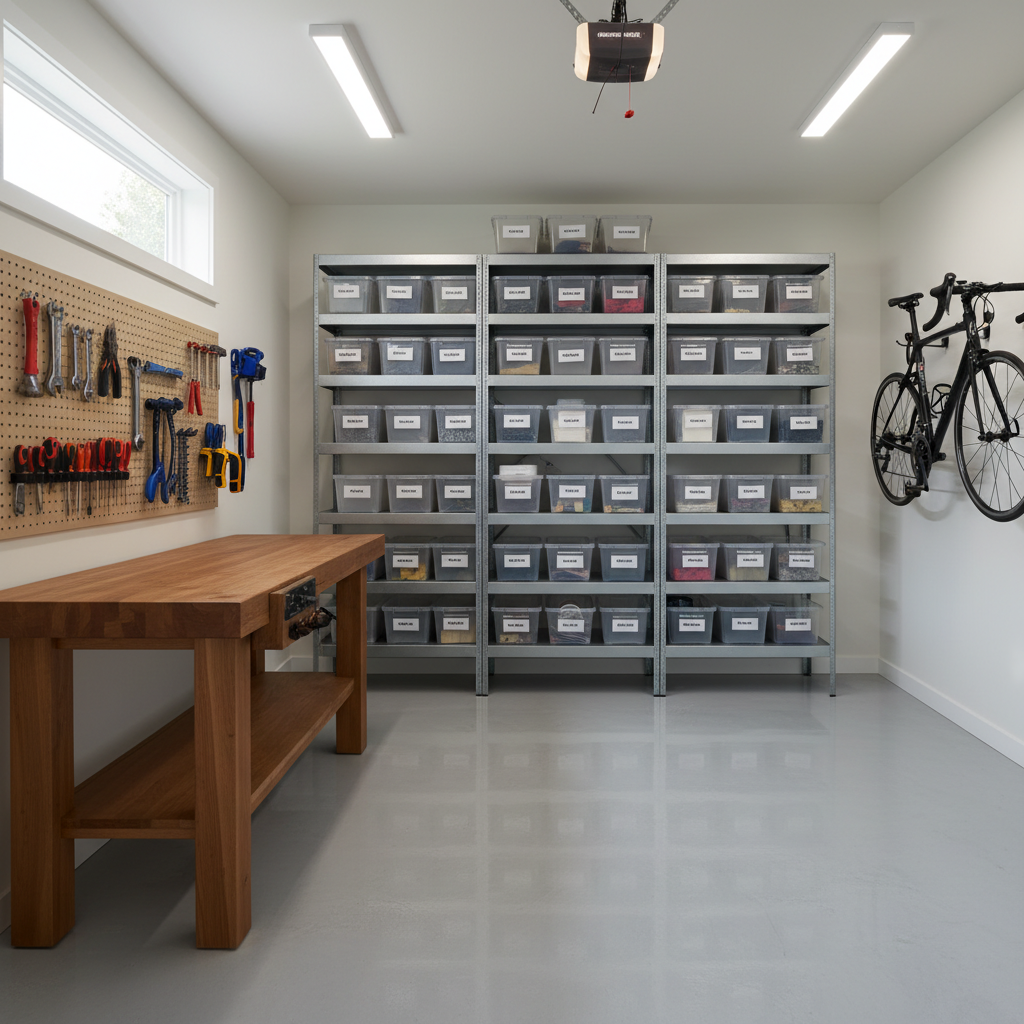
Hey there, fellow homeowner! Let’s be honest, for many of us, the garage isn’t just a place to park the car. It often becomes the default dumping ground for everything that doesn’t quite fit anywhere else in the house. Tools, holiday decorations, old sports equipment, dusty boxes of forgotten treasures… sound familiar? If your garage has transformed into a chaotic abyss rather than a functional extension of your home, you’re absolutely not alone. But what if I told you that with a bit of plaing and some clever ideas, you could turn that cluttered cavern into an organized haven for storage and even a productive workspace?
I’ve been there myself. My garage was once a source of constant frustration – a place where “finding” something meant embarking on an archaeological dig. But after tackling my own garage makeover, I can confidently say it’s one of the most satisfying home improvement projects you can undertake. It frees up space, reduces stress, and can even create a fantastic new area for hobbies or DIY projects. Ready to roll up your sleeves? Let’s transform that garage!
Why Bother? The Benefits of a Transformed Garage
You might be thinking, “It’s just a garage, why put in all that effort?” Well, let me tell you, the benefits extend far beyond just having a tidy space:
- Reduced Stress: No more tripping over clutter or spending twenty minutes looking for that one specific wrench.
- Increased Functionality: Your garage can become a dedicated workshop, a craft area, a home gym, or simply a much more efficient storage hub.
- Boosted Home Value: An organized and clean garage is a major plus for potential buyers.
- Safety First: Less clutter means fewer hazards, especially if you have kids or pets.
- Rediscover Hobbies: Having a dedicated workspace can reignite your passion for DIY, woodworking, gardening, or any hands-on activity.
Phase 1: Decluttering – The Non-Negotiable First Step
Before you even think about buying a single shelf or paint can, you absolutely must declutter. Trust me, trying to organize existing chaos is like trying to untangle a ball of yarn while it’s still getting wound. It’s an overwhelming, but incredibly rewarding, process.
Embrace the “Keep, Donate/Sell, Trash, Relocate” Method
- Take Everything Out (or as much as you can): This is crucial. Seeing the empty space helps you visualize its potential. Plus, it forces you to confront every single item.
- Sort Ruthlessly: Create piles.
- Keep: Items you frequently use, truly need, or genuinely cherish.
- Donate/Sell: Usable items in good condition that you no longer need. Think about local charities, consignment shops, or online marketplaces.
- Trash/Recycle: Broken items, hazardous waste (dispose of properly!), or anything truly unusable.
- Relocate: Items that belong elsewhere in your home (e.g., a garden gnome that somehow ended up in your garage but belongs in the yard).
- Be Honest With Yourself: If you haven’t used something in a year or more, do you really need it? The answer is usually no.
Phase 2: Plaing Your Layout – Dream Big, Measure Twice
Once your garage is a blank slate, it’s time to plan. This isn’t just about where things go; it’s about how you’ll use the space.
- Measure Everything: Get accurate measurements of your walls, ceiling height, and any existing obstacles like windows or water heaters.
- Zone It Out: Think about how you want to use different areas.
- Parking Zone: Where do cars go? Make sure there’s enough clearance.
- Storage Zone: Where will seasonal items, tools, and bulk purchases live?
- Workspace Zone: If you want a workbench, where will it be placed for optimal lighting and access to power?
- Hobby Zone: Maybe a corner for gardening, crafts, or a small home gym.
- Sketch It Out: Grab some graph paper (or an online tool) and draw your garage. Experiment with different layouts. Where will your workbench go? How many shelves can you fit on that wall? This step saves a lot of headaches later.
Smart Storage Solutions: Maximizing Every Inch
This is where the magic happens! The key to an organized garage is thinking vertically and making every square inch work for you.
Vertical Storage is Your Best Friend
The walls are your prime real estate. Don’t let them go to waste!
- Heavy-Duty Shelving Units: These are a must. Look for industrial-grade, adjustable shelving. They can hold heavy bins, paint cans, and bulk supplies. Open shelves make it easy to see what you have.
- Wall-Mounted Cabinets: For a cleaner look and to keep dust off certain items (or hide clutter), enclosed cabinets are fantastic. They’re great for chemicals, paint, or anything you want out of sight.
- Pegboards and Slatwall Systems: These are incredibly versatile. I love my pegboard! You can hang tools, gardening implements, cleaning supplies, and small parts. Slatwall offers even more robust options for heavier items and specialized hooks.
- Overhead Storage Racks: Don’t forget the ceiling! These heavy-duty racks are perfect for long-term storage of seasonal items like holiday decorations, camping gear, or car top carriers. Just make sure they’re professionally installed or you follow instructions meticulously for safety.
Floor-Level & Mobile Organization
While vertical is king, some items belong closer to the ground, and mobility can be a game-changer.
- Rolling Tool Chests/Cabinets: If you have a dedicated workspace, a rolling tool chest is invaluable. You can bring your tools directly to your project.
- Stackable Bins and Totes: Invest in clear plastic bins with lids. They protect items from dust and pests, and being clear means you can easily see what’s inside. Labeling is still a good idea!
- Bike Storage Solutions: Bikes take up a lot of floor space. Consider wall-mounted hooks, ceiling hoists, or vertical bike stands to get them off the ground.
- Magnetic Strips: A simple magnetic strip mounted above your workbench can hold small metal tools like screwdrivers, drill bits, and small wrenches, keeping them within easy reach.
Creating Your Dream Workspace: Functionality Meets Comfort
If you plan to actually *do* things in your garage, a proper workspace is essential.
Workbench Essentials
- Sturdy Surface: Choose a durable top – solid wood, butcher block, or even a laminate surface that can withstand abuse.
- Proper Height: Ensure it’s comfortable for you to work at, whether standing or seated on a stool. Around 34-36 inches is standard.
- Integrated Storage: A workbench with built-in drawers or shelves underneath is a huge bonus for storing frequently used tools and supplies.
- Power Outlets: Install multiple outlets along your workbench. Nothing is more frustrating thaeeding to plug in a tool and having no accessible power.
Lighting Matters
Good lighting is often overlooked but makes a massive difference.
- Overhead Lighting: Replace dim incandescent bulbs with bright LED shop lights or panel lights. They provide excellent, uniform illumination.
- Task Lighting: Add adjustable task lighting directly over your workbench. This prevents shadows and ensures you can see fine details.
Flooring Upgrade (Optional but Highly Recommended)
A good floor can transform the look and feel of your garage.
- Epoxy Coating: This is my personal favorite. It’s incredibly durable, resistant to oil and chemicals, easy to clean, and comes in various colors and finishes. It makes the garage feel much more finished and professional.
- Interlocking Tiles: These are a great DIY-friendly option. They offer cushioning, are easy to install, and can be replaced if damaged.
Climate Control & Comfort
Depending on your region, you might want to consider making your workspace more comfortable.
- Fans/Heaters: A sturdy fan for summer and a small electric heater for winter can make your garage a year-round workspace.
- Anti-Fatigue Mats: If you spend a lot of time standing at your workbench, an anti-fatigue mat is a game-changer for your back and feet.
- Safety Gear: Always have a fire extinguisher and a basic first-aid kit readily accessible.
Adding Those Finishing Touches: Making It Your Own
Once the heavy lifting is done, it’s time for the details that make the space truly yours.
- Paint the Walls: A fresh coat of light-colored paint (like a clean white or light grey) will brighten the space considerably and make it feel larger.
- Add a Sound System: A small Bluetooth speaker can make your time working in the garage much more enjoyable.
- Decor: A clock, a calendar, or even some automotive-themed posters can add personality.
Conclusion
A garage makeover, especially one focused on smart storage and a functional workspace, is more than just an organizational project; it’s an investment in your home and your peace of mind. It takes effort, certainly, but the payoff is immense. Imagine walking into a clean, bright, and organized space where everything has its place, and you have a dedicated area for all your projects. No more hunting for tools, no more tripping hazards, just pure functionality and satisfaction.
So, take a deep breath, tackle that decluttering, plan your dream layout, and start building the garage you’ve always wanted. You’ll be amazed at the transformation, and I promise, you’ll wonder why you didn’t do it sooner. Happy organizing!
