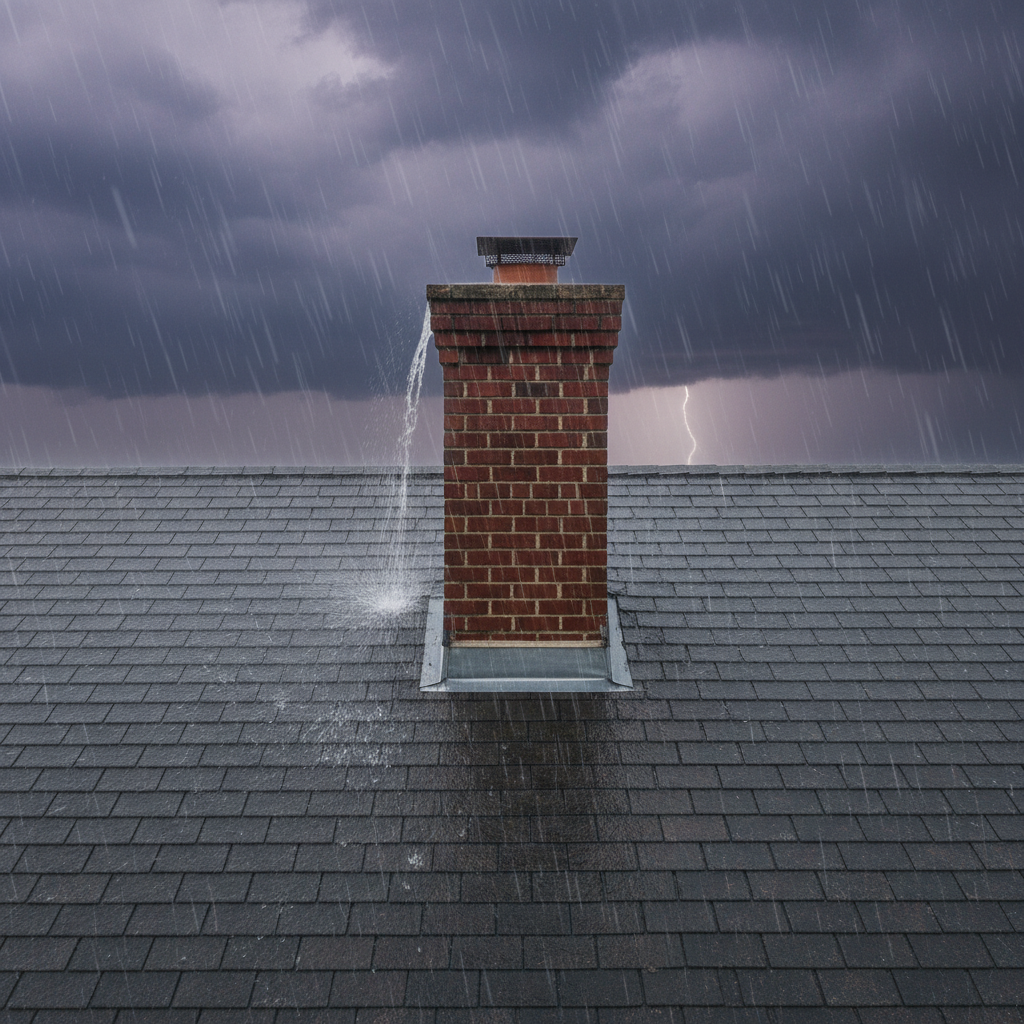
There are few things more alarming for a homeowner than discovering water stains on the ceiling or walls, especially after a heavy downpour. While many immediately suspect a compromised roof, an often-overlooked culprit behind these unwelcome leaks is your chimney. A chimney leaking during storms can lead to significant damage if left unaddressed, compromising not only the aesthetics of your home but also its structural integrity and indoor air quality. Understanding why your chimney might be letting water in and what steps you can take to prevent and fix these issues is crucial for maintaining a healthy and safe living environment.
Your chimney, a robust structure designed to withstand the elements, is surprisingly complex and vulnerable to various forms of weather-related wear and tear. From heavy rain to strong winds and even hail, storms can expose weaknesses in its construction, allowing water to penetrate. This comprehensive guide will delve into the common causes of chimney leaks, how to identify the signs, and effective strategies for repair and prevention, ensuring your home remains dry and secure, no matter how severe the weather gets.
Why Your Chimney Leaks During Storms: Unpacking the Culprits
When a storm hits, your chimney becomes a primary target for water infiltration. Its elevated position and various components make it susceptible to leaks from multiple angles. Identifying the exact source is the first step toward a lasting solution.
1. Damaged or Faulty Flashing
Perhaps the most common reason for a chimney leaking during storms is compromised flashing. Flashing consists of thin sheets of metal (often aluminum, copper, or steel) installed at the intersection where the chimney meets the roofline. Its purpose is to create a watertight seal, directing water away from the vulnerable seam. Over time, flashing can corrode, crack, become bent, or detach due to harsh weather conditions, poor installation, or simply age. If the flashing is lifted, torn, or has holes, water will easily seep underneath it and into your home.
- Counter Flashing: This component is embedded into the chimney’s mortar joints and overlaps the step flashing. Damage here is common.
- Step Flashing: Individual pieces of flashing woven into the roof shingles and bent up against the chimney.
- Sealant Degradation: The caulk or sealant used to seal flashing edges can dry out, crack, or pull away, creating gaps for water entry.
2. Cracked Chimney Crown
The chimney crown, also known as a wash, is the concrete slab that caps the top of your chimney structure, protecting the masonry and the flue liner from direct rainfall. A properly constructed chimney crown should extend slightly beyond the chimney walls, creating a drip edge that sheds water away from the chimney’s sides. Unfortunately, many crowns are poorly constructed, too thin, or made with an improper mortar mix that isn’t designed for exterior exposure. Over time, freezing and thawing cycles, exposure to UV rays, and general weathering can cause the crown to crack. These hairline cracks, even small ones, allow water to penetrate the chimney’s interior masonry, leading to significant leaks during heavy storms.
3. Porous Masonry and Mortar Joints
The bricks and mortar that make up your chimney are robust but not invincible. Bricks are naturally porous, and while they can absorb some moisture, excessive saturation or deteriorating mortar can become a problem. As a chimney ages, mortar joints can erode, crack, or crumble due to weather exposure, acid rain, or chimney fires. This deterioration, known as spalling (when bricks flake or peel) or efflorescence (white powdery residue), creates pathways for water to seep into the chimney structure. Once water penetrates the masonry, it can travel downwards, manifesting as leaks inside your home. Furthermore, older or softer bricks might become saturated and allow water to wick through.
4. Damaged Chimney Cap or Chase Cover
At the very top of your chimney, a chimney cap or chase cover serves as the first line of defense against the elements. A chimney cap is typically a metal or mesh structure that sits above the flue, preventing rain, snow, animals, and debris from entering. A chase cover, on the other hand, is a metal top that covers the entire opening of a pre-fabricated or wood-framed chimney, much like a chimney crown for masonry chimneys. If a chimney cap is missing, rusted, bent, or has holes, rain can directly enter the flue, leading to leaks. Similarly, a rusted, corroded, or improperly installed chase cover can pool water, allowing it to penetrate around the flue pipes or through rusted seams.
5. Condensation (Exacerbated by Storm Damage)
While not a direct storm leak, excessive condensation can mimic a leak, especially during colder, stormier weather. When warm, moist air from inside the house meets the cold surfaces of the flue (often exacerbated by cold, damp external conditions), it can condense into water. While this is a separate issue, a damaged chimney structure (e.g., missing cap, cracked crown, poor insulation) can worsen drafts and cold spots, leading to more significant condensation that might be mistaken for a rain leak.
6. Roof Damage Near the Chimney
Sometimes, the leak isn’t directly from the chimney itself but from the surrounding roof area that has been compromised by a storm. High winds can lift or tear shingles, dislodge flashing, or create holes in the roof decking adjacent to the chimney. Because water follows the path of least resistance, a leak in the nearby roof can manifest as a drip or stain that appears to be coming from the chimney area, making diagnosis tricky.
7. Improperly Installed or Missing Rain Cap
Even if you have a chimney cap, its effectiveness can be compromised if it’s not designed or installed correctly. A cap that doesn’t adequately cover the flue opening or has gaps can allow driven rain to enter. A missing rain cap leaves the flue completely exposed, turning it into a direct funnel for rainwater into your home.
Signs Your Chimney is Leaking: How to Identify the Problem
Catching a chimney leak early can save you from more extensive and costly repairs. Be vigilant for these tell-tale signs, especially after a heavy storm:
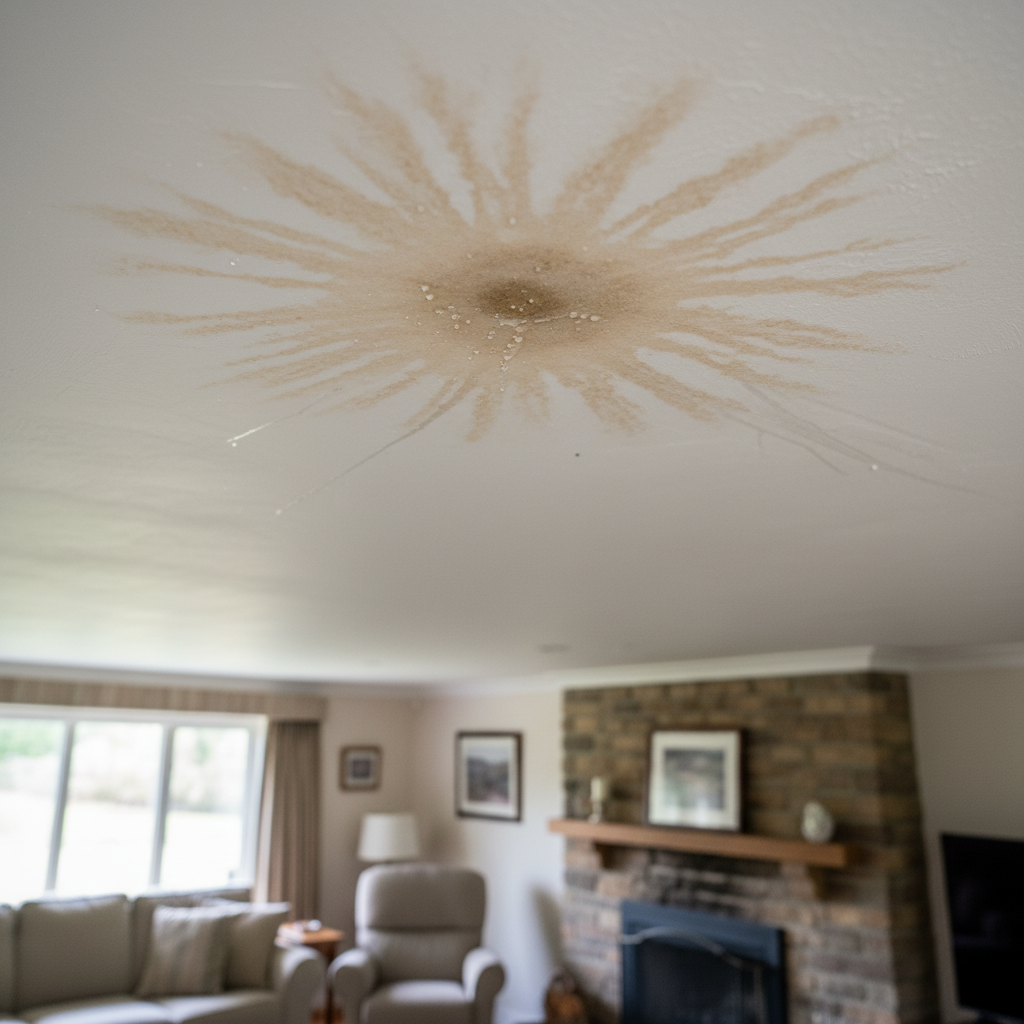
1. Water Stains on Ceilings or Walls
This is the most obvious and common indicator. Look for brown, yellow, or reddish stains on your ceiling, particularly around the chimney breast, or streaking down interior walls. The stains might appear directly below the chimney or spread outwards, depending on how water is traveling once inside.
2. Dampness or Musty Odors
Even without visible stains, a persistent damp or musty smell, especially near the fireplace or in rooms adjacent to the chimney, can signal hidden moisture. This odor is often caused by mold or mildew growth in unseen areas where water has infiltrated.
3. Rust in the Firebox or Damper
Inspect your firebox and damper for signs of rust. If you see rust developing on metal components, it’s a clear indication that water is entering the flue or firebox area, likely from above. This is particularly concerning as rust can weaken metal parts, potentially leading to operational issues or even hazards.
4. Spalling Bricks or Efflorescence
On the exterior of your chimney, look for spalling (bricks flaking, peeling, or crumbling) or efflorescence (a white, powdery residue). Spalling occurs when water penetrates the brick, freezes, and expands, forcing the surface layers to break off. Efflorescence is the deposit of salt left behind as moisture evaporates from masonry. Both are strong indicators of excessive moisture saturation within the chimney structure.
5. Missing or Damaged Mortar
Visually inspect the mortar joints between the bricks on the exterior of your chimney. If you notice crumbling, cracking, or missing sections of mortar, these areas are prime entry points for water.
DIY Inspection: What You Can Safely Check (and When to Call a Pro)
While some aspects of chimney inspection require professional expertise and safety equipment, there are a few things you can safely check from the ground or indoors:
- From the Ground: Using binoculars, carefully examine the chimney from a distance. Look for obvious signs of damage: missing chimney cap, rusted chase cover, visible cracks in the crown, deteriorating mortar, or damaged bricks.
- Indoors: Regularly check your ceiling and walls around the chimney for new or worsening water stains. Pay attention to any damp or musty smells. Inspect the firebox for rust or moisture.
- Safety First: NEVER attempt to climb onto your roof or up a ladder to inspect your chimney unless you are properly trained, have the right safety gear, and are comfortable working at heights. The risks of falls are severe. If you suspect an issue, especially with flashing or the chimney crown, it’s always best to call a qualified professional.
Effective Solutions for a Leaking Chimney
Once the source of the leak is identified, prompt action is essential. Here are the most common solutions:
1. Flashing Repair or Replacement
If the flashing is the culprit, a professional chimney technician or roofer can repair minor damage or, more commonly, replace the entire flashing system. This involves carefully removing old flashing, repairing any underlying wood damage, and installing new, properly sealed flashing. The new flashing should be correctly woven into the roof shingles and sealed with high-quality, weather-resistant sealant.
2. Chimney Crown Repair or Rebuilding
Small cracks in the chimney crown can sometimes be repaired with a high-quality crown sealant designed to withstand temperature fluctuations. However, for extensive cracking or a poorly constructed crown, rebuilding the crown with proper concrete or a pre-cast crown is the most durable solution. A good crown should have a slight overhang (drip edge) to direct water away from the masonry sides.
3. Masonry Repair (Tuckpointing and Sealing)
Deteriorating mortar joints require tuckpointing. This process involves grinding out old, damaged mortar and replacing it with fresh, durable mortar. For porous bricks or general masonry protection, a professional can apply a waterproof sealant specifically designed for chimneys. This sealant allows the masonry to breathe while repelling water, preventing saturation.
4. Chimney Cap or Chase Cover Replacement
A missing or damaged chimney cap should be replaced with a sturdy, rust-resistant cap that fits correctly and provides adequate protection against rain and animals. For metal chase covers, replacement with a durable, non-corrosive material (like stainless steel or copper) and proper installation with sealed seams is critical.
5. Waterproofing Treatments
Even if no immediate leaks are present, applying a professional-grade waterproofing sealant to the exterior masonry of your chimney can act as a preventative measure. These sealants are vapor-permeable, meaning they allow trapped moisture to escape while preventing new water from entering, thus extending the life of your chimney and preventing future leaks.
6. Gutter Maintenance
While not a direct chimney fix, ensuring your gutters are clean and properly functioning is vital. Clogged gutters can cause water to overflow and pool around the base of your chimney on the roof, exacerbating existing weaknesses in flashing or masonry. Regular gutter cleaning and maintenance can prevent this secondary source of water damage.
Preventative Measures to Protect Your Chimney
An ounce of prevention is worth a pound of cure, especially when it comes to chimney maintenance. Proactive steps can save you from significant headaches and costs down the line.
1. Regular Inspections (Annual)
Schedule an annual chimney inspection by a certified chimney sweep or mason. These professionals can identify subtle signs of wear and tear, incipient cracks, or flashing issues before they escalate into major leaks. An annual check-up is the single most important preventative measure you can take.
2. Prompt Repairs
Do not defer necessary repairs. Even minor issues like a small crack in the crown or a loose piece of flashing can quickly worsen during a severe storm, leading to extensive damage. Address problems as soon as they are identified.
3. Professional Cleaning
While primarily for fire safety, regular chimney cleaning helps ensure proper airflow and can reveal any internal damage or obstructions that might trap moisture.
4. Installing a Proper Chimney Cap
If your chimney doesn’t have a cap, or if it has an old, rusted one, invest in a durable, multi-flue chimney cap made from stainless steel or copper. This will prevent rain, snow, animals, and debris from entering the flue.
5. Waterproofing Applications
Consider having a professional apply a breathable, silane- or siloxane-based water repellent to your chimney’s masonry. This treatment typically lasts for several years and significantly reduces the absorption of water by the bricks and mortar.
The Risks of Ignoring a Leaking Chimney
Ignoring a chimney leaking during storms is a risky gamble. The long-term consequences can be severe and far-reaching, impacting various aspects of your home’s safety and value.
1. Structural Damage
Constant moisture exposure can weaken mortar joints, cause bricks to spall, and even compromise the structural integrity of the chimney itself. This can lead to leaning chimneys, chimney collapse, or damage to the surrounding roof and ceiling structure.
2. Mold and Mildew Growth
Damp environments are perfect breeding grounds for mold and mildew. Water infiltrating your chimney can lead to growth in walls, attics, and living spaces. Mold not only causes unpleasant musty odors and unsightly stains but can also trigger respiratory problems, allergies, and other health issues for occupants.
3. Fire Hazards
A compromised chimney structure can pose serious fire risks. Water damage can weaken the flue liner, allowing heat and sparks to escape into combustible materials in your home. Rusting dampers or creosote buildup exacerbated by moisture can also increase fire hazards.
4. Compromised Indoor Air Quality
Mold spores and dampness contribute to poor indoor air quality. A musty smell can be pervasive, and the presence of allergens can significantly impact residents’ health and comfort.
5. Increased Repair Costs
What might start as a simple flashing repair can quickly escalate into a complete chimney rebuild, roof repair, or extensive interior renovation if left unaddressed. The longer you wait, the more water damage accumulates, leading to exponentially higher repair costs.
When to Call a Professional Chimney Sweep or Mason
While basic visual checks are helpful, addressing a chimney leak almost always requires professional expertise. Here’s when to pick up the phone:
- Complex Repairs: Issues like flashing replacement, crown rebuilding, tuckpointing, or structural repairs are not DIY projects. They require specialized tools, materials, and safety knowledge.
- Roof Work: Anytime you need to access the chimney from the roof, it’s safer and more effective to hire a professional. Roof work involves significant fall risks and requires experience to prevent further damage to your roof.
- Safety Concerns: If you notice any signs of structural instability, severe rust, or significant water damage, call a professional immediately.
- Lack of Expertise: If you’re unsure about the cause of the leak, or if previous attempts at repair haven’t worked, it’s time for a professional diagnosis. They can accurately pinpoint the source and recommend the most effective, long-lasting solution.
Frequently Asked Questions About Chimney Leaks
Q: Can heavy rain cause a chimney to leak?
A: Yes, heavy rain is a primary trigger for chimney leaks, especially if there are existing weaknesses in the flashing, crown, masonry, or chimney cap. The sheer volume and force of water during a storm can quickly expose and exacerbate these vulnerabilities.
Q: How much does it cost to fix a leaking chimney?
A: The cost varies widely depending on the cause and extent of the damage. Minor repairs like re-sealing flashing or patching small crown cracks might cost a few hundred dollars. More extensive repairs such as flashing replacement, tuckpointing, or a full chimney crown rebuild can range from several hundred to a few thousand dollars. Ignoring a leak can lead to much higher costs, potentially involving thousands for structural repairs or mold remediation. Always get multiple quotes from certified professionals.
Q: Can I use flex seal on a chimney leak?
A: While products like Flex Seal might offer a temporary band-aid solution, they are generally NOT recommended for long-term chimney leak repair. These products are often not designed for the extreme temperatures, UV exposure, and movement that a chimney experiences. They can trap moisture, lead to further deterioration, and make proper professional repairs more difficult and costly in the future. Always opt for professional-grade materials and methods.
Q: How do I find a good chimney repair professional?
A: Look for chimney sweeps or masons who are certified by organizations like the Chimney Safety Institute of America (CSIA) or who have strong local reputations. Ask for references, check online reviews, and ensure they are licensed and insured. Get detailed written estimates and clarify what the warranty covers.
Conclusion
A chimney leaking during storms is more than just a nuisance; it’s a warning sign that your home’s envelope has been compromised. From faulty flashing to cracked crowns and porous masonry, numerous factors can contribute to water infiltration. Prompt identification, understanding the underlying causes, and engaging qualified professionals for repair and preventative maintenance are paramount. By taking proactive steps, you can safeguard your chimney, protect your home from extensive water damage, preserve its structural integrity, and ensure a dry, healthy, and comfortable living environment for years to come.

