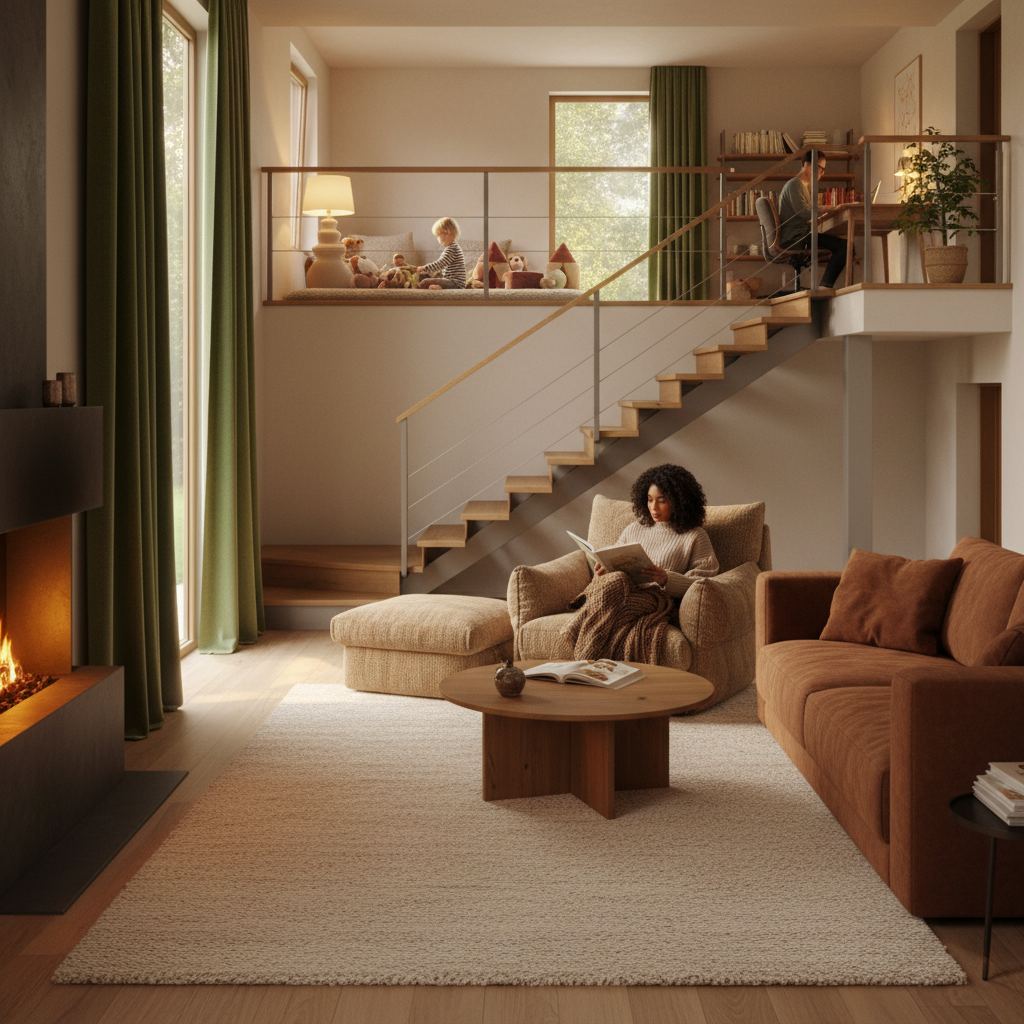
Ah, the joys of a multi-level home! Space, privacy, and often, a beautiful design. But let’s be honest, living in a home with multiple floors also often means living with an unwanted soundtrack: the relentless thud of footsteps from above, the distant drone of a TV show, or the enthusiastic play of children turning your ceiling into a drum. If you’ve ever found yourself wincing at every creak or wishing for a little more peace and quiet between your living spaces, you’re definitely not alone. It’s a common complaint, and frankly, it can really chip away at your home’s tranquility.
I’ve heard countless stories, and experienced some myself, of homeowners feeling like they’re living in a giant echo chamber. The good news? You don’t have to just ‘live with it.’ There are genuinely effective strategies, from simple everyday habits to more involved home improvements, that can significantly reduce noise transfer between floors. This guide isn’t just a list of tips; it’s a collection of practical, experience-backed solutions to help you reclaim the peace and quiet in your multi-level abode. Let’s dive in and transform your home into a harmonious haven!
Understanding the Enemy: How Noise Travels
Before we can silence the stomping, it’s helpful to understand how noise actually moves through your home. Think of it like a ripple effect. There are generally two main types of noise we battle:
- Impact Noise: This is the most common culprit in multi-level homes. It’s the sound of physical vibrations directly hitting the floor – footsteps, dropped objects, furniture dragging. These vibrations travel through the floor structure (joists, subfloor) and radiate as sound into the room below.
- Airborne Noise: This is sound that travels through the air – voices, music, TV, laughter. It can penetrate cracks, gaps, and even directly through the floor and ceiling materials if they’re not dense enough.
Often, it’s a combination of both. A good noise reduction strategy tackles both impact and airborne transmission paths.
Quick Fixes & Everyday Habits: Immediate Relief
Let’s start with the low-hanging fruit – changes you can make today that require minimal effort but offer surprising results.
Embrace the Power of Soft Surfaces
- Rugs and Carpets: This is arguably the most effective and easiest first step. A thick rug or wall-to-wall carpet on the upper floor acts as a fantastic shock absorber for impact noise. The thicker the rug and the denser the pile, the better. Don’t forget a quality rug pad underneath – a dense felt or rubber pad adds another layer of cushioning and sound absorption. It’s like putting a giant, soft pillow between the impact and the floor structure.
- Strategic Furniture Placement: Heavy, upholstered furniture on the upper floor can also help. Sofas, bookshelves filled with books, and large cabinets can absorb some sound and add mass, which reduces vibration transfer.
Cultivate Quiet Habits
- The Slipper Rule: This might sound trivial, but it’s a game-changer. Encourage everyone on the upper floor to wear soft-soled slippers or go barefoot. High heels, hard shoes, or even just heavy walking can create significant impact noise. Make it a house rule!
- Quiet Zones & Times: If certain activities are particularly noisy (e.g., intense video gaming, exercise), designate specific areas or times for them. Sometimes, just having a conversation about respecting quiet times can make a huge difference.
- Use Sound-Absorbing Decor: Heavy curtains, drapes, and even large tapestries on walls can absorb airborne noise, making the room above quieter and thus reducing the sound that travels below.
DIY Solutions & Material Upgrades: For the Handy Homeowner
Ready to roll up your sleeves a bit? These solutions involve some material upgrades that significantly enhance noise reduction.
Underlayment for Hard Flooring
If you have hard floors (hardwood, laminate, tile) upstairs and aren’t ready for carpet, a high-quality acoustic underlayment is your best friend. These specialized pads are designed to absorb impact sound before it reaches the subfloor. Look for products specifically rated for sound reduction (often with an IIC – Impact Isolation Class – rating). Installing this underlayment is usually part of a new flooring installation, but it can be done with an existing floor if you’re willing to lift and reinstall the planks.
Insulation Between Joists
This is a more involved project, but incredibly effective for airborne noise. If you have access to the ceiling joists from the floor below (e.g., an unfinished basement ceiling or if you’re renovating), adding mineral wool or rockwool insulation between the joists can dramatically reduce sound transfer. Unlike thermal insulation, sound-dampening insulation is denser and designed to absorb sound waves rather than just block heat. It’s a bit messy, but the results are often worth it!
Seal the Gaps
Sound is like water; it finds the path of least resistance. Gaps around light fixtures, electrical boxes, and the perimeter where the floor meets the wall are prime culprits for airborne noise leaks. Use acoustic caulk or sealant to meticulously seal these openings in the ceiling below. This simple step can make a noticeable difference, especially for voices and music.
Structural Enhancements: When You’re Ready for a Bigger Project
For those seeking the ultimate quietude, these solutions offer the most significant noise reduction, though they require more effort and investment.
Decoupling with Resilient Chaels or Sound Clips
This technique involves creating a “floating” ceiling below the noisy floor. Resilient chaels are thin metal strips that are attached to the ceiling joists, and then the drywall is attached to these chaels. Sound clips take this a step further, using rubber isolators to further separate the drywall from the joists. This decoupling prevents vibrations from the floor above from directly transferring into the ceiling below, dramatically reducing impact noise. It’s a common professional soundproofing technique.
Layering Drywall with Green Glue
Adding mass is a fundamental principle of soundproofing. Installing an additional layer of drywall on the ceiling below the noisy floor significantly boosts its sound-blocking capabilities. For even better results, sandwich a layer of “Green Glue” (a viscoelastic damping compound) between the two layers of drywall. This material converts sound energy into heat, effectively “eating” the vibrations and greatly enhancing both airborne and impact noise reduction.
Mass Loaded Vinyl (MLV)
MLV is a dense, flexible material that can be added to floors or ceilings to increase mass without adding significant thickness. It can be laid under a new subfloor or installed above an existing ceiling before adding drywall. It’s excellent for blocking airborne noise and also helps with impact noise when combined with other methods.
The Role of Furniture and Decor: Beyond the Floor Itself
Don’t underestimate how much your interior design choices can contribute to a quieter home.
- Heavy Curtains and Drapes: As mentioned earlier, heavy, layered fabrics on windows absorb sound waves, reducing echo and overall ambient noise in a room.
- Bookshelves and Wall Art: A wall full of books or well-placed acoustic panels disguised as art can break up sound waves and prevent them from bouncing around, making rooms feel calmer.
- Upholstered Furniture: Sofas, armchairs, and ottomans with fabric upholstery are much better at absorbing sound than hard leather or wooden furniture. The more soft furnishings, the better for acoustic comfort.
Professional Help: When to Call the Experts
While many of these tips are DIY-friendly, some larger projects might be best left to the professionals. If you’ve tried several solutions and are still struggling, or if you’re dealing with particularly severe noise issues, consider consulting:
- Acoustic Consultants: These specialists can analyze your home’s unique sound problems and recommend tailored solutions.
- Experienced Contractors: Look for contractors with specific experience in soundproofing or acoustic treatments. They’ll know the best materials and installation techniques.
Conclusion: Embrace the Quiet
Achieving a truly quiet multi-level home often requires a multi-faceted approach. There’s no single magic bullet, but by combining a few of these strategies, you can make a dramatic difference. Start with the easiest and most affordable options like rugs and slippers, and then consider more involved projects if you’re still craving more serenity. Imagine a home where the kids can play upstairs without disturbing your quiet reading downstairs, or where you can enjoy your favorite music without bothering anyone. It’s not just a dream – it’s an achievable reality with the right approach.
So, take a deep breath, and start implementing these tips. Your ears, and your overall sense of home tranquility, will thank you for it. Here’s to a quieter, more harmonious multi-level living experience!


