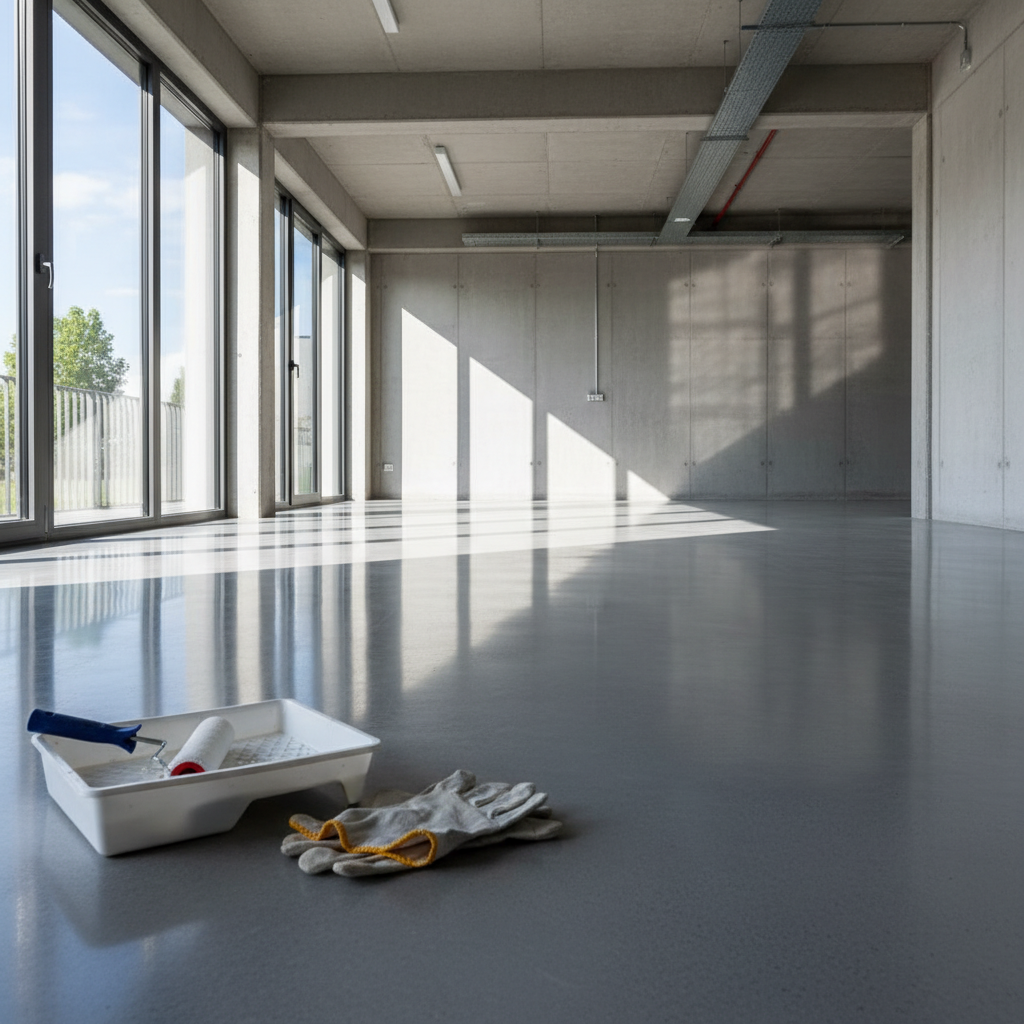
There’s something undeniably captivating about a polished concrete floor, isn’t there? It whispers modern elegance, exudes industrial chic, and boasts incredible durability. Many of us dream of having that sleek, reflective surface in our homes, garages, or even workshops. But here’s a little secret: achieving that truly “polished” look and ensuring it lasts isn’t just about grinding the concrete. It’s about sealing it, and doing it right!
I remember my first foray into concrete polishing. I spent hours grinding, moving from coarse to finer grits, and felt so proud of the smooth finish. Then, reality hit. Without proper protection, that beautiful surface was vulnerable to stains, abrasion, and just looked… dull after a while. That’s when I truly understood the magic of sealing. It’s the final act that not only protects your hard work but also amplifies that sought-after “polished” gleam. If you’re ready to transform your concrete from drab to dazzling, you’re in the right place. We’re going to dive deep into my tried-and-true process, sharing tips and tricks I’ve picked up along the way to give your concrete floors a finish that truly pops.
Why Seal Your Polished Concrete? More Than Just Shine!
You might be thinking, “My concrete is already smooth and looks good, why bother with an extra step?” Well, my friend, sealing is far more than just adding a topcoat. It’s about securing the longevity and beauty of your investment. From my experience, skipping this step is like baking a magnificent cake and forgetting the frosting – it’s good, but it’s not complete!
-
Protection from Stains and Spills
Concrete, despite its toughness, is porous. This means it’s a sponge for anything liquid. Oil, grease, wine, coffee – you name it, it can leave a nasty mark. A good sealer creates a protective barrier, preventing these liquids from penetrating the surface and making cleanup a breeze. Trust me, I’ve had my share of garage spills, and a sealed floor has saved me countless headaches.
-
Enhanced Durability and Abrasion Resistance
Even polished concrete can suffer from wear and tear. Foot traffic, moving furniture, tools dropping – these can all lead to scratches and abrasions. High-quality sealers, especially those with good film-forming properties, add an extra layer of toughness, making your floor more resistant to daily abuse.
-
Dust Proofing and Easier Cleaning
Unsealed concrete can “dust” over time, releasing fine particles. A sealer binds the concrete surface, preventing this. Plus, a smooth, sealed surface is significantly easier to sweep, mop, and maintain. No more struggling with dirt embedded deep within the pores!
-
Aesthetic Enhancement
And of course, the shine! While polishing creates the initial smoothness, many sealers, especially topical ones, truly bring out the luster and depth of the concrete. They can deepen the color, add a wet look, or provide that mirror-like reflectivity that just screams “polished.”
Understanding Your Concrete: Is It Ready for the Polish?
Before you even think about sealers, take a good, hard look at your concrete. Is it new? Old? Has it been painted or previously sealed? The condition of your existing floor dictates your prep work. In my journey, I’ve tackled everything from fresh slabs to 50-year-old garage floors. The key is to start with a clean slate.
If your floor is heavily stained, has old coatings, or significant cracks, those need addressing first. A professional grinder (which you might have already used for the polish) will remove old coatings and level the surface. For deep cracks, consider epoxy repair kits. Remember, the sealer will highlight any imperfections, so getting the surface as flawless as possible beforehand is crucial for that truly “polished” end result.
Choosing the Right Sealer: A World of Options (and My Go-To Picks)
This is where things can get a little overwhelming, but don’t fret! I’ll break down the main types and what I’ve found works best for achieving that polished look.
-
Penetrating Sealers (Densifiers)
These are often the unsung heroes in the polished concrete process. Products like silicates, silanes, and siloxanes don’t form a film on the surface. Instead, they soak into the concrete, reacting chemically to create a denser, harder, and less porous surface. Think of them as strengthening the concrete from within.
My experience: While they don’t provide the “shine” directly, they are absolutely essential for a durable, truly polished floor. They improve the concrete’s ability to take a polish and resist dusting. I almost always apply a densifier *during* the polishing process, after initial grinding stages, to get the best results before applying any topical sealers.
-
Topical Sealers (Film-Forming)
These are what most people think of when they hear “sealer for a polished look.” They form a protective film on the surface of the concrete, and this film is what often provides that high-gloss, reflective finish.
-
Acrylic Sealers
These are popular for their ease of application, quick drying times, and ability to enhance color. They offer good UV resistance and are generally affordable. They can give a nice satin to high-gloss finish.
My experience: Great for a cost-effective, good-looking finish. They do require re-application more frequently (every 1-3 years) depending on traffic, as they can wear down.
-
Epoxy Sealers
Known for their extreme durability, chemical resistance, and the ability to create a thick, high-gloss finish. They are fantastic for garages, workshops, and high-traffic areas.
My experience: A robust choice! The application can be a bit more involved (two-part mixing), and they can be sensitive to UV light if not formulated properly (some can yellow). But for heavy-duty protection and a super high gloss, they are tough to beat.
-
Urethane Sealers
Often considered the premium choice for durability and abrasion resistance, urethanes are more flexible than epoxies, making them less prone to scratching. They also offer excellent chemical and UV resistance, and come in various finishes from satin to very high gloss.
My experience: If you want the best possible protection and a long-lasting, deep shine, urethanes are fantastic. They are usually more expensive and can be trickier to apply due to their fast drying times and viscosity. Many professionals use urethanes as a topcoat over an epoxy base for ultimate performance.
My Go-To for a Polished Look: For a truly dazzling, long-lasting polished look, I often recommend a combination: a penetrating densifier first, followed by an acrylic or a high-quality urethane topcoat. For heavy-duty areas, an epoxy base with a urethane topcoat is my gold standard. Always check if the sealer is compatible with *polished* concrete, as some are formulated for rougher surfaces.
-
Prepping for Perfection: The Foundation of a Flawless Finish
I caot stress this enough: preparation is 80% of the job! A poorly prepped floor will lead to adhesion issues, unsightly bubbles, and a finish that just doesn’t last. Take your time here. This isn’t where you cut corners.
- Deep Clean: This is non-negotiable. Use a good quality concrete cleaner/degreaser. For interior floors, a stiff brush and a mop, or a walk-behind scrubber, will do wonders. For exterior, a pressure washer can be effective. Make sure to rinse thoroughly until no suds remain.
- Remove Existing Coatings (If Any): If there’s old paint, epoxy, or a failed sealer, it *must* come off. Grinding is usually the most effective method for this.
- Repair Imperfections: Fill any cracks, spalling, or pockmarks using appropriate concrete repair products. Allow them to cure fully.
- Etching (Sometimes Necessary): If your concrete is extremely smooth (even after polishing, some sealers need a tiny bit of “tooth” to grab onto), or if you’re using a particularly finicky topical sealer, a very light acid etch might be recommended by the manufacturer. Always follow instructions meticulously and neutralize properly. However, for truly *polished* concrete, excessive etching can undo your polishing work. Often, the polishing process itself creates enough surface profile for appropriate sealers. When in doubt, perform a small test patch.
- Allow for Thorough Drying: This is absolutely critical. Concrete can hold moisture for a long time. Any trapped moisture under your sealer will cause haziness, bubbles, and adhesion failure. Use a moisture meter if you have one, or give it at least 24-48 hours (or even longer in humid conditions) of good ventilation after cleaning. I often run a dehumidifier and fans to speed things up.
The Sealing Process: My Step-by-Step Approach for that “Wow” Factor
Alright, the moment of truth! With your floor perfectly prepped, it’s time to bring on the shine. Always, always, always read the manufacturer’s instructions for your specific sealer, as products can vary.
- Safety First: Work in a well-ventilated area. Wear appropriate PPE – gloves, safety glasses, and a respirator, especially with solvent-based sealers.
- Section Off Your Area: Plan your exit strategy. You don’t want to paint yourself into a corner!
-
First Coat – Thin and Even: This is crucial. Don’t slop it on thick, thinking more is better. Apply the sealer in thin, even coats.
- Roller Application: For most topical sealers, a good quality, lint-free roller (often 3/8″ nap for smoother surfaces) works well. Use an extension pole. Start in a corner, rolling in long, overlapping passes. Avoid puddling.
- Sprayer Application: For larger areas and thier sealers (like densifiers or some acrylics), a pump-up sprayer (often an acid-resistant one for some products) can provide a very even coat. Backroll with a roller to ensure uniform distribution and push the sealer into the surface.
- Brush: Use a brush for edges and corners that the roller or sprayer can’t reach.
- Allow for Proper Drying Between Coats: This is where patience comes in. Check the manufacturer’s recommended re-coat time. Rushing this can lead to lifting or trapping solvents, causing a cloudy finish. It’s usually a few hours, but can be longer.
- Second (and Third) Coat: Apply subsequent coats in the same thin, even maer. Often, applying the second coat perpendicular to the first (e.g., if the first was north-south, the second is east-west) helps ensure complete coverage and a uniform look. Two coats are typically sufficient for good protection and shine, but a third can add extra depth and durability, especially for high-traffic areas.
- Full Cure Time: Once the final coat is applied, the floor will be “dry to touch” relatively quickly, but it won’t be fully “cured” or at its maximum hardness for several days or even a week (again, check product specs). Avoid heavy traffic or placing heavy objects on it during this time.
Maintenance & Longevity: Keeping that Polished Look Alive
You’ve done the hard work, now let’s keep that floor looking fantastic!
- Regular Cleaning: Sweep or vacuum regularly to remove abrasive dirt and grit. Mop with a pH-neutral cleaner. Harsh chemicals can degrade your sealer over time.
- Wipe Spills Immediately: Even with a great sealer, standing liquids can eventually penetrate or stain, especially highly acidic ones.
- Protect Against Scratches: Use felt pads under furniture legs. Avoid dragging heavy objects.
- Re-application: Depending on the sealer type and traffic, you’ll need to re-apply every few years. Acrylics might need it every 1-3 years, while epoxies and urethanes can last 5-10 years or more. Watch for dulling, reduced water beading, or signs of wear as indicators.
Conclusion
Sealing your concrete floor for a polished look isn’t just an option; it’s a vital step to protect your beautiful investment and amplify its visual appeal. It’s a process that requires attention to detail, a bit of patience, and the right products, but I can tell you from personal experience, the results are incredibly rewarding.
There’s nothing quite like stepping back and admiring a perfectly sealed, gleaming concrete floor that you’ve transformed yourself. It’s durable, stylish, and remarkably easy to maintain once you’ve done the initial work. So, arm yourself with knowledge, choose your sealer wisely, and get ready to unlock the true, dazzling potential of your concrete floors!
