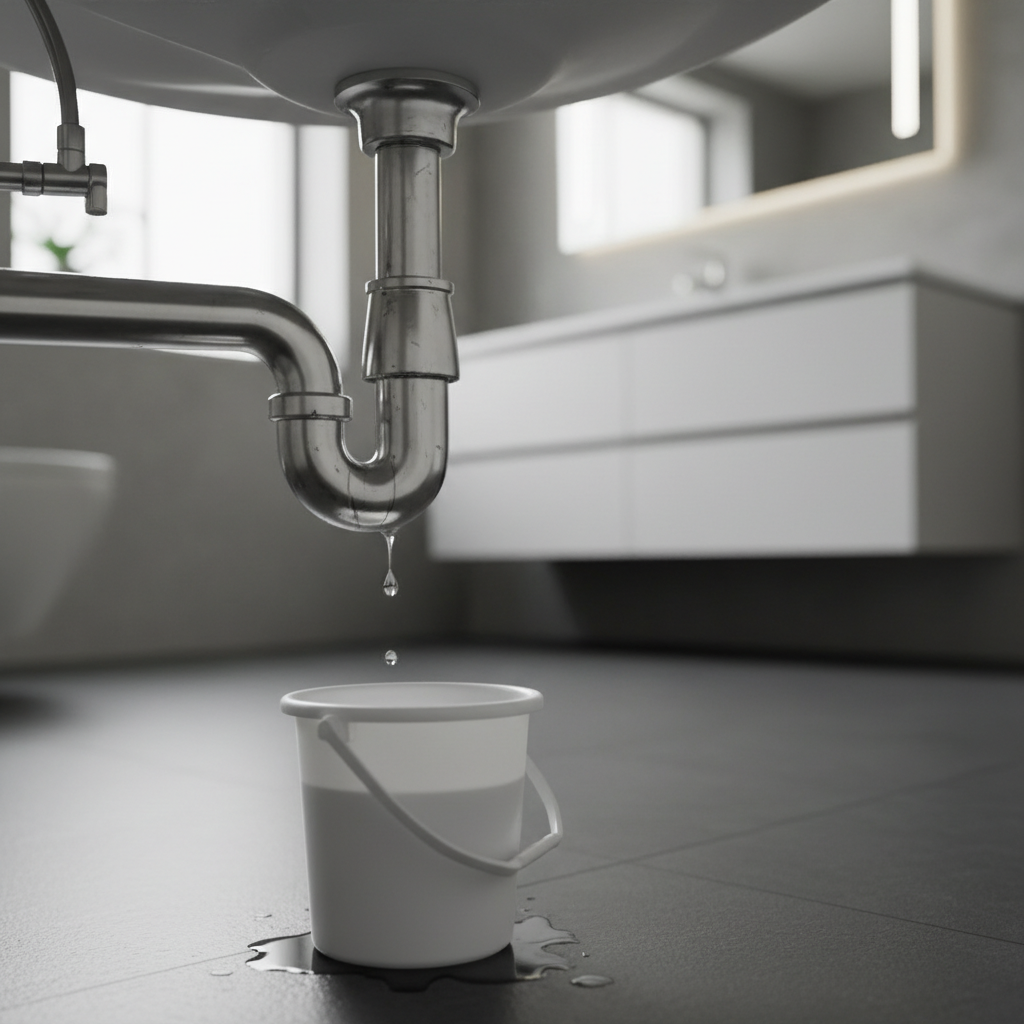
A leaking bathroom sink pipe can be one of the most annoying, yet common, household plumbing issues homeowners face. What starts as a minor drip can quickly escalate into a significant problem, leading to costly water damage, mold growth, and increased water bills. Fortunately, many bathroom sink pipe leaks are fixable with a few basic tools and a bit of know-how. This comprehensive guide will walk you through identifying the source of the leak, understanding common causes, and performing DIY repairs, as well as knowing when it’s time to call in a professional.
The Unseen Threat: Why Leaks Matter
It’s easy to dismiss a small drip as insignificant, but even a slow leak can cause substantial damage over time. The constant moisture creates an ideal environment for mold and mildew to thrive, leading to poor air quality and potential health issues. Water damage can weaken cabinetry, flooring, and even structural elements of your home. Moreover, a persistent leak means wasted water, translating directly into higher utility bills. Addressing a leaking bathroom sink pipe promptly is not just about convenience; it’s about protecting your home and your wallet.
Pinpointing the Problem: Where is Your Bathroom Sink Pipe Leaking?
The first step to fixing a leak is finding its exact location. Water travels, so the spot where you see the water might not be where the leak originates. Here are the most common areas where bathroom sink pipes tend to leak:
Common Leak Locations
- The P-Trap: This is the U-shaped pipe directly beneath your sink drain. It holds a small amount of water to prevent sewer gases from entering your home. It’s a very common spot for leaks due to loose connections, clogs, or corrosion.
- The Drain Assembly: This includes the flange (where the drain meets the sink basin), the pop-up stopper mechanism, and the tailpiece (the straight pipe extending from the sink to the P-trap). Leaks here often stem from degraded plumber’s putty, loose nuts, or worn gaskets.
- Supply Lines: These are the flexible hoses that connect your faucet to the hot and cold water shut-off valves in the wall. Leaks can occur at the connection points or if the hose itself cracks or wears out.
- Faucet Base/Connections: Sometimes, the leak isn’t in the pipes but from the base of the faucet where it meets the sink, or from the hot and cold water lines connecting to the faucet body under the sink.
- Wall Connections: Less common but more serious, leaks can occur where the P-trap connects to the drainpipe inside the wall. This usually requires more invasive repair.
To pinpoint the leak, dry the area completely with a towel. Place dry paper towels or old newspapers under the sink. Then, run the water in the sink for several minutes, checking the paper towels frequently for new drips. Slowly move your hand along the pipes to feel for moisture.
Identifying the Culprit: Common Causes of Leaking Bathroom Sink Pipes
Once you’ve located the general area of the leak, understanding its common causes will help you approach the repair more effectively.
Loose Connections
Over time, vibrations, temperature changes, and normal use can cause the nuts and fittings on your sink’s plumbing to loosen. This is particularly true for the slip nuts on the P-trap and tailpiece, which are designed to be tightened by hand or with minimal tool assistance.
Worn-Out Washers and Gaskets
Rubber or plastic washers and gaskets provide a watertight seal between pipe sections and fittings. With age, exposure to water, and chemical drain cleaners, these components can degrade, crack, or lose their elasticity, compromising the seal and leading to a leak.
Cracks and Corrosion
Older metal pipes are susceptible to corrosion, which can create pinholes or larger cracks. Plastic pipes can also crack due to physical impact, overtightening, or exposure to certain chemicals. These structural damages are often more challenging to repair and may require pipe replacement.
Clogged Drains
A severely clogged drain can cause water to back up and put pressure on the drain assembly or pipe connections. This increased pressure can force water out of weak seals or existing hairline cracks, especially if the clog is below the P-trap.
Incorrect Installation
If the sink or its plumbing was installed improperly, perhaps with cross-threaded connections, missing washers, or insufficient plumber’s putty, leaks can manifest shortly after installation or years down the line.
Temperature Fluctuations
Pipes, especially metal ones, can expand and contract with changes in water temperature. Over many cycles, this expansion and contraction can stress connections and seals, eventually leading to a leak.
DIY Fixes: How to Repair a Leaking Bathroom Sink Pipe
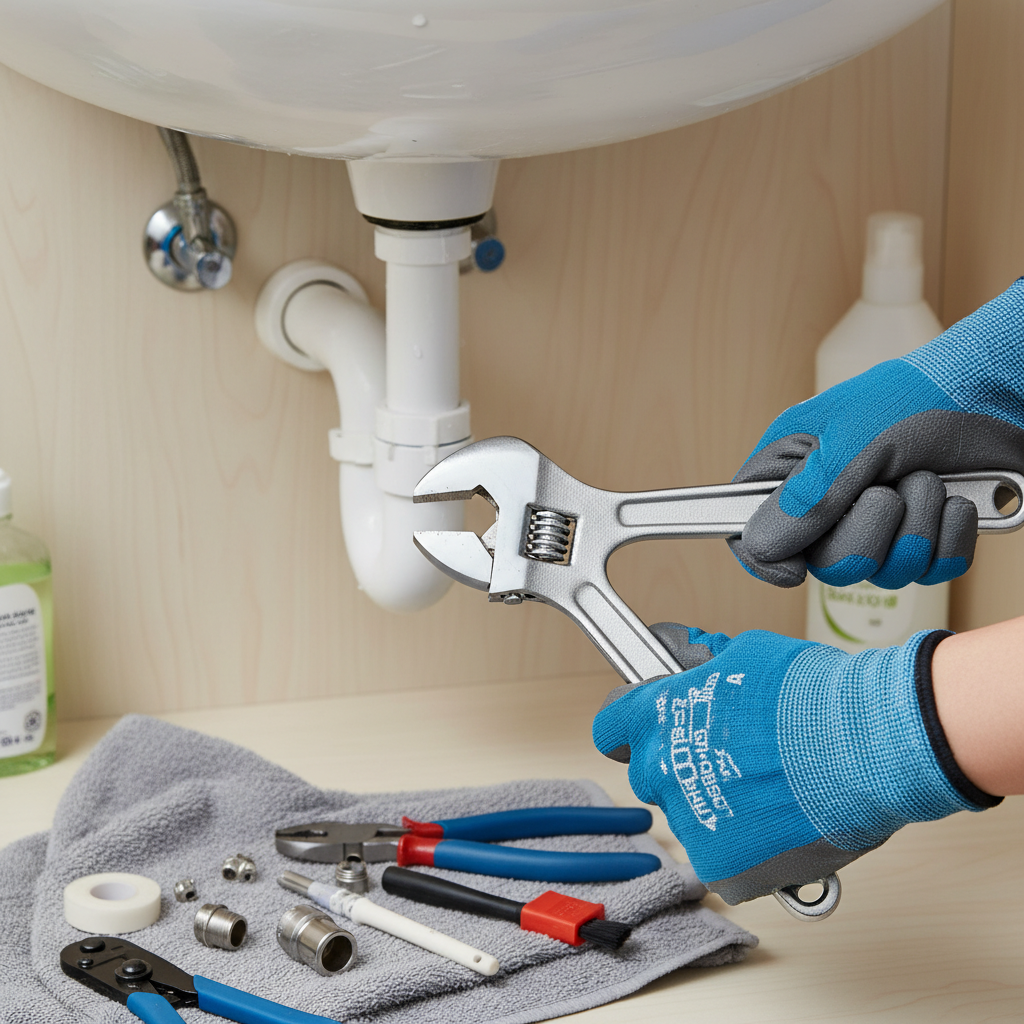
Before you begin any plumbing repair, safety first! Always turn off the hot and cold water supply to the sink using the shut-off valves typically located on the wall beneath the sink. Place a bucket or basin underneath the pipes to catch any residual water. Gather your tools, which usually include:
Tools You’ll Need
- Adjustable wrench or basin wrench
- Screwdriver set
- Plumber’s tape (Teflon tape)
- Plumber’s putty
- Replacement washers/gaskets
- Replacement P-trap or tailpiece (if needed)
- Bucket and old towels
- Wire brush (for cleaning threads)
For a Leaking P-Trap
The P-trap is a common leak source. Leaks here are usually from loose slip nuts or worn washers.
- Tighten Connections: Gently try tightening the slip nuts on either side of the P-trap with your hand. If they are still loose, use an adjustable wrench, but be careful not to overtighten, especially on plastic pipes, as this can crack them.
- Inspect and Replace Washers: If tightening doesn’t stop the leak, loosen the slip nuts and remove the P-trap. Inspect the rubber or plastic washers inside the slip nuts. If they are cracked, flattened, or brittle, replace them with new ones of the same size. Clean any debris from the pipe threads before reassembling. Apply a thin layer of plumber’s tape to the pipe threads before reattaching the P-trap for an extra seal.
- Replace the P-Trap: If the P-trap itself is cracked or severely corroded, it’s best to replace the entire unit. They are inexpensive and readily available at hardware stores. Ensure you get one that matches your current pipe size (usually 1 1/4 inch for bathroom sinks).
For a Leaking Drain Assembly
Leaks from the drain assembly often originate from the flange in the sink basin or the tailpiece connection.
- Leaking Drain Flange: If water is seeping around the metal ring where the drain meets the sink, the plumber’s putty underneath has likely failed.
- Remove the P-trap and tailpiece.
- Unscrew the large nut that holds the drain assembly to the underside of the sink.
- Push the entire drain assembly up and out of the sink basin.
- Scrape off all old plumber’s putty from the flange and the sink drain opening.
- Roll a new rope of plumber’s putty and place it around the underside edge of the drain flange.
- Reinsert the flange into the sink opening, pressing down firmly.
- From underneath, reinstall the rubber gasket, washer, and retaining nut, tightening it securely. Wipe away any excess putty that squeezes out.
- Leaking Tailpiece Nut: If the leak is at the connection between the tailpiece and the P-trap or another section of the drain, first try tightening the slip nut. If that doesn’t work, disassemble, inspect the washer, and replace if necessary. You can also apply plumber’s tape to the threads before reassembly.
For Leaky Supply Lines
Supply line leaks are usually visible as drips from the connections to the shut-off valve or the faucet, or from cracks in the hose itself.
- Tighten Connections: Use an adjustable wrench to gently tighten the nuts at both ends of the supply line. Do not overtighten, as this can strip threads or damage the hose.
- Replace the Supply Line: If tightening doesn’t work, or if the hose itself is visibly damaged (bulging, frayed, cracked), it needs to be replaced.
- Ensure the water supply is off.
- Loosen and remove the nuts connecting the old supply line to both the shut-off valve and the faucet.
- Attach the new supply line, ensuring the rubber washers are properly seated at both ends. Hand-tighten the nuts, then give them another quarter to half-turn with an adjustable wrench.
- Turn the water supply back on slowly and check for leaks.
For a Leaking Faucet Base
If water is seeping from directly under the faucet handle or spout where it meets the sink, the faucet’s mounting nuts might be loose.
- Tighten Mounting Nuts: Look underneath the sink where the faucet body passes through the sink. You’ll likely find one or two large mounting nuts or a horseshoe-shaped washer with screws. Use a basin wrench or adjustable wrench to tighten these nuts securely against the underside of the sink. This will pull the faucet tighter against the sink, potentially sealing the gap.
- Replace Gasket/O-rings: If tightening doesn’t work, the gasket or O-rings at the faucet base might be worn. This often requires removing the faucet to access and replace these parts, which can be more complex and depend on your specific faucet model. Refer to your faucet’s manual or a specific guide for your faucet type.
Prevention is Key: Keeping Your Bathroom Sink Pipes Leak-Free
Once you’ve fixed a leak, taking proactive steps can help prevent future issues and extend the life of your plumbing.
Regular Inspections
Make it a habit to periodically check under your bathroom sink. Look for any signs of moisture, water stains on the cabinet floor, or corrosion on the pipes. Feel around the connections for any dampness. Early detection can save you from major repairs.
Avoid Harsh Drain Cleaners
While chemical drain cleaners can clear clogs, many contain corrosive agents that can degrade plastic pipes and rubber seals over time, leading to leaks. Opt for enzymatic cleaners, a plumbing snake, or a plunger for clogs instead. For more general home maintenance tips, including identifying various household leaks, consider resources like Good Housekeeping’s expert advice on home care.
Proper Installation
Whether you’re doing a DIY installation or hiring a professional, ensure that all connections are made correctly. Avoid overtightening plastic nuts, which can cause cracks, and always use plumber’s putty or tape where recommended.
Mind What Goes Down the Drain
Hair, soap scum, dental floss, and other debris are common culprits for bathroom sink clogs. Use a drain screen or stopper to catch hair and regularly clean it out. Avoid pouring grease or harsh chemicals down the drain.
Timely Repairs
Don’t ignore a drip! Even a small leak can worsen rapidly and lead to significant damage. Address any plumbing issues as soon as you notice them.
When to Call a Professional Plumber
While many leaking bathroom sink pipe issues can be tackled by a confident DIYer, there are times when calling a professional plumber is the wisest course of action.
- Hidden Leaks: If you suspect a leak behind the wall or underneath the floor, it’s best to call a professional. These leaks can cause extensive unseen damage and require specialized tools to locate and repair.
- Major Water Damage: If the leak has already caused significant water damage to your cabinetry, flooring, or walls, a plumber can address the leak, and you may need to consult with restoration specialists.
- Persistent Leaks: If you’ve attempted a repair and the leak continues or reappears, a professional can accurately diagnose the underlying problem.
- Lack of Tools or Confidence: If you don’t have the necessary tools, feel uncomfortable working with plumbing, or are unsure about the repair process, it’s always better to err on the side of caution and hire an expert.
- Complex Plumbing Systems: Homes with older, non-standard, or complex plumbing setups may require a professional’s expertise to avoid further complications.
FAQs about Leaking Bathroom Sink Pipes
How long does it take to fix a leaking bathroom sink pipe?
Many common leaks, such as a loose P-trap nut or a worn washer, can be fixed in 30 minutes to an hour by a moderately skilled DIYer. More complex issues, like replacing an entire drain assembly or dealing with a corroded pipe, might take a few hours.
Can I use tape or epoxy to fix a leaking pipe temporarily?
While plumbing tape (like electrical tape or duct tape) or epoxy putties can offer a very temporary fix for minor leaks, they are not permanent solutions. They should only be used as a stop-gap measure until a proper repair (tightening, replacing a part) can be performed. Always aim for a permanent repair to prevent future issues.
What is the P-trap for?
The P-trap (named for its P-like shape) serves two crucial functions: it traps a small amount of water to create a seal, preventing foul-smelling sewer gases from entering your home through the drain, and it helps catch foreign objects (like dropped jewelry) before they enter the main drainpipe.
Is a small drip serious?
Yes, even a small drip is serious. It can waste hundreds of gallons of water per year, leading to higher water bills, and over time, it can cause significant water damage, promote mold growth, and eventually lead to more extensive and costly repairs if left unaddressed.
How often should I check my bathroom sink pipes?
It’s a good practice to visually inspect your bathroom sink pipes and the area under the sink every few months, or whenever you notice a strange smell or hear an unusual dripping sound. Proactive checks can catch minor issues before they become major problems.
Conclusion
A leaking bathroom sink pipe can be an unsettling discovery, but with the right approach, many leaks can be effectively diagnosed and repaired without needing a professional plumber. By understanding the common leak points, identifying the causes, and following step-by-step DIY solutions, you can restore your bathroom sink to its dry, functional state. Remember, prompt action, regular maintenance, and knowing when to call in an expert are your best defenses against the potential damage and inconvenience a leaking pipe can cause. Keep your home dry, safe, and free from the hidden threats of unnoticed drips.


