Few household issues are as annoying, wasteful, and potentially damaging as a leaking toilet tank valve. That persistent drip, the subtle hiss, or the unwelcome puddle around the base of your toilet can quickly escalate from a minor annoyance to a significant problem, driving up your water bill and potentially leading to costly water damage to your flooring or subfloor. Fortunately, identifying and fixing a leaking toilet tank valve is often a manageable DIY project for homeowners. This comprehensive guide will walk you through everything you need to know, from understanding the components of your toilet to diagnosing the source of the leak and performing the necessary repairs.
Understanding Your Toilet Tank: The Basics
Before diving into repairs, it’s essential to understand the inner workings of your toilet tank. While seemingly complex, the system is quite straightforward, designed to efficiently fill, hold, and flush water. The main components include:
- The Tank: The ceramic reservoir that holds water before a flush.
- The Bowl: The part you use, connected to the drain.
- The Fill Valve (or Ballcock Valve): This is the hero (or villain, in the case of a leak) of our story. The fill valve is responsible for refilling the toilet tank with water after each flush. It’s connected to your home’s main water supply line and typically features a float mechanism that signals when the tank is full, at which point it shuts off the water flow.
- The Flush Valve: Located at the bottom center of the tank, this valve releases water from the tank into the bowl when the flush handle is activated.
- The Flapper: A rubber or plastic seal attached to the flush valve. When you flush, the flapper lifts to allow water to pass into the bowl and then settles back down to seal the flush valve, allowing the tank to refill.
- The Overflow Tube: An open-ended pipe that stands upright inside the tank. Its purpose is to divert excess water into the bowl if the fill valve malfunctions and overfills the tank, preventing water from spilling onto your bathroom floor.
- The Toilet Handle: Connects to the flush valve via a chain or rod, initiating the flush cycle.
When we talk about a “leaking toilet tank valve,” we are most often referring to issues with the fill valve or its connection to the tank and water supply line. However, sometimes a problem with the flush valve or flapper can cause the fill valve to run continuously, mimicking a leak by constantly refilling the tank.
Why is Your Toilet Tank Valve Leaking? Common Culprits
A leak from your toilet tank valve can manifest in various ways – a slow drip from the base, a constant trickle into the bowl, or even an obvious stream of water. Understanding the common causes can help you pinpoint the issue more effectively.
Worn-Out Fill Valve Components
Over time, the internal components of the fill valve, such as rubber seals, gaskets, washers, and O-rings, can degrade. Hard water, age, and constant pressure can cause these parts to become brittle, cracked, or lose their elasticity. When these seals fail, water can seep through the valve housing or past the points where it's supposed to be sealed, leading to a leak.

Loose Connections
This is one of the simplest and most common reasons for a leak. The fill valve is connected to the toilet tank by a large lock nut on the underside of the tank. It’s also connected to your home’s water supply line, typically with a threaded nut and a rubber washer. If either of these connections becomes loose, water can escape. Vibrations, movement, or improper initial tightening can all contribute to loosening.
Cracked Fill Valve Housing
While less common, the plastic body of the fill valve itself can develop cracks. This might happen due to manufacturing defects, accidental impact during installation or maintenance, or extreme temperature fluctuations. A cracked housing will allow water to leak directly from the valve body, often appearing as a drip or stream from the side or top of the valve.
Improper Installation
If you’ve recently replaced your fill valve, an improper installation could be the culprit. This includes not tightening connections sufficiently, overtightening (which can strip threads or crack plastic), or not seating washers and gaskets correctly. Ensuring all components are properly aligned and sealed is crucial for a leak-free setup.
High Water Pressure
Excessive water pressure in your home’s plumbing system can put undue stress on all plumbing fixtures, including your toilet fill valve. High pressure can cause seals to fail prematurely, put strain on plastic components leading to cracks, and force water past connections that would otherwise hold firm. If you suspect high water pressure, a pressure regulator can be installed on your main water line.
Mineral Buildup (Hard Water)
Homes with hard water are particularly susceptible to this issue. Minerals like calcium and magnesium can accumulate on and around the moving parts of the fill valve, corroding seals, obstructing the float mechanism, and preventing the valve from fully closing. This can lead to a continuous trickle of water into the bowl or even cause the valve to stick open, overflowing the tank or leaking externally.
Flapper or Flush Valve Issues
While not a direct leak from the fill valve itself, a faulty flapper or flush valve can cause the fill valve to run continuously. If the flapper doesn’t create a perfect seal, water slowly leaks from the tank into the bowl. To maintain the water level, the fill valve will periodically activate to refill the tank, leading to what sounds like a phantom flush or a constant, subtle hiss. This constant operation can eventually wear out the fill valve components prematurely, making it seem like the fill valve is the source of the primary leak.
Pinpointing the Leak: Diagnosis Steps
Before you can fix the problem, you need to accurately identify where the water is coming from. A systematic approach will save you time and frustration.
Visual Inspection
Start with a thorough visual check.
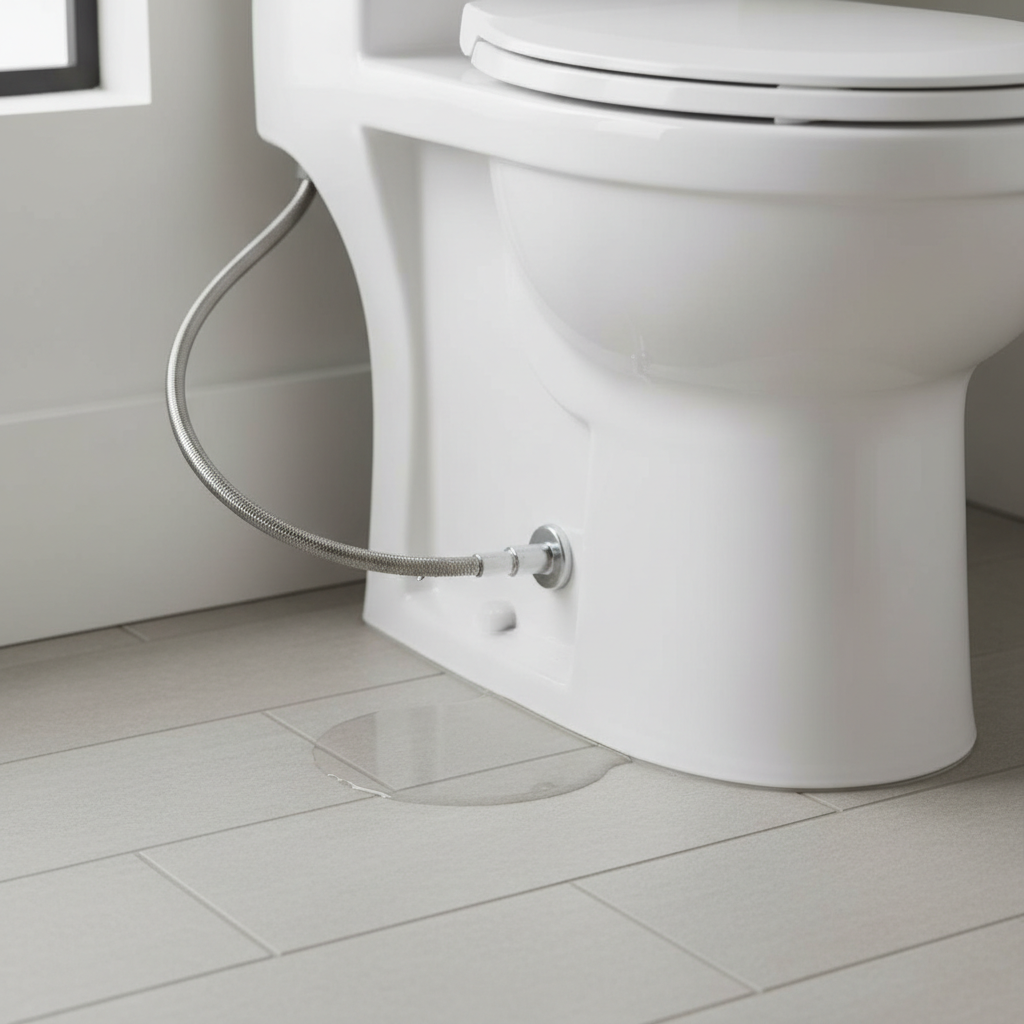
- Around the Base: Look for puddles, drips, or damp spots on the floor around the toilet. This often indicates a leak from the base of the fill valve where it connects to the tank, or from the water supply line.
- Under the Tank: Carefully check the underside of the toilet tank. Feel for moisture around the large lock nut that secures the fill valve and around the connection point of the water supply line.
- Inside the Tank: Lift the tank lid. Observe the fill valve while the toilet is flushing and refilling. Look for water spraying from the top of the fill valve, dripping from its sides, or flowing down the overflow tube when the tank isn’t full (which would indicate an internal valve failure or an incorrectly set float).
- Water Supply Line: Inspect the flexible water supply line leading from the wall to the bottom of the toilet tank. Check the connection points at both ends for drips or corrosion.
The Dye Test: For Internal Leaks
If you suspect water is leaking from the tank into the bowl (which would cause the fill valve to run unnecessarily), a dye test is your best diagnostic tool.
- Remove the tank lid.
- Add a few drops of food coloring (any dark color works) or a toilet dye tablet into the toilet tank water.
- Do NOT flush the toilet for at least 15-30 minutes.
- After the waiting period, check the toilet bowl. If you see colored water in the bowl, it indicates that water is leaking from the tank into the bowl. This is most commonly due to a faulty flapper, but can sometimes be caused by a leak at the flush valve seal. While not a direct fill valve leak, it means the fill valve is working overtime, potentially leading to premature failure.
Checking the Fill Valve’s Exterior
If the dye test is negative, but you still see water around the toilet, focus on the fill valve’s external connections.
- Supply Line Connection: Feel around the nut connecting the water supply line to the fill valve on the underside of the tank. Is it damp? Is there a drip?
- Base Nut: The large plastic or metal nut that secures the fill valve to the tank base can become loose. Feel around it for moisture.
Listening for Hissing Sounds
A continuous, faint hissing or trickling sound coming from the toilet indicates that water is constantly flowing, even when the toilet isn’t being flushed. This often points to the fill valve not shutting off completely. This can be due to a faulty float mechanism, mineral buildup, or an internal seal failure within the valve.
DIY Fixes for a Leaking Toilet Tank Valve
Once you’ve identified the source of the leak, you can proceed with the repair. Most fill valve issues are well within the capabilities of a confident DIYer.
Safety First: Turn Off the Water Supply!
Before attempting any repair inside the toilet tank, you must turn off the water supply to the toilet. Look for the shut-off valve located on the wall or floor near the base of the toilet, usually behind or to the side of it. Turn the handle clockwise until the water stops flowing. Then, flush the toilet to empty the tank as much as possible, holding the handle down to drain all remaining water. You may need a sponge or small towel to soak up any remaining water in the tank.
Tightening Loose Connections
This is the easiest fix.
- Supply Line Nut: Using a wrench or pliers, gently tighten the nut that connects the water supply line to the bottom of the fill valve. Be careful not to overtighten, especially if it’s a plastic nut, as this can strip the threads or crack the connection.
- Fill Valve Lock Nut: On the underside of the toilet tank, you’ll see a large plastic or brass nut securing the fill valve. Use a basin wrench or large adjustable wrench to carefully tighten this nut. Again, avoid excessive force.
After tightening, turn the water supply back on slowly and observe for any leaks. If the leak stops, you’ve successfully fixed the problem!
Replacing the Fill Valve Washer/Seal
Some fill valves allow for the replacement of individual internal seals or washers, particularly the seal at the bottom of the valve where it connects to the tank, or the rubber washer within the water supply line connection.
- Turn off the water supply and drain the tank.
- Carefully disassemble the relevant part of the fill valve according to the manufacturer’s instructions.
- Remove the old, worn-out washer or seal.
- Replace it with a new, identical part. You can usually find these in plumbing repair kits or at hardware stores.
- Reassemble and test for leaks.
Replacing the Entire Fill Valve Assembly
If the leak persists, the fill valve is cracked, or its internal components are beyond simple repair, replacing the entire fill valve assembly is the most effective solution. This is a common and relatively inexpensive repair.
- Turn Off Water and Drain Tank: As always, shut off the water supply to the toilet and flush to drain the tank completely. Use a sponge to remove any remaining water.
- Disconnect Water Supply Line: Use a wrench to loosen the nut connecting the water supply line to the bottom of the fill valve. Have a small bucket or towel ready to catch any residual water.
- Remove Old Fill Valve:
- Underneath the tank, locate the large lock nut that secures the fill valve. Use a basin wrench or large adjustable wrench to loosen and remove it.
- Carefully lift the old fill valve out of the tank.
- Clean the hole in the tank where the fill valve was seated. Remove any mineral deposits or old gasket material.
- Install New Fill Valve:
- New fill valves typically come with a rubber washer and a lock nut. Ensure the rubber washer is placed correctly onto the threaded shaft of the new fill valve, on the *inside* of the tank.
- Insert the new fill valve into the hole in the bottom of the toilet tank.
- From underneath the tank, thread the lock nut onto the fill valve’s shaft. Hand-tighten it first, then use a wrench to tighten it another half to full turn. Be firm but avoid overtightening, as this can crack the tank or the fill valve.
- Adjust Float and Height:
- Most modern fill valves have an adjustable height. Adjust the height so that the critical level (marked on the valve) is about 1 inch above the top of the overflow tube.
- Ensure the float cup or arm moves freely without touching the tank walls or other components.
- Reconnect Supply Line:
- Connect the water supply line to the new fill valve’s threaded shaft. Hand-tighten the nut first, ensuring it’s not cross-threaded.
- Then, use a wrench to gently tighten it. Again, don’t overtighten. The rubber washer inside the nut provides the seal.
- Restore Water and Test:
- Slowly turn the water supply valve back on.
- Allow the tank to fill completely.
- Check for any leaks around the new fill valve connections, both inside and outside the tank.
- Flush the toilet several times to ensure the fill valve shuts off properly and there are no new leaks. Make sure the water level in the tank reaches the recommended line (usually marked inside the tank or 1 inch below the top of the overflow tube).
Addressing the Supply Line Connection
Sometimes, the leak isn’t from the fill valve itself but from the flexible water supply line connecting to it.
- Turn off the water and drain the tank.
- Disconnect the supply line from the fill valve.
- Inspect the rubber washer inside the supply line's nut. If it’s cracked, flattened, or missing, replace it.
- If the supply line itself appears worn, kinked, or damaged, it’s best to replace the entire line. They are inexpensive and easy to install.
- Reconnect and test.
When to Call a Professional Plumber
While many toilet tank valve leaks are DIY-friendly, there are situations where calling a professional plumber is the wisest course of action:
- If DIY Attempts Fail: If you’ve tried the above steps and the leak persists, there might be a more complex underlying issue that requires expert diagnosis.
- Lack of Confidence or Time: If you’re uncomfortable working with plumbing, lack the necessary tools, or simply don’t have the time, a plumber can quickly and efficiently resolve the issue.
- Significant Water Damage: If the leak has been ongoing and has already caused damage to your floor, ceiling (if upstairs), or walls, you’ll want a professional to assess the extent of the damage and potentially recommend remediation in addition to fixing the leak source.
- Cracked Toilet Tank: If your diagnosis reveals a crack in the ceramic toilet tank itself, this is a serious issue that cannot be repaired. The entire toilet will need to be replaced, which is a job best left to a professional to ensure proper removal, disposal, and new toilet installation.
- Persistent High Water Pressure: If you suspect high water pressure is repeatedly causing your plumbing fixtures to fail, a plumber can install a water pressure regulator for your entire home.
Preventing Future Leaks
A little proactive maintenance can go a long way in preventing future leaks and ensuring your toilet operates efficiently for years to come. For more general plumbing maintenance tips, you might find this guide from Good Housekeeping helpful.
Regular Maintenance Checks
Periodically (every 6-12 months), lift your toilet tank lid and visually inspect the components. Look for:
- Any signs of wear or discoloration on rubber parts (flapper, seals).
- Mineral buildup on the fill valve or overflow tube.
- Loose connections on the water supply line or fill valve lock nut.
- The water level in the tank – it should be at the designated fill line, typically about an inch below the top of the overflow tube, and the fill valve should be completely shut off.
Addressing Hard Water Issues
If you live in an area with hard water, mineral deposits are your enemy.
- Regular Cleaning: Use a brush and white vinegar or a mild descaling solution to clean mineral buildup from the fill valve, flapper, and other internal components.
- Water Softener: Consider installing a whole-house water softener to reduce mineral content, prolonging the life of all your plumbing fixtures and appliances.
Don’t Overtighten
When performing any plumbing repairs, remember that many components, especially those made of plastic, can be damaged by overtightening. Hand-tighten first, then use a wrench for a gentle snug fit. The goal is to create a seal, not to crush the components.
Use Quality Replacement Parts
When replacing a fill valve or other components, invest in good quality parts. While cheaper options might save a few dollars upfront, they often use inferior materials that degrade faster, leading to recurrent issues. Look for well-known brands and parts made with durable materials.
FAQs About Leaking Toilet Tank Valves
Q1: How much water does a leaking toilet waste?
A constantly running or leaking toilet can waste a significant amount of water. A seemingly small leak can waste hundreds of gallons per day, adding up to thousands of gallons per month. This translates to considerably higher water bills and unnecessary environmental impact. Even a small, silent leak can waste enough water to fill a swimming pool over the course of a year.
Q2: Can a leaking fill valve damage my floor?
Absolutely. Any water leaking outside the toilet bowl, especially from the base of the tank or the supply line, can seep into your bathroom floor. Over time, this can cause wood subflooring to rot, warp flooring materials like laminate or hardwood, encourage mold and mildew growth, and even compromise the structural integrity of your floor. Addressing leaks promptly is crucial to prevent costly water damage.
Q3: What’s the difference between a fill valve and a flush valve?
The fill valve (or ballcock valve) is responsible for refilling the toilet tank with water from the main supply line after each flush. It contains a float mechanism that tells it when to stop filling. The flush valve, on the other hand, is located at the bottom of the tank and, when activated by the handle, opens to allow the water stored in the tank to rush into the toilet bowl, initiating the flush.
Q4: How long does a toilet fill valve last?
The lifespan of a toilet fill valve can vary significantly depending on the quality of the valve, the water quality in your area (e.g., hard water can shorten its life), and how often the toilet is used. On average, a toilet fill valve might last anywhere from 5 to 10 years, though some high-quality valves can last longer, and cheaper ones might fail sooner.
Q5: Is it normal for a new fill valve to drip slightly?
No, a new fill valve should not drip or leak at all. If a newly installed fill valve is dripping, it indicates an issue with the installation (e.g., loose connections, improperly seated washers) or, rarely, a defective valve. Always double-check your connections and ensure all seals are properly in place. If the drip persists, you may need to replace the supply line washer, re-tighten the nuts, or even replace the valve if it’s defective.
Conclusion
A leaking toilet tank valve is more than just an annoyance; it’s a silent drain on your wallet and a potential threat to your home’s structure. By understanding how your toilet works, accurately diagnosing the source of the leak, and following these detailed DIY repair steps, you can effectively address most common fill valve issues. Remember to always prioritize safety by turning off the water supply before starting any work. With a little patience and the right tools, you can restore your toilet to its proper, leak-free operation, saving water and preventing costly repairs down the line. If you ever feel out of your depth, don’t hesitate to call a professional plumber – their expertise can often save you time, money, and stress in the long run.


