What is a Leaking Toilet Tank Valve?
At the heart of every gravity-fed toilet tank lies a critical component known as the fill valve (often referred to simply as the toilet tank valve). This mechanism is responsible for refilling the tank with water after each flush, ensuring it stops at the correct level. A leaking toilet tank valve means that this crucial component is failing to perform its duty properly, allowing water to continuously flow into the bowl or even leak outside the tank. This could be due to a faulty seal, a crack in the valve body, a misadjusted float, or a loose connection at the base of the tank. Identifying the exact nature of the leak is paramount to an effective repair.
Common Signs You Have a Leaking Toilet Tank Valve
Recognizing the symptoms of a leaking toilet tank valve early can prevent excessive water waste and potential damage. Here are the most common indicators that your toilet tank valve might be compromised:
Constant Running Water
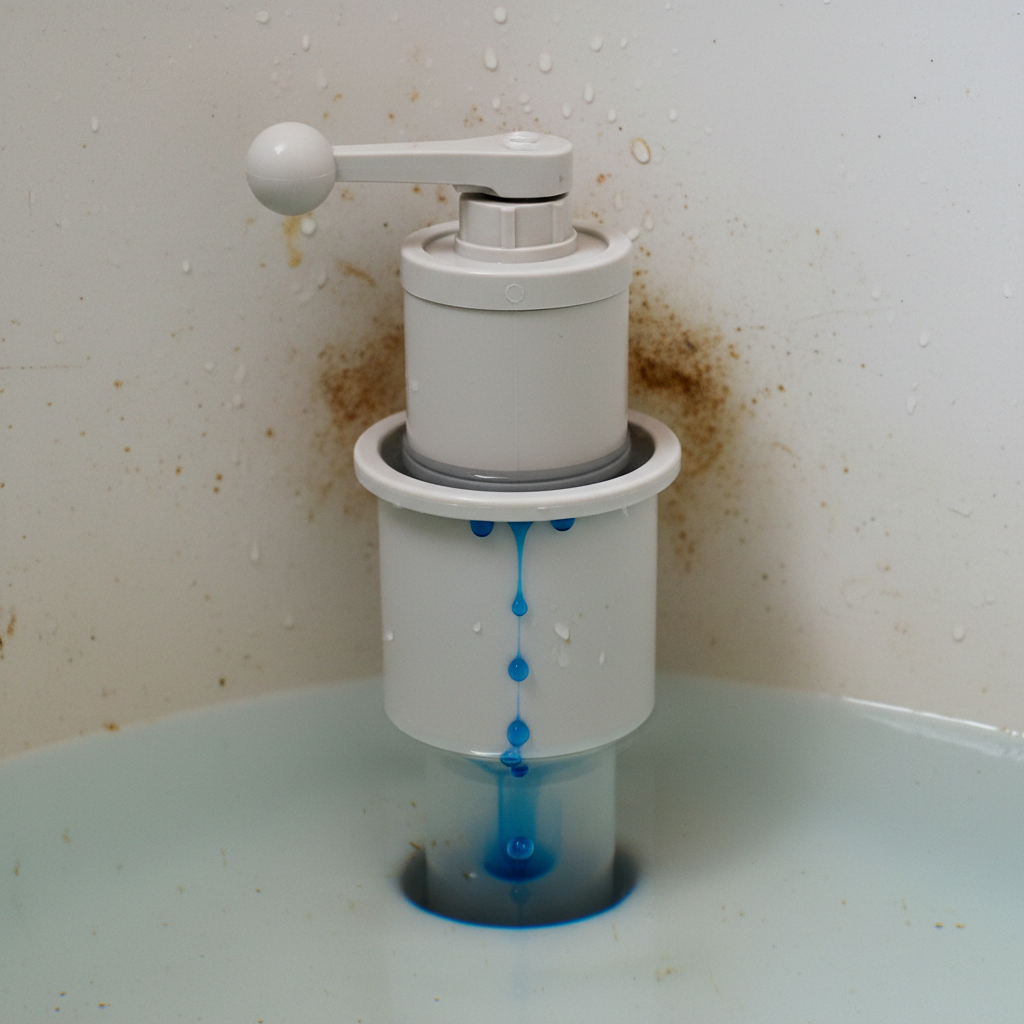
Perhaps the most obvious sign is the sound of water constantly running or refilling in the toilet bowl, even when it hasn’t been flushed recently. This indicates that the fill valve isn’t sealing completely or the water level is rising too high, prompting a continuous flow into the overflow tube to prevent the tank from spilling over. While this can sometimes be attributed to a faulty flapper, a malfunctioning fill valve is a frequent culprit.
Phantom Flushes
Have you ever heard your toilet mysteriously refill itself in the middle of the night, even though no one has used it? This phenomenon, known as a “phantom flush,” is a tell-tale sign of a leak. It occurs when enough water slowly seeps from the tank into the bowl, causing the water level to drop just enough to trigger the fill valve to kick in and refill the tank. This cycle repeats silently, wasting gallons of water.
High Water Bills
If your water bill has unexpectedly surged without a change in usage habits, a leaking toilet tank valve could be the reason. Even a small, unnoticeable leak can waste hundreds of gallons of water per day, accumulating to thousands over a month. This invisible leak often goes undetected until the utility bill arrives, making it a costly surprise.
Visible Puddles
While a leaking tank valve often leaks internally, sometimes the leak can be external. If you notice water puddling around the base of your toilet, or damp spots on the floor, it’s a clear indication that water is escaping from the tank or the connections beneath it. This type of leak requires immediate attention to prevent structural damage to your flooring and subfloor.
Corroded Components
Over time, mineral deposits from hard water can build up on the fill valve components, leading to corrosion and hindering its ability to seal properly. If you inspect the inside of your tank and see rust, scale, or mineral buildup on the valve or its associated parts, it’s a strong sign that wear and tear are contributing to a leak.
Why Do Toilet Tank Valves Leak? Understanding the Causes
Several factors can contribute to a toilet tank valve failing and beginning to leak. Understanding these causes can help you pinpoint the issue and perform the correct repair.
Worn-Out Gaskets and Seals
Within the fill valve assembly, various rubber gaskets and seals are designed to create watertight connections. Over time, these components can harden, crack, or degrade due to continuous exposure to water and chemicals. A worn-out gasket is one of the most common reasons for a leak, especially where the fill valve connects to the tank bottom.
Loose Connections
The fill valve is secured to the toilet tank by a large nut on the underside of the tank. If this nut becomes loose, water can seep out from under the tank, creating a visible puddle on the floor. Similarly, the water supply line connecting to the fill valve can loosen, leading to drips.
Cracked Fill Valve Assembly
Although less common, the plastic body of the fill valve itself can develop cracks due to age, manufacturing defects, or impact damage (e.g., dropping tools during another repair). A cracked body usually necessitates a full replacement of the fill valve.
Incorrectly Adjusted Float
The float mechanism (which can be a cup, ball, or cylinder) is responsible for sensing the water level in the tank and signaling the fill valve to shut off. If the float is set too high, the water level will rise above the overflow tube, causing water to continuously drain into the bowl. While not a leak from the valve itself, it mimics the symptoms of one by causing continuous running water.
Mineral Buildup (Hard Water)
In areas with hard water, mineral deposits (calcium and magnesium) can accumulate on the moving parts of the fill valve. This buildup can prevent the valve from fully closing, leading to a slow, persistent leak. These deposits can also accelerate the wear and tear on rubber seals.
Damage from Age or Impact
Like any mechanical component, toilet fill valves have a finite lifespan. Years of operation, exposure to fluctuating water temperatures, and the stress of daily use can cause parts to fail. Accidental impact during cleaning or other bathroom activities can also damage the delicate internal mechanisms or the outer casing of the valve.
Is a Leaking Toilet Tank Valve a Serious Problem?
Absolutely. A leaking toilet tank valve is not just a minor inconvenience; it’s a significant problem that can lead to several adverse outcomes. The most immediate impact is on your utility bills. A continuously running toilet can waste hundreds, even thousands, of gallons of water per day, translating into a substantial and unnecessary expense. Environmentally, this contributes to water waste, a critical concern in many regions.
Beyond the cost, a persistent leak can cause structural damage to your bathroom. Water pooling around the base of the toilet can seep into flooring, subflooring, and even ceilings if the bathroom is on an upper level. This moisture can lead to wood rot, mold growth, and compromise the integrity of your home’s structure. Mold and mildew also pose health risks, particularly for individuals with respiratory issues. Therefore, addressing a leaking toilet tank valve promptly is crucial for both your finances and your home’s longevity.
Tools and Materials You Might Need for a DIY Fix
Before you begin, gather the necessary tools and replacement parts. Having everything on hand will make the repair process smoother and quicker.
- Adjustable wrench or basin wrench
- Screwdriver (Phillips and flathead, depending on your toilet model)
- Sponge or old towels
- Bucket
- New fill valve assembly (if replacing the whole unit)
- New fill valve gasket (if only replacing the seal under the tank)
- Safety gloves
- Food coloring (for leak detection)
- Wire brush or old toothbrush (for cleaning)
- Plumber’s putty or Teflon tape (optional, for supply line connections)
Step-by-Step Guide to Fixing a Leaking Toilet Tank Valve
Tackling a leaking toilet tank valve might seem daunting, but with the right approach, many common issues can be resolved with basic DIY skills. Follow these steps carefully:
Step 1: Turn Off the Water Supply
This is the most crucial first step for any toilet repair. Locate the shut-off valve, usually a small chrome handle, on the wall behind or near the base of the toilet. Turn it clockwise until the water flow stops completely.
Step 2: Flush the Toilet to Empty the Tank
Once the water supply is off, flush the toilet. This will empty most of the water from the tank into the bowl. You may need to hold the flush handle down for a few seconds to ensure the tank is as empty as possible. Use a sponge or towel to soak up any remaining water at the bottom of the tank.
Step 3: Identify the Source of the Leak
With the tank empty, you can more easily inspect the components.
- Visual Inspection: Look for cracks in the tank itself, loose connections around the fill valve’s base, or visible drips from the water supply line.
- Food Coloring Test: If you suspect an internal leak (e.g., phantom flushing or constant running), add a few drops of food coloring to the water in the tank (before you empty it). Wait 15-30 minutes without flushing. If the colored water appears in the toilet bowl, you have a leak. This typically indicates a faulty flapper or a fill valve that’s allowing water to constantly overflow into the tube.
Step 4: Address Common Leak Points
Loose Fill Valve Nut
If water is leaking from under the tank, where the fill valve enters, the large nut securing the fill valve might be loose.
- Beneath the toilet tank, locate the large plastic or metal nut that holds the fill valve in place.
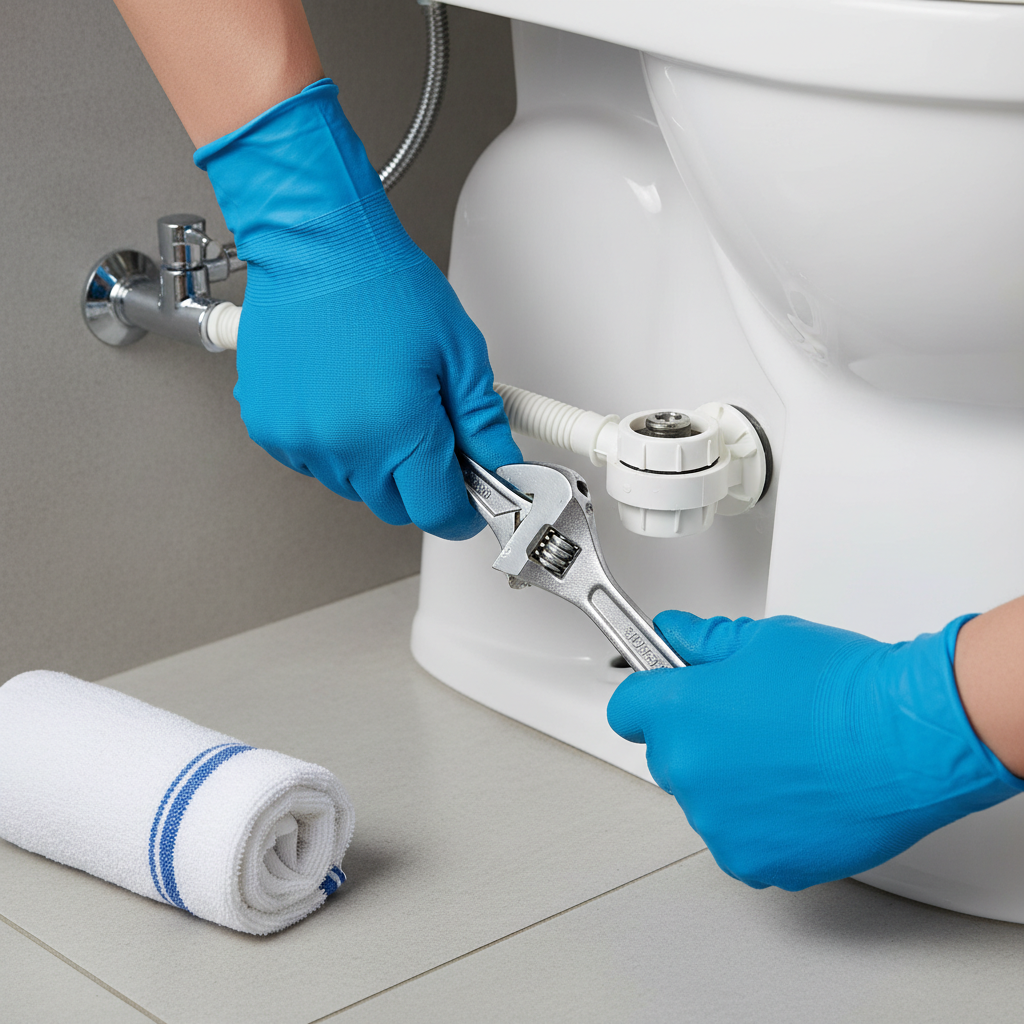
- Using an adjustable wrench, carefully tighten this nut. Do not overtighten, as this can crack the tank or the valve.
- Check the water supply line connection as well and tighten it if necessary.
Worn Fill Valve Gasket (Under the Tank)
If tightening the nut doesn’t stop the leak, the rubber gasket between the fill valve and the tank might be worn out.
- Disconnect the water supply line from the fill valve using an adjustable wrench. Be prepared for a small amount of residual water.
- Unscrew the large nut beneath the tank that secures the fill valve.
- Lift the old fill valve out of the tank.
- Remove the old rubber gasket from the base of the fill valve.
- Install a new, identical gasket.
- Reinsert the fill valve, hand-tighten the nut from below, then snug it with a wrench (again, do not overtighten).
- Reconnect the water supply line, potentially using new plumber’s tape on the threads for a better seal.
Faulty Fill Valve
If the leak is internal (constant running, phantom flushing) and the food coloring test confirms water is entering the bowl, or if the valve itself is visibly cracked or malfunctioning, you may need to replace the entire fill valve.
- Follow steps 1-3 from the “Worn Fill Valve Gasket” section to remove the old fill valve.
- Purchase a new fill valve. Most modern fill valves are universal and come with instructions. Ensure the height is adjustable to fit your tank.
- Insert the new fill valve into the tank, making sure the shank goes through the hole at the bottom.
- Secure it with the new nut provided, tightening carefully from beneath the tank.
- Adjust the height of the fill valve according to the manufacturer’s instructions, ensuring the critical level mark is above the overflow tube.
- Connect the small refill tube from the new fill valve to the top of the overflow pipe.
- Reconnect the water supply line to the bottom of the fill valve.
Leaking Flapper or Flush Valve Seal
While this guide focuses on the fill valve, it’s important to note that continuous running water can also be caused by a faulty flapper or flush valve seal. If your fill valve seems fine, and the food coloring test shows water entering the bowl, inspect your flapper. It should create a tight seal at the bottom of the tank. If it’s old, stiff, or visibly damaged, replacing it is often a quick and inexpensive fix. A new flapper will ensure the water stays in the tank until flushed, allowing the fill valve to shut off properly.
Step 5: Test Your Repair
After making adjustments or replacements, slowly turn the water supply back on by rotating the shut-off valve counter-clockwise. Listen for the tank to refill. Once full, check carefully for any drips or leaks around the fill valve connections, both inside and outside the tank. Flush the toilet a few times to ensure everything is operating correctly and the water stops filling at the appropriate level.
Step 6: Turn Water Back On
If everything appears to be in order, your repair is complete! For more expert tips on maintaining your home’s plumbing and preventing costly water leaks, you might find resources from Better Homes & Gardens incredibly useful.
When to Call a Professional Plumber
While many toilet tank valve leaks are DIY-friendly, there are situations where calling a professional plumber is the best course of action. Knowing when to escalate the problem can save you time, frustration, and potentially more significant damage.
Complex Issues or Multiple Leaks
If you’ve identified multiple leaks, or if the source of the leak isn’t immediately obvious after initial inspection, a professional can accurately diagnose the problem. Sometimes, what appears to be a simple fill valve leak might be indicative of a larger issue within your toilet’s internal mechanisms or even your home’s water pressure system.
Lack of Tools or Confidence
If you don’t have the necessary tools, or if you’re uncomfortable working with plumbing, don’t hesitate to call a pro. Attempting a repair without the proper equipment or knowledge can lead to further damage, turning a minor leak into a major headache.
Persistent Leaks
You’ve followed all the steps, replaced components, and tightened connections, but the leak persists. This is a clear sign that the issue might be more complex than anticipated. A plumber has the experience and specialized tools to identify and fix stubborn leaks.
Major Structural Damage
If the leak has been ongoing for a while and has caused visible damage to your floor, subfloor, or walls (e.g., soft spots, mold growth, warped wood), it’s crucial to consult a professional. They can not only fix the plumbing issue but also advise on the necessary structural repairs to prevent long-term problems.
Preventing Future Toilet Tank Valve Leaks
Preventative measures can extend the life of your toilet components and help you avoid future leaks.
Regular Inspection
Periodically check your toilet for signs of leaks. Listen for running water, perform the food coloring test once a year, and visually inspect the components inside the tank. Early detection is key to preventing major issues.
Address Hard Water Issues
If you live in an area with hard water, consider installing a whole-house water softener. This can significantly reduce mineral buildup on plumbing fixtures, including your toilet’s fill valve and flapper, prolonging their lifespan and efficiency. Regular cleaning of the tank and components with a mild descaling solution can also help.
Avoid Harsh Chemical Cleaners
While tempting to use strong chemicals to clean the toilet bowl, avoid pouring them directly into the tank. Many harsh cleaners can corrode rubber and plastic components, leading to premature failure of your fill valve and flapper.
Proper Installation and Maintenance
When replacing any toilet components, ensure they are installed correctly and according to the manufacturer’s instructions. Avoid overtightening nuts, which can crack plastic parts or the ceramic tank. If you’re unsure, it’s always better to err on the side of caution or consult a professional.
Frequently Asked Questions About Leaking Toilet Tank Valves
Q: Can I ignore a small toilet tank valve leak?
A: No. Even a small leak can waste hundreds of gallons of water per day, leading to significantly higher water bills and potential water damage over time. It’s always best to address any leak as soon as you detect it.
Q: How much does it cost to fix a leaking toilet tank valve?
A: The cost varies depending on whether you DIY or hire a professional. DIY repairs typically involve the cost of replacement parts, which can range from $10-$30 for a gasket or flapper, to $20-$50 for a new fill valve assembly. If you hire a plumber, labor costs can range from $100-$300, in addition to parts.
Q: How long does a toilet fill valve typically last?
A: A good quality toilet fill valve can last anywhere from 5 to 10 years, or even longer, depending on water quality, frequency of use, and overall maintenance. Hard water and harsh cleaning chemicals can shorten its lifespan.
Q: Is it hard to replace a toilet fill valve?
A: Replacing a toilet fill valve is generally considered a moderately easy DIY project. It requires basic tools, a clear understanding of the steps, and the ability to work in somewhat confined spaces. Most modern fill valves come with detailed instructions, making the process straightforward for many homeowners.
Q: What is the difference between a fill valve and a flush valve?
A: The fill valve (or toilet tank valve) controls the water entering the tank to refill it after a flush. The flush valve, on the other hand, is the mechanism that opens to allow water to exit the tank and enter the bowl when you flush. The flapper is a key component of the flush valve, sealing the tank’s drain opening.
Addressing a leaking toilet tank valve promptly is a smart move for any homeowner. Not only does it protect your home from potential water damage, but it also conserves a precious resource and keeps your utility bills in check. By following this guide, you can confidently diagnose and repair many common leaks, ensuring your toilet runs efficiently and quietly for years to come.


