This comprehensive guide will delve into the common causes of chimney leaks during heavy rain, explain how to identify the warning signs, and walk you through both DIY assessment steps and professional solutions. We’ll also cover preventative measures to safeguard your chimney against future storms, ensuring your home remains a dry, safe haven no matter the weather outside.
The Alarming Signs of a Chimney Leaking During Storms
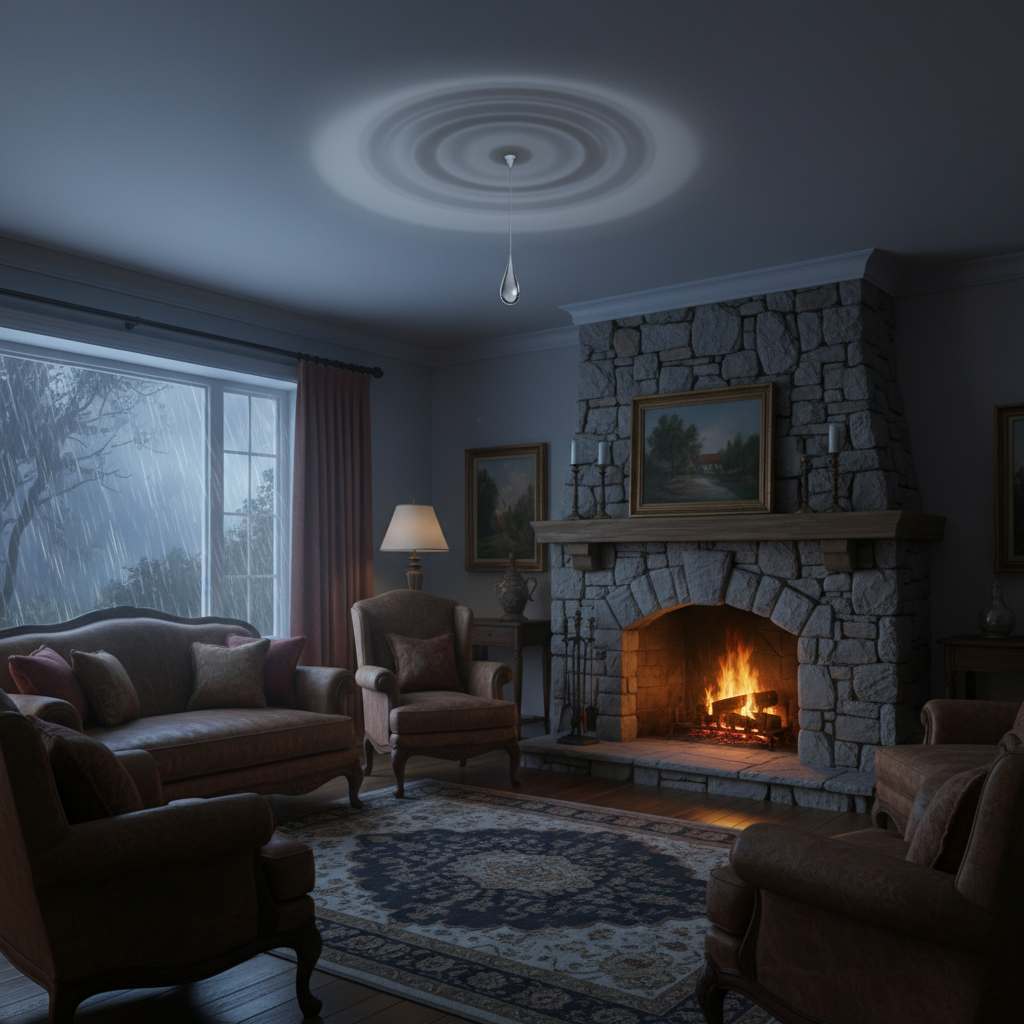
Detecting a chimney leak early can save you from more extensive and costly repairs down the line. While a torrent of water pouring down your fireplace is an obvious sign, many leaks start subtly. Keep an eye out for these indicators, especially after heavy rainfall or prolonged storms:
- Water Stains on Ceilings or Walls: The most common sign. Look for discolored patches, usually brown or yellow, on the ceiling or walls around your fireplace or chimney breast. These stains often grow larger and darker after more rain.
- Dripping Sounds: If you hear water dripping inside your chimney flue or fireplace, particularly during or immediately after a storm, it’s a clear indication of a breach.
- Musty Odor: Persistent dampness within the chimney can lead to mold and mildew growth, producing a strong, musty smell that permeates your living space. This odor can be particularly noticeable on humid days.
- Efflorescence: This is a white, powdery residue that appears on the exterior masonry of your chimney. It’s caused by water dissolving salts within the brick or mortar, which then crystallize on the surface as the water evaporates. It indicates water penetration.
- Damaged Fireplace Components: Rust on the damper, firebox, or grate can point to water intrusion. Water can also damage the mortar joints within the firebox, causing them to crumble.
- Peeling Paint or Wallpaper: If the paint or wallpaper near your chimney starts to bubble, peel, or warp, it suggests moisture is seeping through the walls.
- Deteriorated Mortar Joints: Visually inspect the exterior of your chimney. If you see crumbling, cracked, or missing mortar between the bricks, it provides easy entry points for water.
- Damaged Flue Liner: While less directly visible, a severely damaged flue liner can allow water to seep into the chimney structure itself.
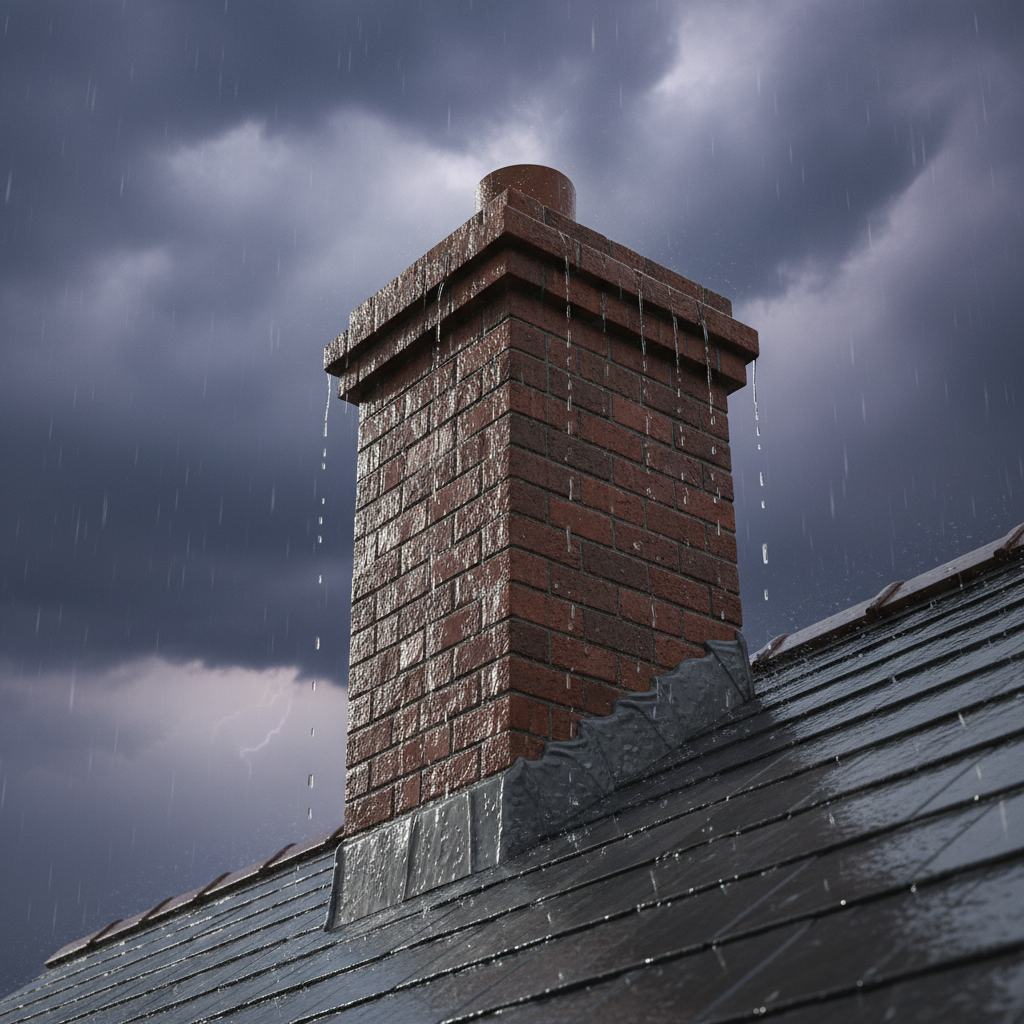
Unmasking the Culprits: Why Your Chimney Leaks During Storms
Understanding the root cause of your chimney leak is the first step toward effective repair. Several components of your chimney system work together to keep water out, and a failure in any one of them can lead to problems.
Faulty Chimney Cap or Missing Rain Cap
The chimney cap, or rain cap, sits at the very top of your chimney, acting as its first line of defense against the elements. Its primary job is to prevent rain, snow, and debris (like leaves and twigs) from entering the flue. It also keeps out animals. If your chimney cap is missing, damaged, rusted, or improperly installed, rainwater will have an open invitation directly into your chimney flue, leading to leaks.
Deteriorated Chimney Crown
Below the chimney cap is the chimney crown, a concrete or mortar slab that caps the masonry chimney structure. Its function is to shed water away from the flue opening and the chimney’s exterior walls. A properly constructed crown should extend beyond the chimney walls and have a slight slope. Over time, due to weathering and freeze-thaw cycles, crowns can crack, crumble, or lose their proper slope. These cracks allow water to seep directly into the chimney’s masonry, often manifesting as leaks inside your home.
Damaged Flashing
Chimney flashing is one of the most common culprits behind leaks. This system of metal strips, typically aluminum, steel, or copper, creates a watertight seal where the chimney meets the roofline. Flashing consists of two main parts: step flashing, which is interwoven with the roof shingles, and counter-flashing, which is embedded into the chimney’s mortar joints and then bent down over the step flashing. If the flashing is rusted, bent, lifted, loose, or improperly installed (e.g., sealed with caulk instead of proper layering), it creates gaps where rainwater can easily penetrate the roof structure and trickle down into your home.
Cracked Masonry and Mortar Joints
The bricks and mortar that make up your chimney’s structure are constantly exposed to harsh weather, including intense sun, driving rain, and freezing temperatures. Over time, these elements can cause the mortar joints to deteriorate, cracking or crumbling away. Similarly, bricks can become porous, chip, or crack. Even hairline cracks are sufficient for water to wick into the chimney structure, especially during prolonged downpours. The freeze-thaw cycle is particularly damaging; absorbed water freezes, expands, and widens existing cracks, leading to more extensive damage over time. This can often be identified by efflorescence.
Damaged or Clogged Chimney Liner
While the primary role of a chimney liner is to safely vent combustion byproducts, a severely damaged or cracked liner can also contribute to leaks. If the liner itself is compromised, water that bypasses the cap or crown can get trapped between the liner and the chimney’s masonry, potentially seeping through cracks into the surrounding structure. Additionally, a clogged liner (from creosote buildup or debris) can sometimes trap moisture and impede proper drying, exacerbating dampness issues.
Condensation Problems
Though not a direct cause of a storm-related leak, condensation within the chimney can sometimes be mistaken for a leak or contribute to a damp environment that encourages material degradation. Modern, high-efficiency appliances often produce cooler exhaust gases, which can lead to condensation inside the chimney flue, especially if the flue is oversized or unlined. This acidic condensate can damage the flue liner and masonry over time, making it more susceptible to water penetration from external sources.
Improperly Sealed or Damaged Chase Top (for metal/prefab chimneys)
For prefabricated or metal chimneys enclosed within a wood-framed chase, a metal or concrete “chase top” replaces the traditional chimney crown. If this chase top is rusted, has open seams, or is not properly sealed where the flue pipe exits, it can allow water to collect inside the chase, leading to significant leaks and damage to the framing and interior walls.
The Immediate Dangers and Long-Term Repercussions of a Leaky Chimney
A leaky chimney is not merely an inconvenience; it can pose several serious threats to your home and your health:
- Structural Damage: Water can weaken the chimney’s masonry structure, leading to crumbling mortar, spalling bricks, and potentially chimney collapse if left unaddressed. It can also rot adjacent wooden roof trusses, ceiling joists, and wall studs.
- Mold and Mildew Growth: Constant dampness is an ideal breeding ground for mold and mildew. This can spread beyond the chimney area, leading to unpleasant odors, compromised indoor air quality, and potential health problems for occupants, especially those with allergies or respiratory issues.
- Fire Hazards: A damp chimney flue can mix with creosote (a byproduct of wood burning), forming a corrosive, highly flammable substance. Additionally, water damage can compromise the integrity of the flue liner, allowing heat and sparks to escape into combustible parts of your home, significantly increasing the risk of a house fire.
- Reduced Home Value: Visible water damage, mold, and structural issues stemming from a leaky chimney can significantly decrease your property’s market value.
- Compromised Insulation: Water saturation can ruin attic and wall insulation, reducing its effectiveness and leading to higher energy bills.
- Damaged Interior Finishes: Water stains, peeling paint, and warped drywall are unsightly and require costly repairs to restore your home’s appearance.
DIY Troubleshooting: What You Can Safely Check From the Ground
While extensive chimney repairs always call for a certified professional, there are several things you can safely inspect from the ground to help diagnose a leak. Always prioritize safety and do not attempt to climb onto your roof without proper safety equipment and experience.
- Binocular Inspection: Use a good pair of binoculars to examine your chimney from the ground. Look for:
- Chimney Cap: Is it present? Is it bent, rusted, or missing any parts?
- Chimney Crown: Do you see any visible cracks, crumbling, or areas where the crown doesn’t adequately overhang the chimney walls?
- Flashing: Is the metal flashing around the base of the chimney flat against the roof and chimney? Are there any visible gaps, lifted sections, or signs of rust or deterioration? Is old caulk cracked or peeling?
- Masonry: Are there any obvious cracks in the bricks? Is the mortar crumbling or missing between the bricks? Look for efflorescence.
- Interior Check: Inside your home, carefully inspect the area around your fireplace and on the ceiling above.
- Look for new or expanding water stains.
- Check the damper for signs of rust or water drips.
- Smell for musty odors, especially after rain.
- Attic Inspection: If safely accessible, check your attic space near the chimney. Look for damp insulation, water stains on the wood, or signs of mold. This can help pinpoint where water might be entering the roof structure before it reaches your living space.
Professional Solutions for Repairing a Chimney Leaking During Storms
Once you’ve identified the signs of a leak, or suspect one, it’s time to call in a certified chimney professional. They have the expertise and equipment to safely and accurately diagnose the problem and provide lasting repairs.
Chimney Cap Replacement
If the existing cap is damaged, missing, or inadequate, a professional will recommend and install a new, appropriately sized chimney cap. These can be made of stainless steel or copper for durability and come in various styles, some including spark arrestors and animal screens.
Crown Repair or Rebuild
For minor cracks in the chimney crown, a professional might use a sealant specifically designed for crowns. If the damage is extensive, or the crown was improperly built, a full crown rebuild using a proper concrete mix with an overhang and drip edge will be necessary to ensure long-term water protection.
Flashing Repair or Replacement
Damaged flashing is often repaired by removing the old flashing and installing new, properly layered metal flashing. This involves cutting into the chimney’s mortar joints for the counter-flashing (a process called reglet cutting) and carefully weaving step flashing with the roof shingles. Proper sealing around the edges is paramount.
Masonry Repair (Tuckpointing) and Waterproofing
If the chimney’s bricks or mortar joints are deteriorated, tuckpointing is the solution. This process involves grinding out the old, crumbling mortar and replacing it with new, fresh mortar to restore the chimney’s structural integrity and seal out water. For porous bricks or general masonry protection, a professional may apply a breathable, waterproof sealant designed specifically for masonry, which allows the chimney to “breathe” while preventing water absorption.
Liner Repair or Installation
If the flue liner is damaged and contributing to leaks, a professional will assess whether it can be repaired (e.g., with a resurfacing compound for minor cracks) or if a new liner, typically stainless steel, needs to be installed. This is crucial for both leak prevention and fire safety.
Addressing Condensation
If condensation is a contributing factor, solutions may include installing a properly sized flue liner, insulating the liner, or ensuring adequate ventilation for appliances.
Proactive Measures: Preventing Chimney Leaks Before They Start
The best defense against a leaking chimney is proactive maintenance. Regular inspections and timely interventions can save you significant headaches and expenses.
Regular Chimney Inspections and Cleaning
The Chimney Safety Institute of America (CSIA) recommends that chimneys be inspected annually by a certified professional. These inspections can catch small issues, like hairline cracks in the crown or loose flashing, before they escalate into major leaks. During an inspection, the professional will also clean any creosote buildup, which is vital for fire safety. For detailed maintenance tips and a comprehensive checklist, consider reviewing resources like the HGTV Chimney Maintenance Checklist.
High-Quality Materials for Repairs
When repairs are necessary, insist on high-quality, durable materials. For instance, stainless steel or copper chimney caps and flashing will outlast cheaper alternatives. Proper concrete mixes for crowns and suitable mortar for tuckpointing are essential for longevity.
Proper Ventilation
Ensure your home has adequate attic ventilation. Proper airflow can help prevent moisture buildup in the attic space, which can sometimes exacerbate chimney leak issues and lead to other problems like wood rot.
Waterproofing Treatments
Consider having a breathable, silane/siloxane-based waterproofing sealant applied to your chimney’s masonry. This treatment repels water without trapping moisture inside the bricks, extending the life of your chimney and preventing water penetration through the masonry itself. It’s not paint; it’s a clear treatment that allows the chimney to breathe naturally.
Trimming Overhanging Branches
Tree branches overhanging your chimney can drop leaves and debris, clogging the cap or flue, and can also contribute to moisture and shade, which inhibits natural drying. In a storm, falling branches can directly damage the chimney structure. Keep nearby trees trimmed back to prevent these issues.
Choosing the Right Chimney Professional
When dealing with something as critical as your chimney, selecting a qualified professional is paramount. Look for:
- CSIA Certification: A Certified Chimney Sweep (CCS) from the CSIA indicates a high level of training and knowledge.
- Experience: Choose a company with a proven track record of diagnosing and repairing chimney leaks.
- References and Reviews: Check online reviews and ask for local references.
- Insurance: Ensure they are fully licensed and insured to protect yourself from liability.
- Detailed Estimates: A reputable professional will provide a clear, written estimate outlining the scope of work, materials, and costs.
Conclusion: Ensuring a Dry and Safe Home
A chimney leaking during storms is a problem that demands your attention. Ignoring it will inevitably lead to more significant, more expensive, and potentially dangerous issues down the line. By understanding the common causes, recognizing the warning signs, and taking proactive steps like annual inspections and timely repairs, you can protect your home’s structural integrity, safeguard against mold and fire hazards, and ensure your fireplace remains a source of warmth and comfort, not concern. Don’t let the next storm catch you off guard – take action to secure your chimney and keep your home dry and safe.
Frequently Asked Questions About Chimney Leaks
How much does it cost to fix a leaky chimney?
The cost to fix a leaky chimney can vary widely depending on the cause and extent of the damage. Minor repairs like sealing small cracks or replacing a chimney cap might range from a few hundred dollars. More extensive work, such as flashing replacement, tuckpointing, or a full crown rebuild, can cost anywhere from $500 to several thousand dollars. A complete chimney rebuild due to severe structural damage could be even higher. Always get multiple detailed estimates from certified professionals.
Can a leaky chimney cause a fire?
Yes, a leaky chimney can absolutely increase the risk of a house fire. Water can saturate creosote deposits, making them more corrosive and potentially highly flammable. More critically, water damage can compromise the integrity of the flue liner or the surrounding masonry, allowing intense heat, sparks, or even flames to escape the flue and ignite nearby combustible materials in your home’s structure.
Is chimney leaking covered by insurance?
Chimney leaks are often covered by homeowners insurance if the damage is sudden and accidental, such as from a storm or falling debris. However, damage caused by neglected maintenance or slow, progressive deterioration (like wear and tear over time) is typically not covered. It’s crucial to review your specific policy and contact your insurance provider immediately after discovering a leak to understand your coverage options.
How often should a chimney be inspected?
The Chimney Safety Institute of America (CSIA) recommends that chimneys, fireplaces, and vents be inspected annually by a qualified professional. This annual inspection ensures they are clean, structurally sound, and free of obstructions. If you use your fireplace frequently, more regular cleaning might be necessary in addition to the annual inspection.
Can I fix a chimney leak myself?
While minor issues like reapplying caulk around visible flashing or sealing small, superficial cracks on the crown might seem like DIY tasks, it is generally not recommended to attempt significant chimney leak repairs yourself. Working on roofs and chimneys is inherently dangerous due to heights and specialized knowledge required for proper sealing and structural integrity. Incorrect repairs can lead to greater damage, persistent leaks, or even safety hazards. For reliable and safe repairs, it’s always best to hire a certified chimney professional.


