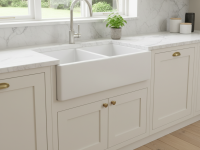
Ah, the 90s bathroom. For many of us, it conjures images of pastel tiles, oak cabinets with brass hardware, builder-grade laminate countertops, and perhaps a lovely floral wallpaper border. While there’s a certaiostalgia there, living with a bathroom stuck in a time warp isn’t always ideal. If you’re tired of feeling like you’ve stepped onto the set of a vintage sitcom every time you brush your teeth, but a full gut renovation isn’t in your budget or your immediate plans, you’re in the right place.
I’ve been there myself, staring at mint green tiles and thinking, “There has to be a better way!” The good news? You absolutely don’t need to tear down walls or spend a fortune to bring your bathroom into the 21st century. With some smart choices, a bit of elbow grease, and a sprinkle of design magic, you can transform that outdated space into a fresh, modern oasis. Let’s dive into some simple, impactful ways to ditch the beige and embrace the sleek!
The Power of Paint: Your Most Budget-Friendly Ally
If there’s one single change that will give you the most bang for your buck, it’s paint. A fresh coat can instantly brighten, lighten, and modernize your entire bathroom. Those pastel tiles suddenly don’t look quite so jarring when surrounded by a crisp, contemporary color palette.
Choosing Your Colors Wisely
- White & Off-Whites: Never underestimate the power of a classic white. It instantly makes a space feel larger, cleaner, and more open. If stark white feels too sterile, opt for an off-white with warm undertones (like Benjamin Moore’s White Dove) or cool undertones (like Sherwin-Williams Pure White) to complement your existing fixtures.
- Neutrals: Light grays, greiges (a mix of gray and beige), and soft beiges that lean more towards modern taupes can work wonders. They provide a sophisticated backdrop that allows other elements to shine.
- Subtle Colors: If you love color, consider soft blues (think serene spa vibes), muted greens (like sage or eucalyptus), or even a deep navy for a dramatic yet elegant touch. These colors can instantly elevate the mood and make the space feel more intentional.
- Tackling Those Tricky Tiles: While you can’t paint ceramic tiles on the wall without specialized primer and paint (which can be a DIY project but requires careful execution), painting the surrounding walls a neutral color helps to visually minimize the impact of dated tile colors. For floor tiles, specialized tile paint exists, but it’s crucial to follow the instructions for proper adhesion and durability.
Don’t forget the ceiling! A fresh coat of ceiling paint (usually white) will make a noticeable difference. And if your trim is looking tired, a fresh coat of semi-gloss white paint will instantly make it pop.
Hardware & Fixtures: Small Swaps, Huge Impact
This is where you can really start to see your 90s bathroom shed its skin. Those shiny brass or chrome fixtures and chunky cabinet pulls are often dead giveaways of its age. Swapping them out is relatively easy and makes a massive difference.
Faucet Finesse
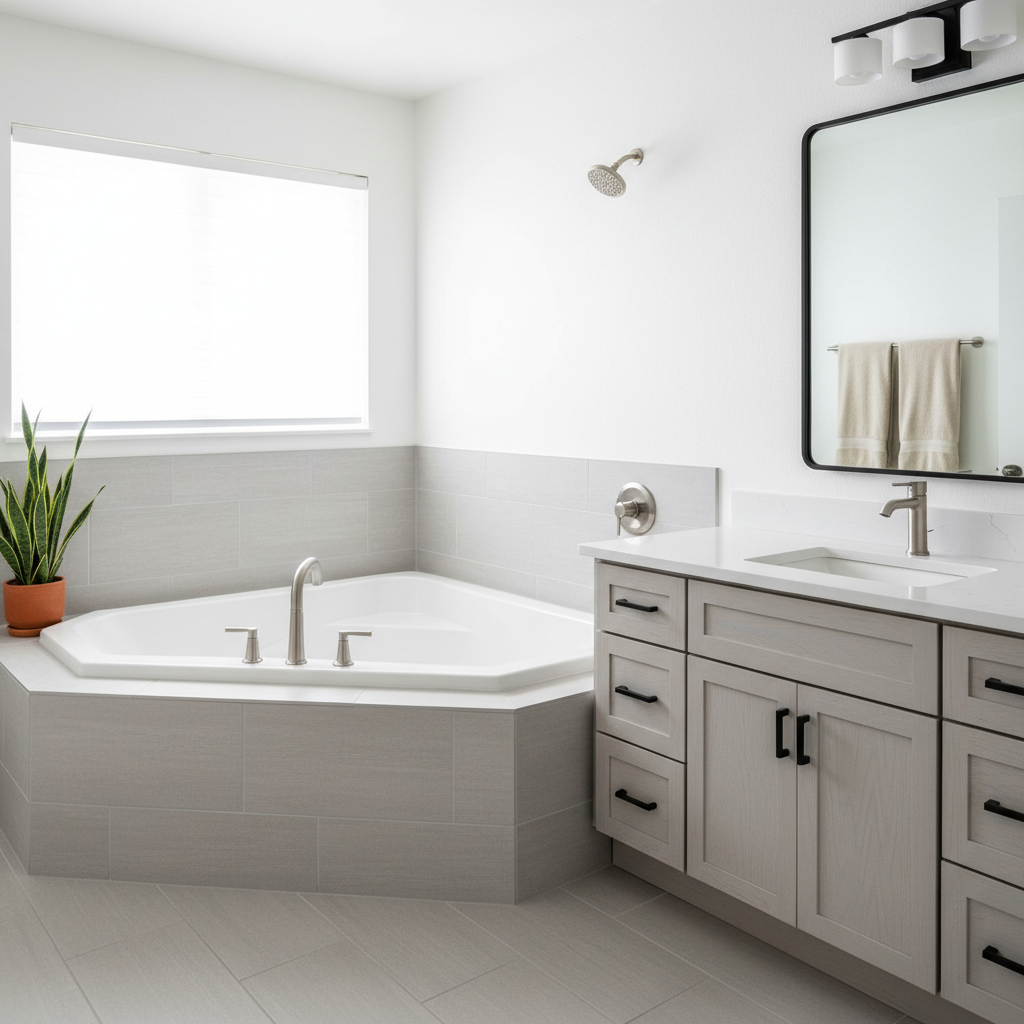
Replacing your sink faucet is a surprisingly straightforward DIY project. Look for modern finishes like brushed nickel, matte black, or even polished chrome in sleek, minimalist designs. This instantly updates your vanity area. While you’re at it, consider replacing your showerhead with a more modern, efficient model – maybe even a rain shower head for a touch of luxury!
Cabinet Bling
If you have oak cabinets with those classic mushroom knobs or dated pulls, changing them out is a must. Modern handles in matte black, brushed brass (a much more refined version than 90s brass), or brushed nickel can completely transform the look of your vanity without replacing the entire unit.
Towel Bars & Accessories
Don’t overlook the smaller details! Matching your towel bars, toilet paper holder, and even robe hooks to your new faucet and cabinet hardware creates a cohesive, intentional look. These items are inexpensive and quick to change.
Light Up Your Life: Ditch the Strip Lights
Builder-grade vanity strip lights were a hallmark of 90s bathrooms – often featuring multiple bare bulbs in a gold or chrome strip. Not only are they unattractive, but they rarely provide flattering light. Upgrading your lighting is crucial for both aesthetics and functionality.
Modern Lighting Solutions
- Sconces: Replace that dated strip light with a pair of stylish sconces, one on either side of your mirror. This provides much more flattering, shadow-reducing light for tasks like makeup application or shaving.
- Vanity Bars: If sconces aren’t feasible due to space, a modern vanity light bar with a more contemporary design and enclosed shades can be a great alternative. Look for LED options for energy efficiency.
- Add Ambiance: If you have the budget and the ability, consider adding a small recessed light over the shower or a decorative flush-mount fixture in the center of the room to supplement your vanity lighting. A dimmer switch on your vanity lights can also create a lovely spa-like atmosphere.
Vanity & Countertop Refresh: The Heart of the Bathroom
Your vanity is often the focal point of the bathroom. If it’s a bulky oak unit with a laminate counter, it’s probably screaming “90s!” But you don’t necessarily need to rip it out.
Give Your Vanity a Facelift
If your vanity cabinet is in good structural condition, consider painting it. White, dark gray, navy blue, or even a deep forest green can completely transform its appearance. Use a good quality cabinet paint and primer for durability. Then, pair it with those new cabinet pulls we talked about.
Countertop Comeback
Replacing a laminate countertop can be easier than you think, especially if you have a standard-sized vanity. Look for pre-fabricated vanity tops with integrated sinks made of cultured marble or granite/quartz remnants. These are often surprisingly affordable and instantly elevate the look. If replacing isn’t an option, there are countertop painting and resurfacing kits available, though their durability can vary.
Sink Style
If your current sink is a drop-in style with a chunky rim, consider upgrading to a sleek undermount sink if you’re replacing the countertop. This creates a seamless, easy-to-clean look.
Mirror, Mirror, On the Wall: Beyond Basic Builder Glass
That large, frameless sheet mirror glued to the wall, or the one with a thin, dated frame, is another tell-tale sign of a 90s bathroom. A new mirror is an easy and impactful update.
Elevate Your Reflection
Replace it with a stylish, framed mirror that complements your new hardware and paint colors. Think bold circular mirrors, modern rectangular mirrors with clean lines, or even a pair of smaller mirrors above double sinks. This simple swap adds personality and a touch of sophistication.
Flooring Fixes: Step Into the Present
Linoleum or small, dated ceramic tiles are common in 90s bathrooms. While replacing flooring is a bigger project, there are simpler options.
Quick Flooring Upgrades
- Luxury Vinyl Tile (LVT) or Plank (LVP): This is a fantastic DIY-friendly option. LVT/LVP is waterproof, durable, and comes in a huge variety of styles that mimic wood or stone. It can often be installed directly over existing flooring, saving on demolition.
- Tile Paint/Stenciling: For existing ceramic tiles, specialized tile paint can cover dated colors. You can even use stencils to create a custom, modern pattern. This requires careful preparation and sealing, but it’s a very budget-friendly way to get a new look.
- Area Rugs: For a super quick fix, a stylish bath mat or larger area rug can cover a significant portion of dated flooring, adding warmth and color.
Shower & Tub Area: Sparkling New Life
The shower and tub area can often be the most challenging part of a 90s bathroom to modernize without a full renovation, but there are still plenty of tricks.
Shower Door & Curtain Drama
- Ditch the Frame: If you have an old, framed shower door (especially one with gold or silver trim), consider replacing it with a frameless or semi-frameless glass door. This instantly opens up the space and creates a high-end look.
- Curtain Call: If a shower door isn’t in the cards, upgrade your shower curtain and rod. A curved shower rod adds a touch more elbow room and a nicer aesthetic. Choose a stylish, fabric shower curtain in a neutral color or a subtle pattern that complements your new paint.
Tile Touch-Ups
If your shower tiles are okay but the grout is discolored, a good cleaning, regrouting, or even just applying a grout whitener can make a world of difference. For seriously dated or damaged tiles, specialized tile painting kits can be used, but as mentioned before, durability is key.
Accessorize & Organize: The Finishing Touches
Once the big-ticket items are addressed, it’s time to bring in the elements that make your bathroom feel truly finished and modern.
Spa-Like Comforts
- Towels & Bath Mats: Invest in fluffy, high-quality towels ieutral colors (white, gray, taupe) or a color that matches your accent scheme.
- Greenery: Add a touch of nature with a plant – real or artificial. A small fern, a snake plant, or even eucalyptus branches can add freshness and life.
- Declutter: Nothing makes a space feel dated faster than clutter. Invest in smart storage solutions like floating shelves, woven baskets for towels, or drawer organizers to keep surfaces clear.
- Art & Scent: A piece of art that complements your new style, a stylish soap dispenser, and a subtle reed diffuser or candle can elevate the sensory experience of your modernized bathroom.
Conclusion: Your Modern Oasis Awaits
See? You don’t need a demolition crew and an endless budget to say goodbye to your 90s bathroom. By strategically tackling key areas like paint, hardware, lighting, and accessories, you can achieve a dramatic transformation that feels fresh, modern, and completely “you.” It’s all about making smart, impactful choices that work together to create a cohesive, updated aesthetic.
So, roll up your sleeves, pick a starting point, and get ready to enjoy a bathroom that truly reflects contemporary style and comfort. Your tranquil, modernized oasis is within reach!
