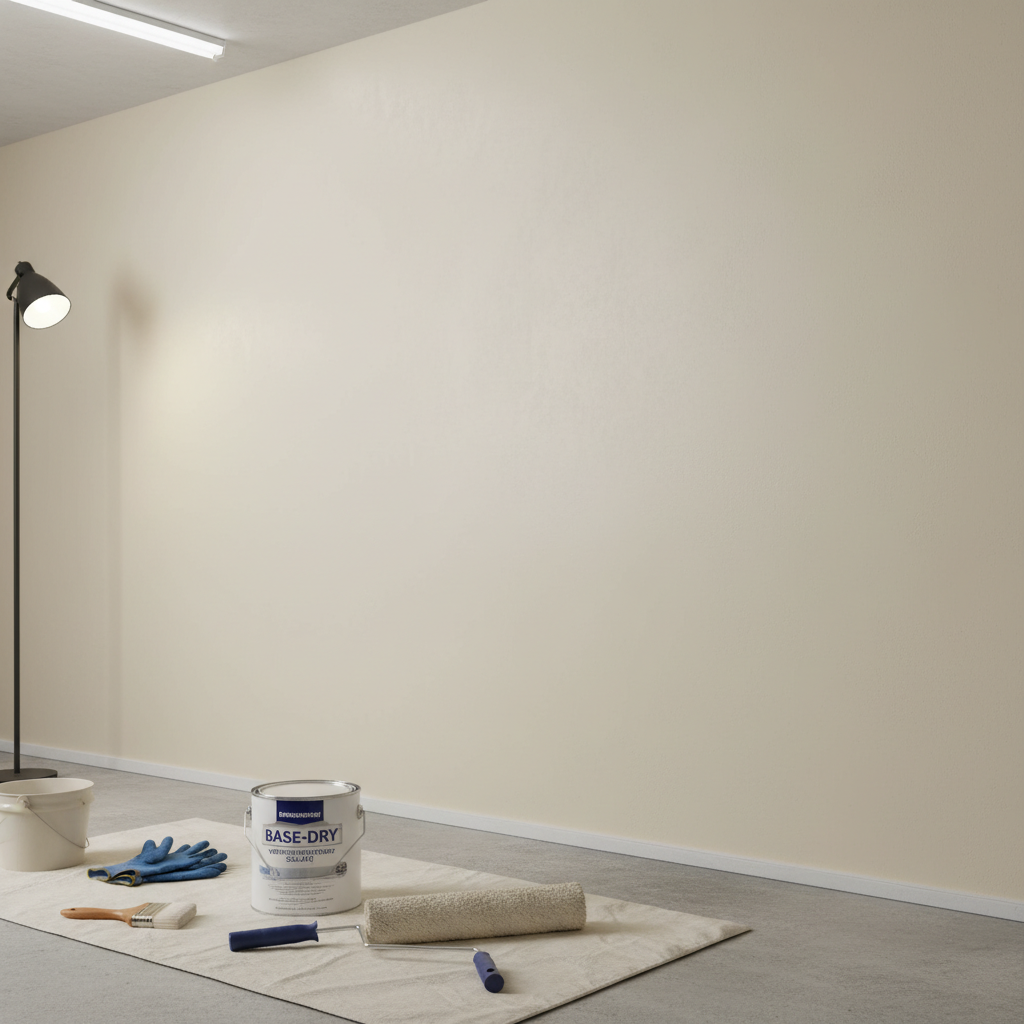
Ever walked into your basement and felt that tell-tale chill, that slightly musty smell, or worse, spotted a damp patch creeping up the wall? You’re definitely not alone. For many homeowners, a damp basement is a persistent headache, threatening everything from stored belongings to the structural integrity of your home. But what if I told you there’s a powerful weapon in your arsenal against this common foe? Enter waterproof paint for basement walls.
Now, before you rush to the hardware store, let’s talk about what this magical paint truly is, what it can (and can’t) do, and how to pick the *best* one for your specific battle. Trust me, I’ve been there, staring at those intimidating gray walls, wondering how to turn that damp cave into a usable space. This isn’t just about slapping on a coat of paint; it’s about reclaiming your basement!
Why Do Basements Get Damp Anyway? Understanding the Enemy
First things first, let’s quickly understand why your basement might be damp. It’s usually one or a combination of these culprits:
- Hydrostatic Pressure: This is the big one. Water in the soil outside your foundation pushes against the walls, looking for any tiny crack or porous spot to seep through.
- Condensation: Warm, humid air from upstairs or outside hitting the cooler basement walls and floors can cause moisture to condense, much like a cold glass of water on a hot day.
- Cracks and Gaps: Even hairline cracks in your foundation walls or gaps around windows and pipes can be an open invitation for water.
- Poor Drainage: Gutters overflowing, downspouts directing water too close to the foundation, or improper grading around your house can all contribute to water pooling near your basement walls.
Waterproof paint is a fantastic solution for addressing the first three, especially mild-to-moderate hydrostatic pressure and porosity. For severe structural issues or active leaks, you might need to call in the pros, but for most dampness, paint can be a game-changer.
What Exactly Is Waterproof Paint, and How Does It Work?
Think of waterproof paint not just as a decorative layer, but as a specialized coating designed to create a barrier against moisture. Unlike regular interior paint, which is meant to be pretty and cleanable, waterproof paint is formulated with binders and additives that create a much thicker, denser, and less porous film. This film effectively seals the pores in concrete or masonry, preventing water molecules from passing through.
Most waterproof basement paints are incredibly thick, almost like a thin stucco, and often contain cementitious materials, acrylic latex, or epoxy resins. When applied correctly, they form a robust, impermeable membrane that can withstand minor hydrostatic pressure from the outside, keeping your interior walls dry.
Choosing the Best Waterproof Paint for *Your* Basement Walls
Alright, this is where the rubber meets the road. There isn’t a single “best” waterproof paint for every basement, as your specific needs will dictate the ideal choice. However, I can share what I’ve learned and what has worked wonders for myself and others. Here are the top contenders and factors to consider:
1. Latex-Based Waterproofers (The Most Common & User-Friendly)
These are probably what most people think of when they hear “waterproof basement paint.” Brands like DRYLOK Original Concrete & Masonry Waterproofer or Behr Basement & Masonry Waterproofer are incredibly popular for a reason. They are:
- Easy to Apply: You can typically roll or brush them on, much like regular paint, though they are much thicker.
- Breathable: Some formulations allow the wall to “breathe” slightly, which is good for preventing moisture from getting trapped *behind* the coating (though they still block liquid water).
- Effective for Light to Moderate Dampness: Excellent for preventing efflorescence (those white powdery deposits) and sealing out general dampness.
- Tintable: Many can be tinted to a range of colors, giving you more aesthetic options than just white or gray.
My take: For most DIY homeowners dealing with general dampness, efflorescence, or minor seepage, a high-quality latex-based waterproofer is your best bet. It’s forgiving to apply and provides reliable protection. I personally used DRYLOK for my first basement project, and it significantly improved the air quality and dryness.
2. Cementitious Coatings (The Heavy-Duty Option)
These are typically two-part systems where you mix a powder (cement, sand, and other additives) with a liquid polymer. Brands like ThoroSeal (though often more commercial) or similar products offer a very robust solution:
- Extremely Durable: Forms a very hard, dense, and impermeable layer that can withstand significant hydrostatic pressure.
- Excellent Adhesion: Bonds incredibly well to concrete and masonry.
- Ideal for High Moisture Areas: If you’re dealing with more than just light dampness, this might be your go-to.
My take: This is a more involved application process, often requiring a brush or specialized sprayer, and it’s less flexible than latex paints. But if you’ve got persistent, moderate water issues and want a truly industrial-strength barrier, a cementitious coating is incredibly effective. It’s often thicker and more challenging to get a perfectly smooth finish.
3. Epoxy Coatings (Best for Floors, but Can Be Used on Walls Too)
While often used for basement floors due to their extreme durability and chemical resistance, some epoxy coatings can also be applied to walls:
- Incredibly Hard and Durable: Creates a very tough, non-porous surface.
- Excellent Chemical Resistance: Good for protecting against various spills.
- Impermeable: Once cured, it forms a completely sealed surface.
My take: Epoxy is usually a two-part system that requires precise mixing and a faster application due to its pot life. It’s less breathable than latex-based options, so you need to be very sure that any moisture behind the wall is dealt with. For walls, it’s generally overkill unless you need extreme durability or a specific aesthetic. It’s also often more expensive.
Key Factors to Consider When Choosing:
- Moisture Level: For light dampness, latex is fine. For moderate, latex or cementitious. For heavy, active leaks, paint alone won’t cut it – you need professional assessment first.
- Ease of Application: Latex-based paints are generally the easiest for DIYers.
- Breathability: Consider if you want the wall to “breathe” or if you need a complete vapor barrier.
- Tintability: Do you want options beyond white or gray?
- Surface Condition: Ensure the paint adheres well to concrete, cinder block, or whatever your basement walls are made of.
Beyond the Can: The Absolute Importance of Preparation
Here’s the honest truth: even the best waterproof paint in the world won’t perform miracles if you skip the prep work. This is arguably the most critical step, and where many DIY projects go wrong. Trust me, I learned this the hard way!
- Clean, Clean, Clean: Scrape off any loose paint, efflorescence, or mildew. Use a stiff wire brush and a masonry cleaner or a bleach/water solution (1 part bleach to 3 parts water) to thoroughly clean the walls. Rinse well and let them dry completely – and I mean COMPLETELY.
- Repair Cracks: Fill any hairline cracks or small holes with a hydraulic cement or a masonry crack filler. Hydraulic cement is fantastic because it expands as it dries, creating a super-tight seal, even against minor trickles of water. For larger cracks, you might need a professional.
- Address Exterior Issues: No amount of paint will stop water if it’s consistently pouring against your foundation. Ensure your gutters are clean and diverting water away from the house (at least 5-10 feet), and that the ground around your foundation slopes away from the house. This is fundamental!
- Ensure Dryness: The walls must be bone dry before you apply waterproof paint. If there’s still moisture present, the paint won’t adhere properly and can bubble or peel. A simple trick is to tape a 1-foot square piece of plastic sheeting to the wall for 24 hours. If there’s condensation on the inside of the plastic, your wall is still too damp.
My Personal Tips for Application
Once you’ve chosen your paint and prepped like a pro, it’s time to paint. Here are a few things I picked up along the way:
- Stir, Stir, Stir: Waterproof paint is thick! Use a drill mixer attachment to thoroughly mix the paint before and during application.
- Heavy Coats: Don’t skimp. These paints are designed to be applied thickly. Use a heavy-nap roller (¾-inch or 1-inch) or a stiff brush.
- Two Coats Minimum: Always apply at least two coats, allowing adequate drying time between them as specified by the manufacturer. More coats generally mean better protection.
- Work in Sections: Especially with fast-drying or two-part paints, work in manageable sections to ensure a continuous, even coating.
- Ventilation is Key: Open windows and use fans. These paints often have strong fumes.
Maintenance and Long-Term Solutions
After all your hard work, don’t forget about maintenance. Regularly check your basement walls for any new signs of dampness, cracks, or peeling. Reapply paint as needed over the years. Remember, waterproof paint is an excellent barrier, but it’s part of a larger strategy to keep your basement dry. Continue to monitor your exterior drainage and overall foundation health.
If you have persistent, severe water issues despite your best efforts with paint, it’s a sign to call in a basement waterproofing specialist. They can assess for deeper structural problems and recommend solutions like interior drainage systems or exterior excavation and sealing.
Conclusion: Reclaim Your Basement!
Tackling a damp basement can feel daunting, but with the right waterproof paint and a diligent approach to preparation, you can absolutely transform your space. It’s an incredibly satisfying DIY project that not only protects your home but also creates a healthier, more usable environment. Say goodbye to that musty smell and damp feel, and hello to a dry, comfortable basement!
So, roll up your sleeves, pick your weapon, and get ready to banish the damp once and for all. Your dry basement awaits!
